DIY Branch Holiday Card Holder
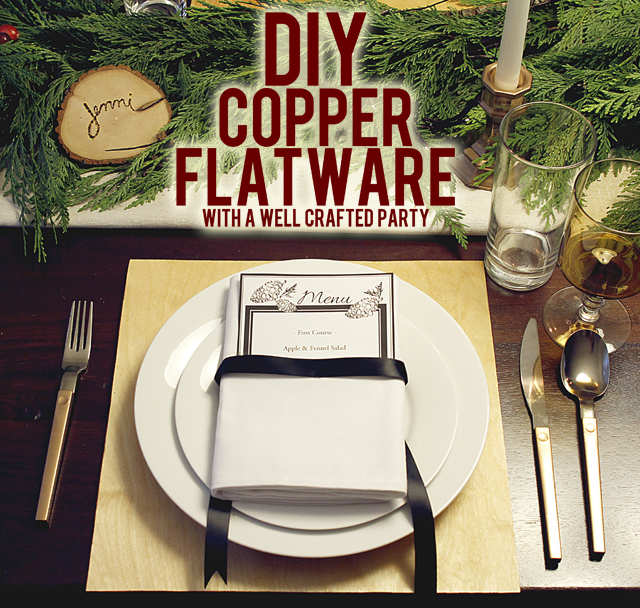
This post is the forth in my series of the 12 Days of Christmas DIYs for A Well Crafted Party….

This post is the forth in my series of the 12 Days of Christmas DIYs for A Well Crafted Party….
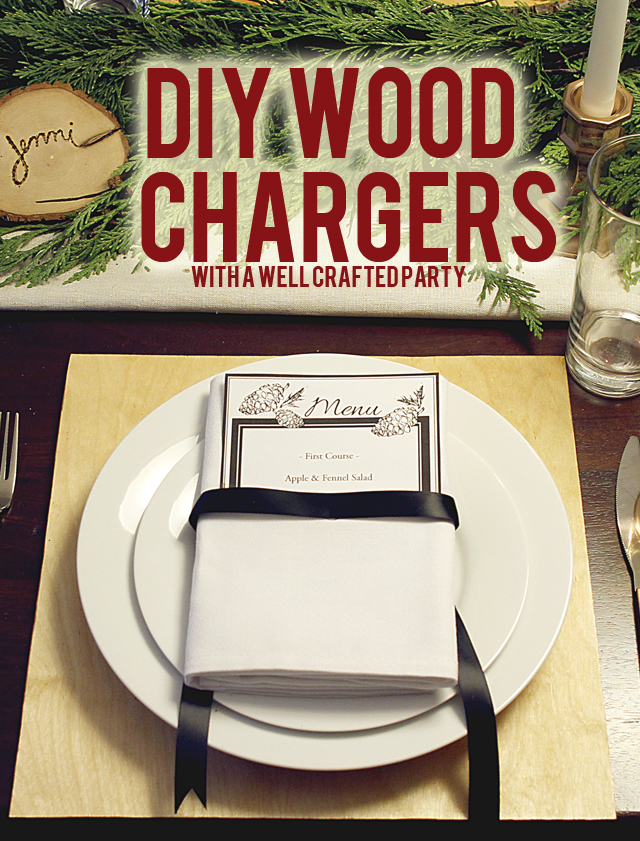
This post is the forth in my series of the 12 Days of Christmas DIYs for A Well Crafted Party….
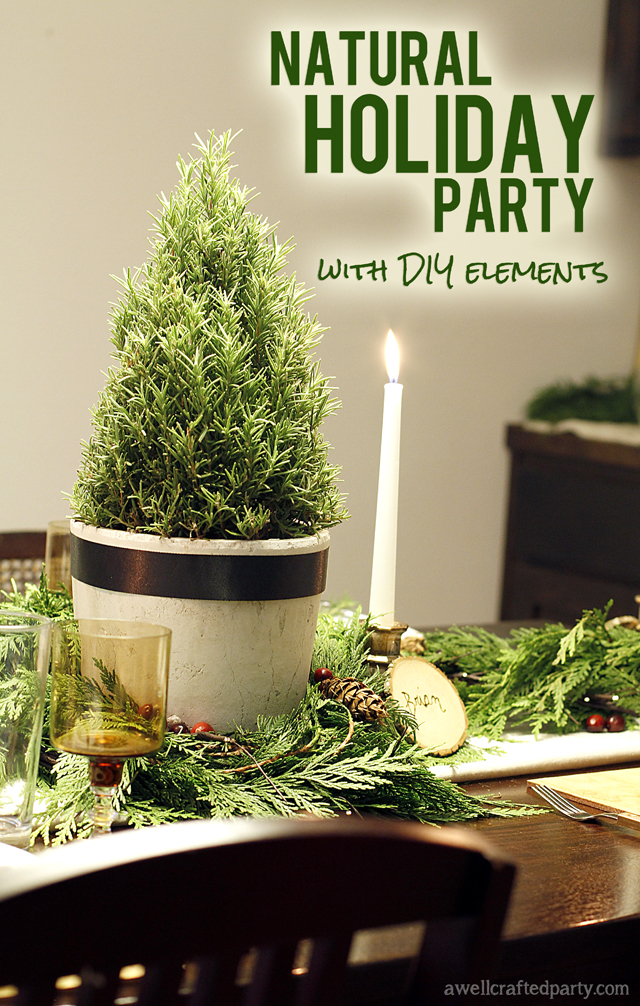
This post is the third in my series of the 12 Days of Christmas DIYs for A Well Crafted…
This post is the first in my series of the 12 Days of Christmas DIYs for A Well Crafted…
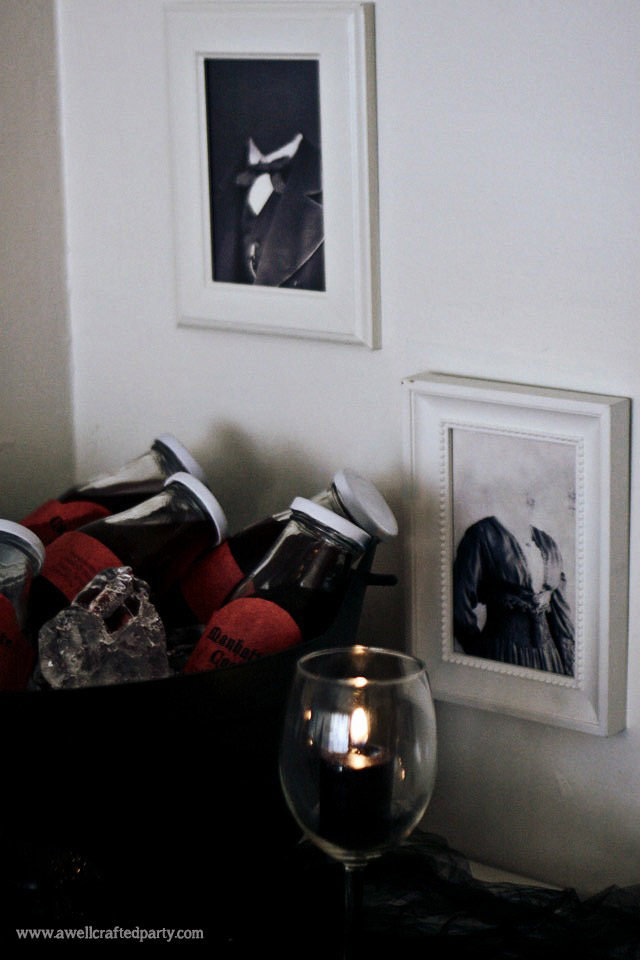
It is almost Halloween… can you believe it? I’ve been prepping for our annual Halloween party and have been…