Hey Girl Party Favors – Ryan Gosling Tea Towels
When I got to thinking of the whole “Hey Girl” Meme for the Ryan Gosling themed party the ideas…

When I got to thinking of the whole “Hey Girl” Meme for the Ryan Gosling themed party the ideas…
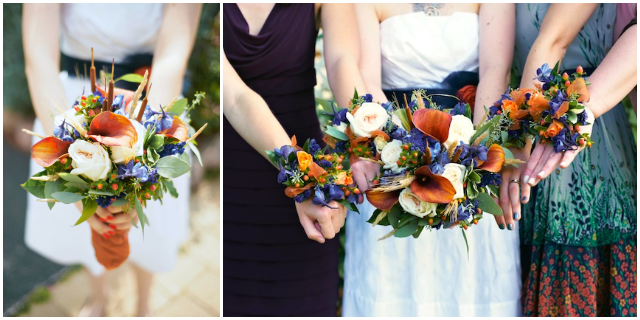
I am so honored to share my “wedding” on A Well Crafted Party! I have wedding in quotes because…
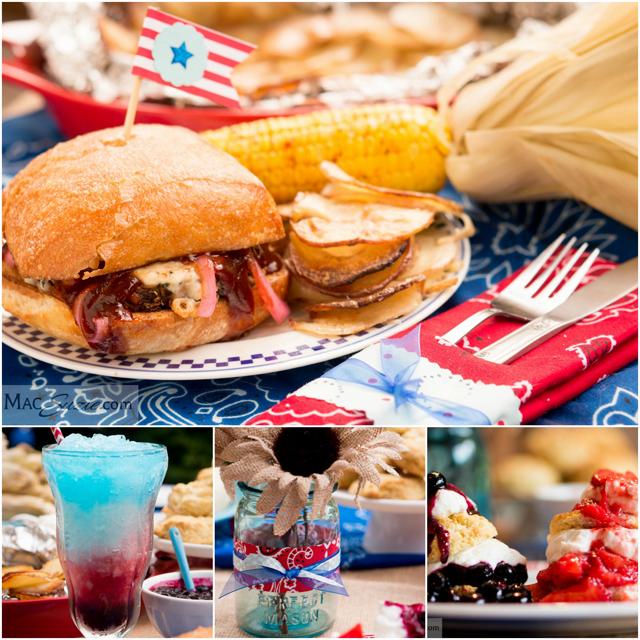
I’m a firm believer in party favors. I like giving small gifts to either enjoy during the party or…
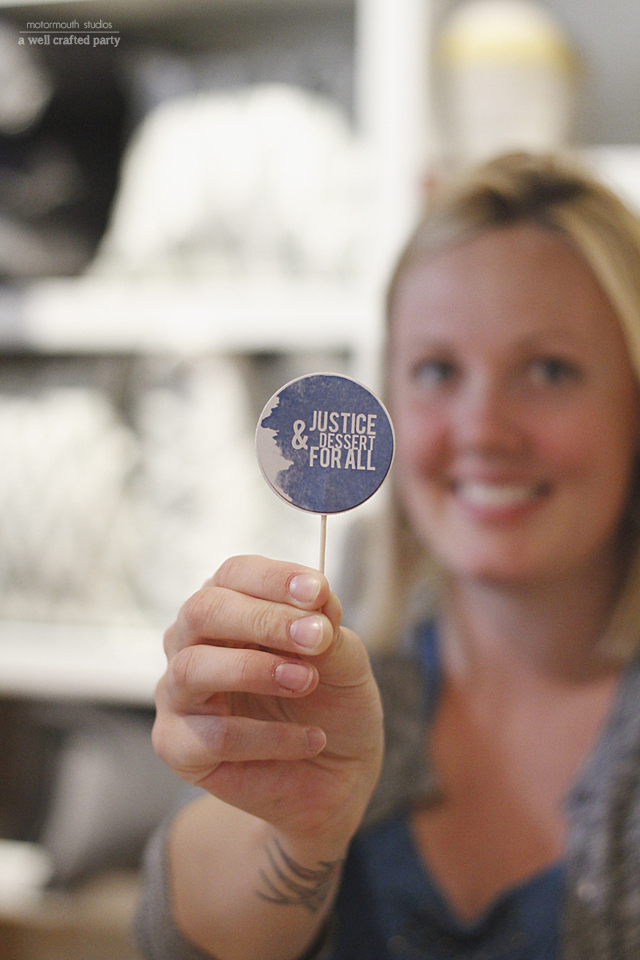
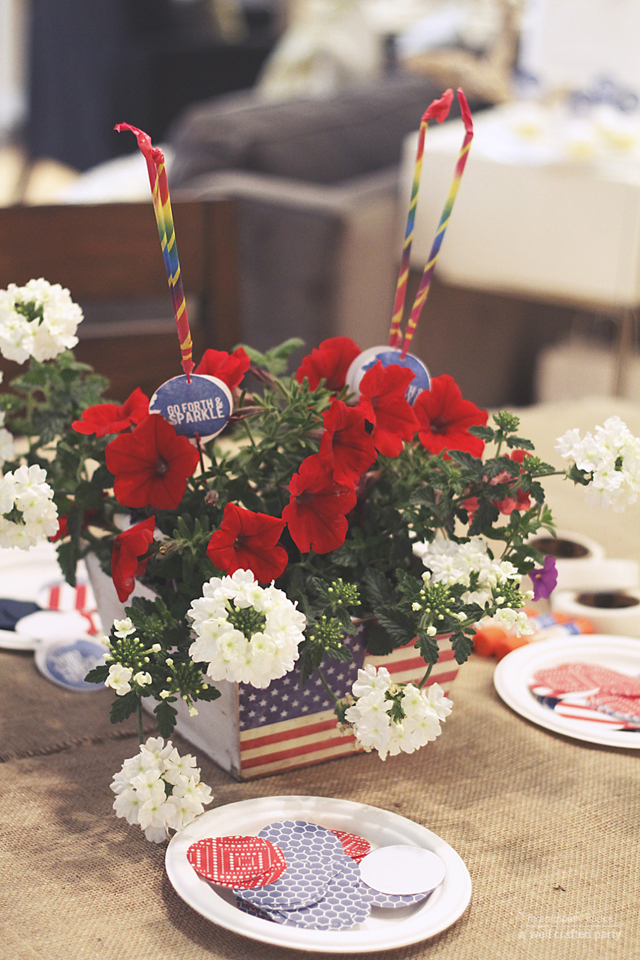
Ohhh… the party circle. This must be my favorite printable party item EVER. They are so versatile. I often…
A big thank you to Jenni for having me as a guest poster today on A Well Crafted Party!…