Watermelon Jalapeno Gazpacho
Cool off with this refreshing and spicy Watermelon Jalapeno Gazpacho recipe that is perfect for outdoor dining!

Cool off with this refreshing and spicy Watermelon Jalapeno Gazpacho recipe that is perfect for outdoor dining!

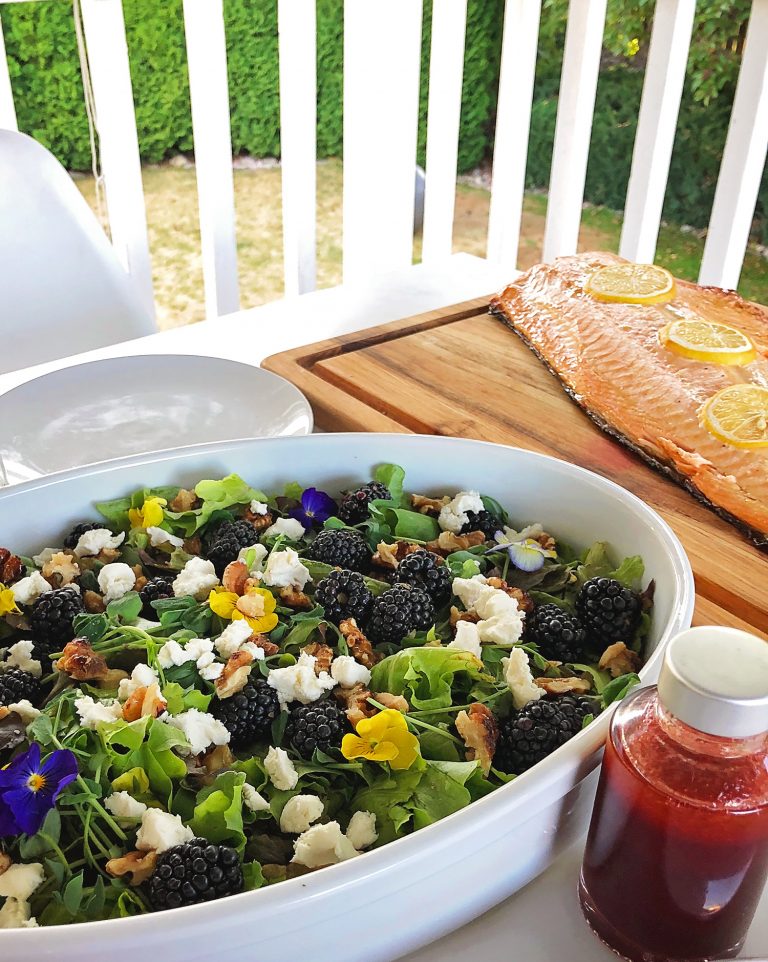
Cheese boards are having a big moment right now and I’m here for it. I love a good cheese…
Temperatures outside are hitting the 90s and the idea of heating up our oven or cooking over a hot…
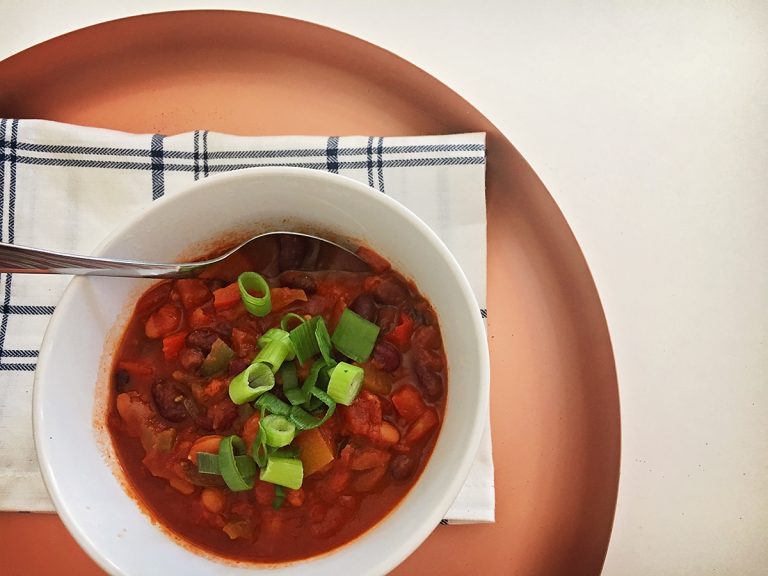
A lot of my recipes feature meat because I love meat. However, I also really have to go meatless…
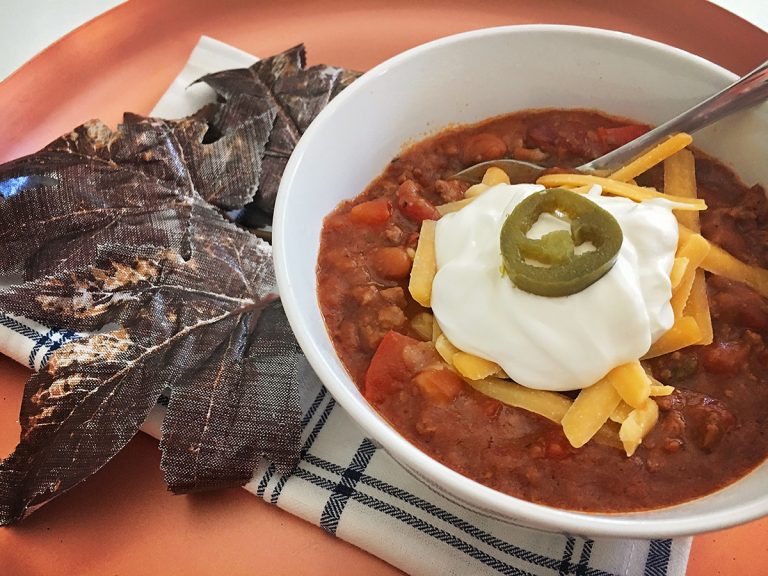
I will make no claims to having the best chili recipe. As a matter of fact, some wouldn’t even…