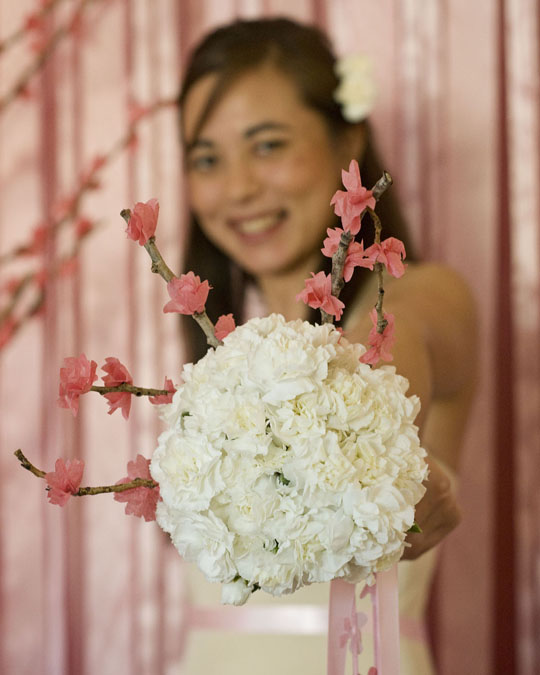
Love in Blossom Pt. 1
Yesterday I posted the inspiration board for this concept shoot. Today… THE PHOTOS! Again, I’m so excited to be…
Yesterday I posted the inspiration board for this concept shoot. Today… THE PHOTOS! Again, I’m so excited to be…
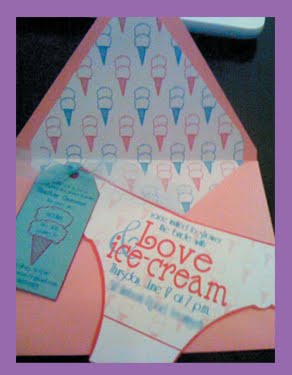
I’m a big fan of invitations. BIG FAN. After brainstorming an event I typically focus on invitations next. Often…