DIY Holiday Centerpiece from Supermarket Flowers
I love beautiful floral arrangements as much as the next person. What I don’t love is spending an arm…
I love beautiful floral arrangements as much as the next person. What I don’t love is spending an arm and a leg for them. I absolutely believe there are times where it is SO worth it. The pros are pros for a reason. However, when the budget is a concern and I have the time, I will put together a floral arrangement using budget blooms from my local grocery store or supermarket. Read on for tips on creating your own holiday centerpiece using supermarket flowers.
This is the ninth post of my 12 Days of Christmas DIYs for 2018. Each day for the next twelve days I share DIY projects, recipes, entertainment, and more, that you can incorporate in your holiday season. Most will be super simple!
Tips for creating a beautiful holiday centerpiece with supermarket flowers
Supermarkets generally have really pretty flowers, but not necessarily beautiful arrangements. (I’m sure that some supermarkets will prove me wrong!) Below are some tips to help you create a great holiday centerpiece with supermarket flowers and below are the directions I followed to create my centerpiece!
- Grab a few bunches of different flowers: While you can absolutely make a pretty arrangement with a single bloom, for this particular centerpiece I opted to give it a bit more dimension. When choosing your floral bunches consider getting the following: 1 bunch of large bloom, 1 bunch of medium-sized blooms, 1 bunch of filler blooms, and two bunches of greenery.
- Incorporate non-floral holiday items to your centerpiece: I used holiday baubles for my arrangement. However, some other ideas include ribbon, favorite ornaments, or candy canes!
- Think about structure: Using cellophane tape or floral wire can really go a long way in helping you build the shape you like for your centerpiece.
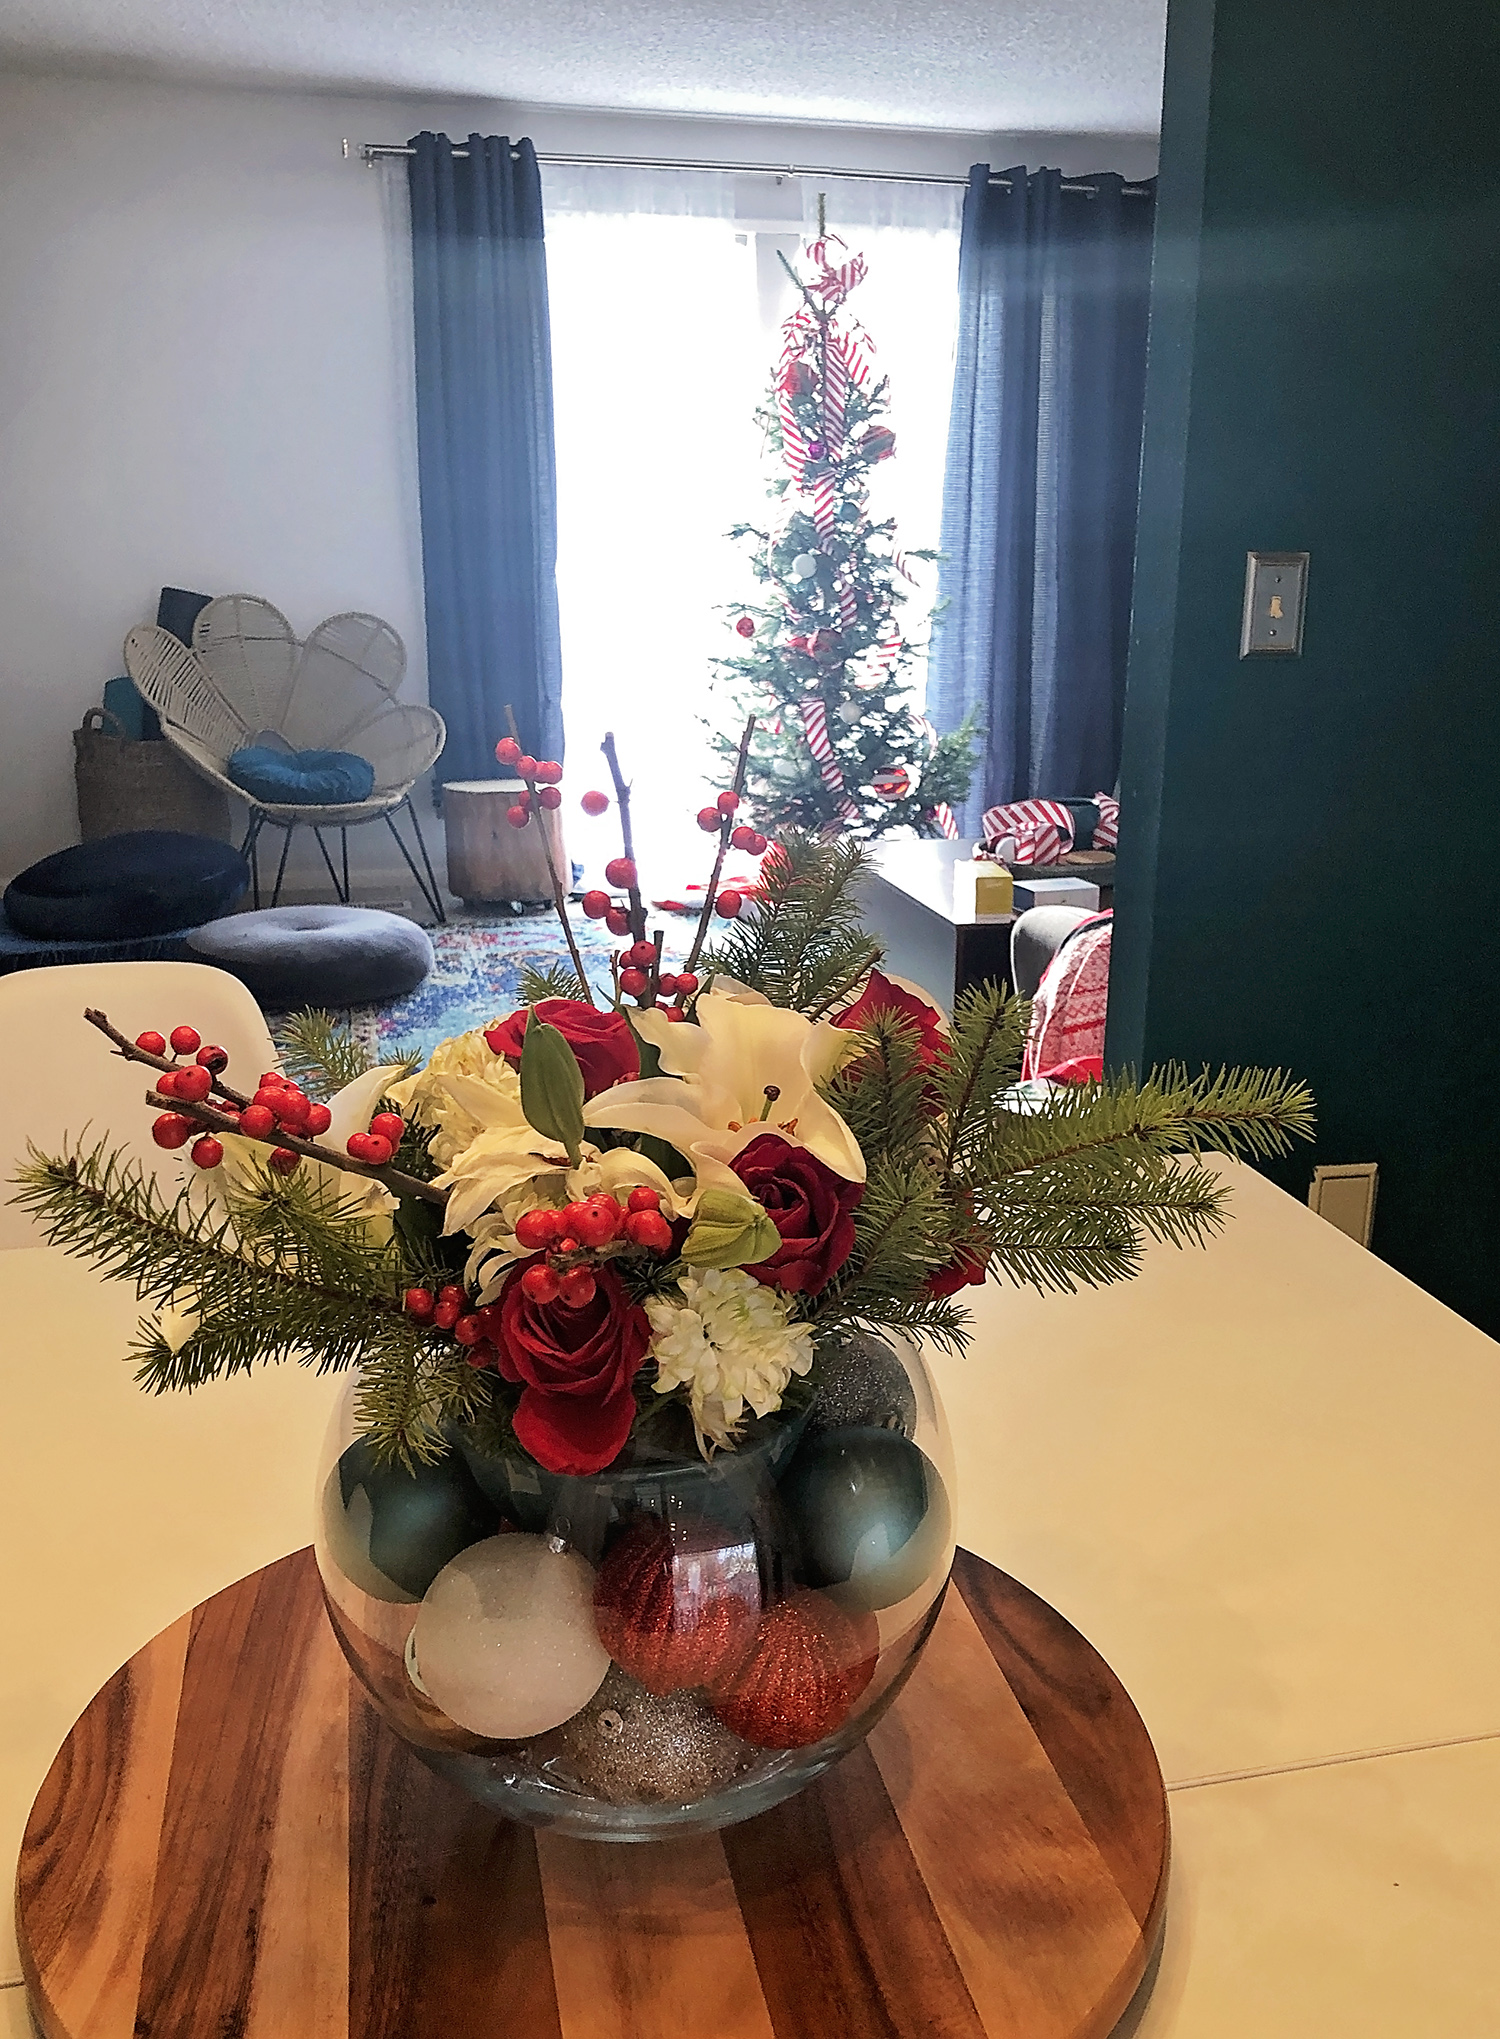
How to create a red, white, and green holiday centerpiece
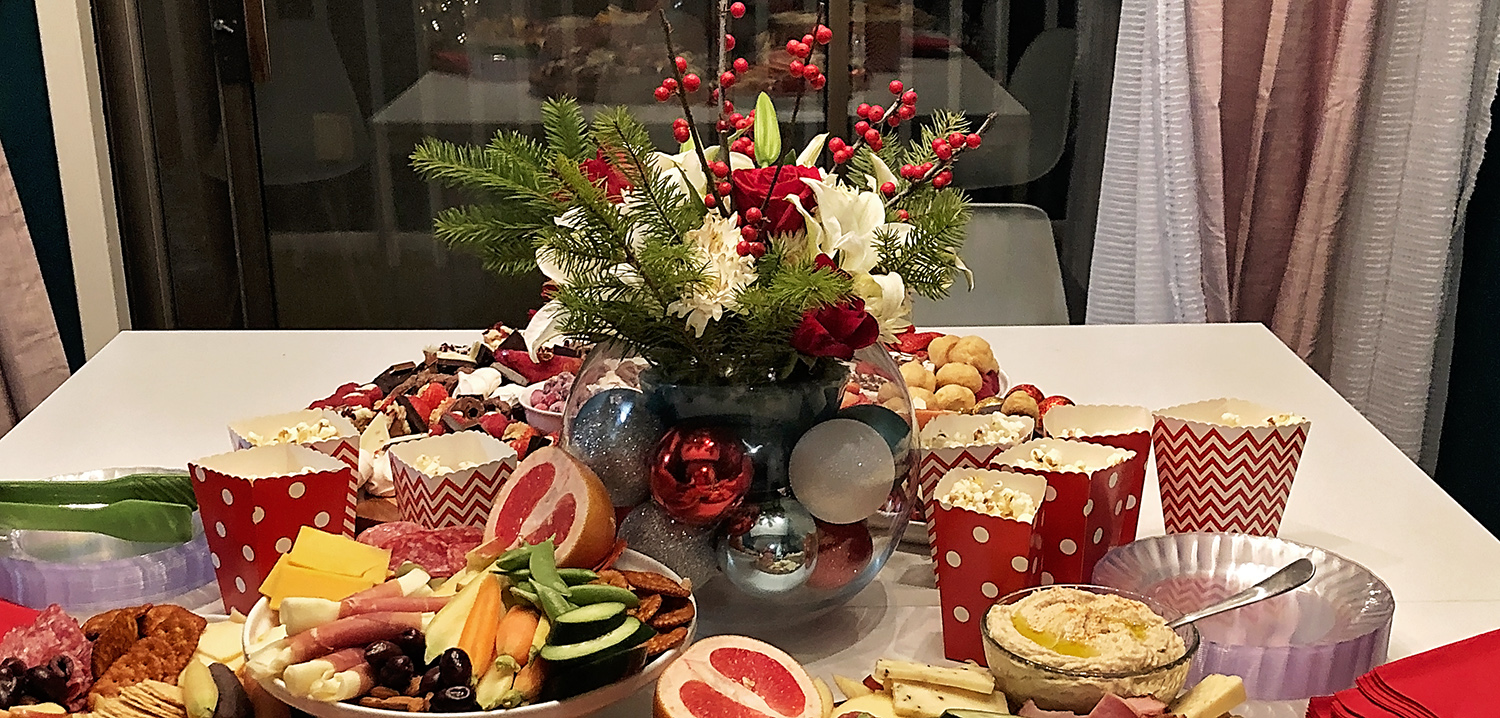
This year I mostly used red and white (with pops of green, pink, and teal) in my holiday decor. So, when creating the holiday centerpiece I wanted to stick to a red/white/green color scheme. I used holiday baubles to give it a bit more interest as well. Below I use affiliate links. I receive a portion of a sale made from my affiliate link with no added cost to you my reader. Affiliate links help support this blog.
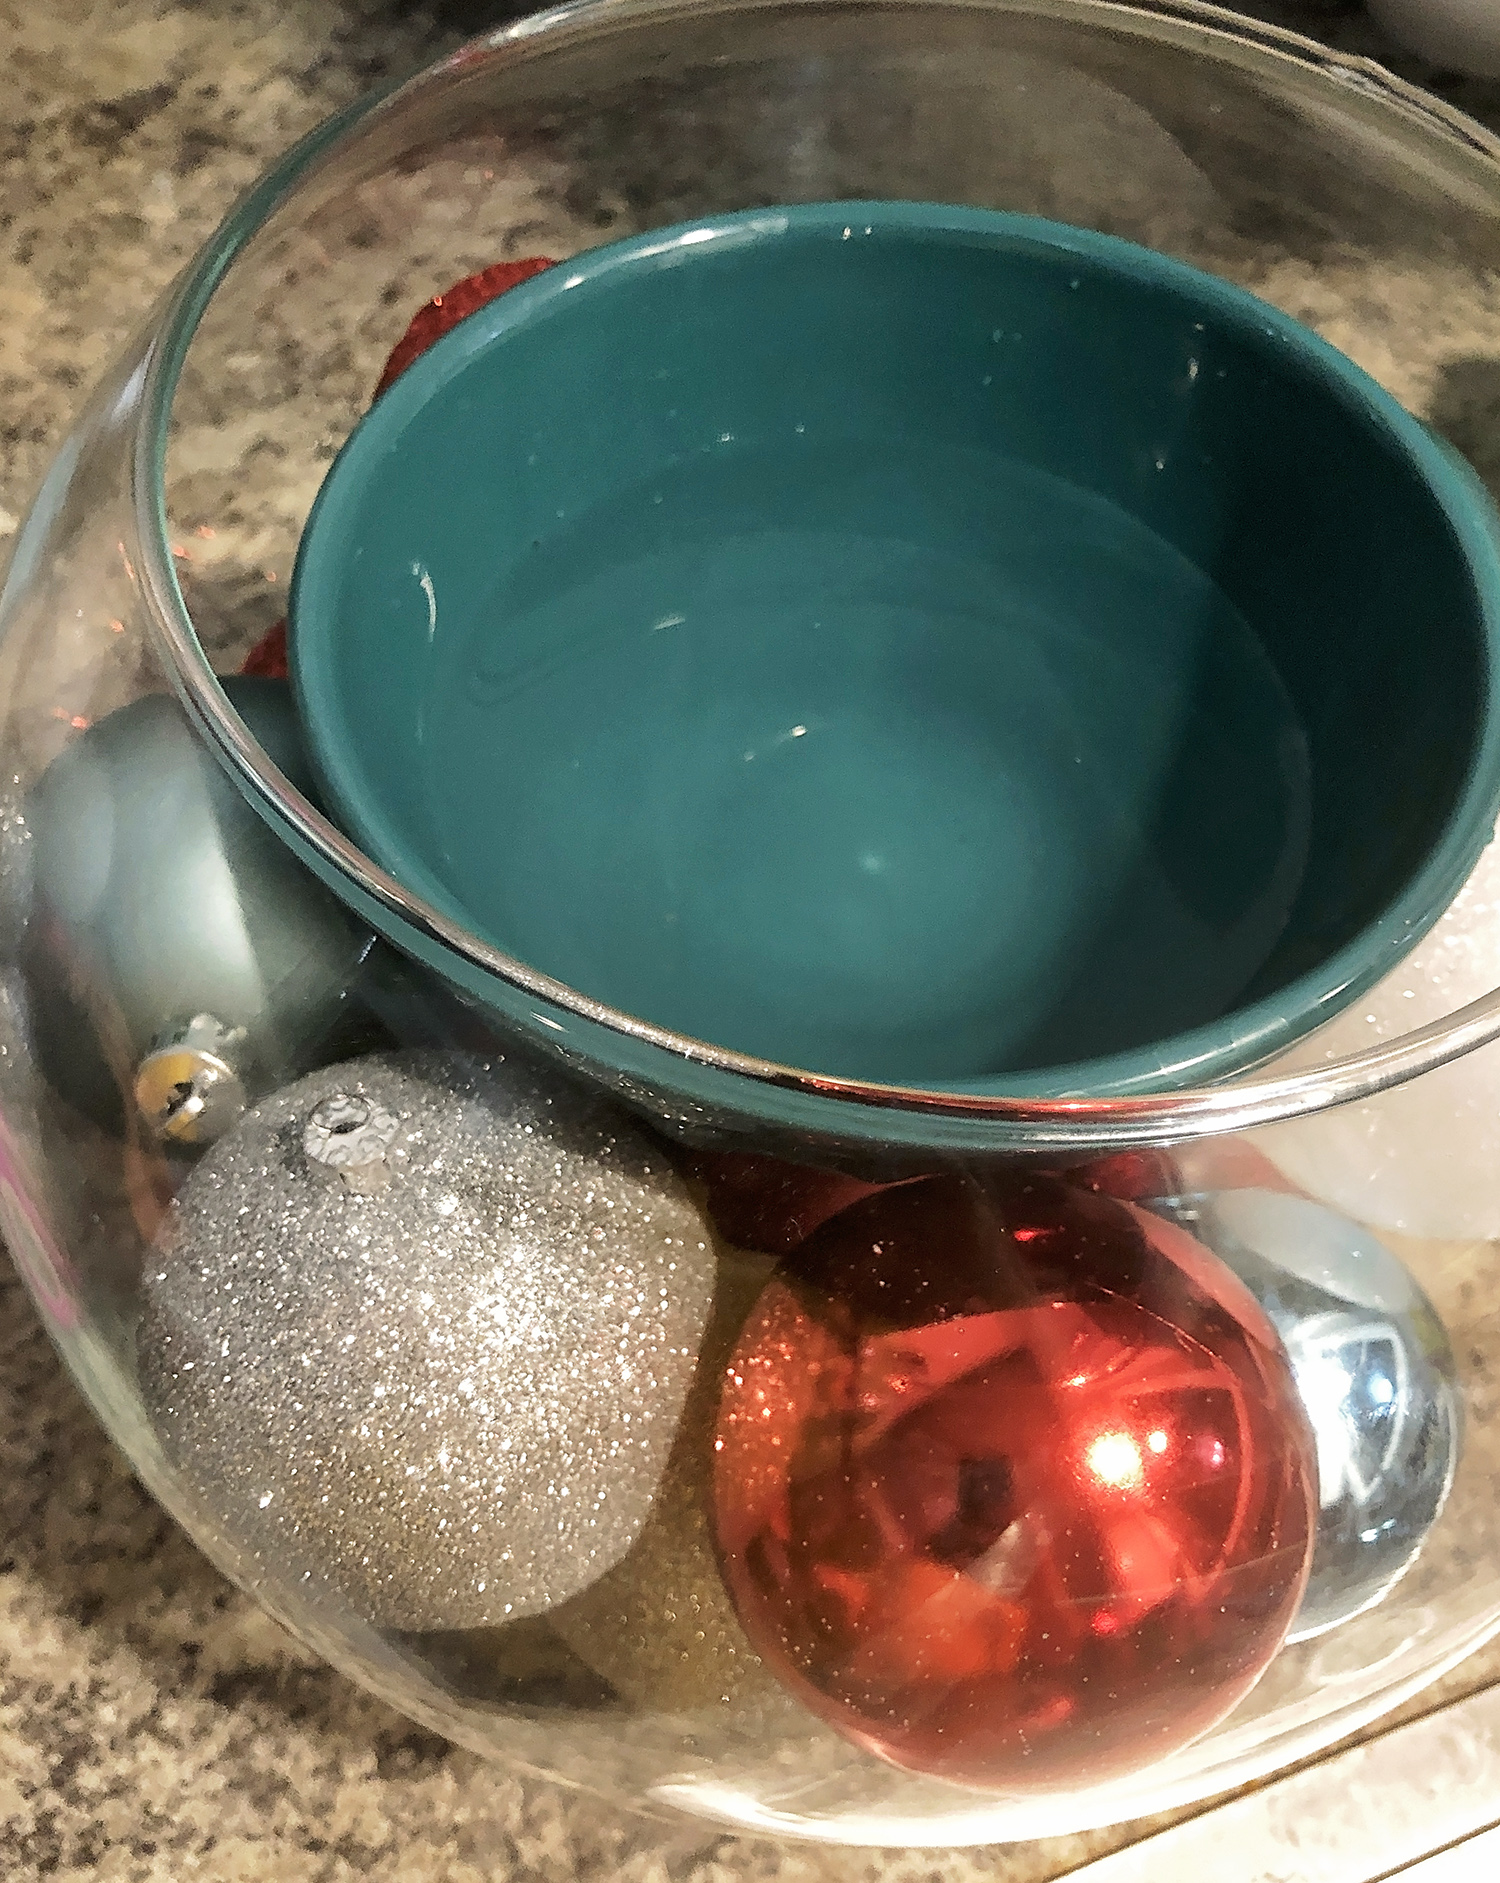
Step One: Prepare your vase.
- For this centerpiece, I chose to use a large round Libby glass bowl.
- I filled the bowl with my holiday ornaments and then sat another bowl inside. The second bowl sat on top of the baubles.
- I filled the second bowl with a water.
- I then taped a grid onto the top of the bowl with clear tape. Floral tape would work okay here as well as long as it adhered to the bowl and didn’t show up too much.
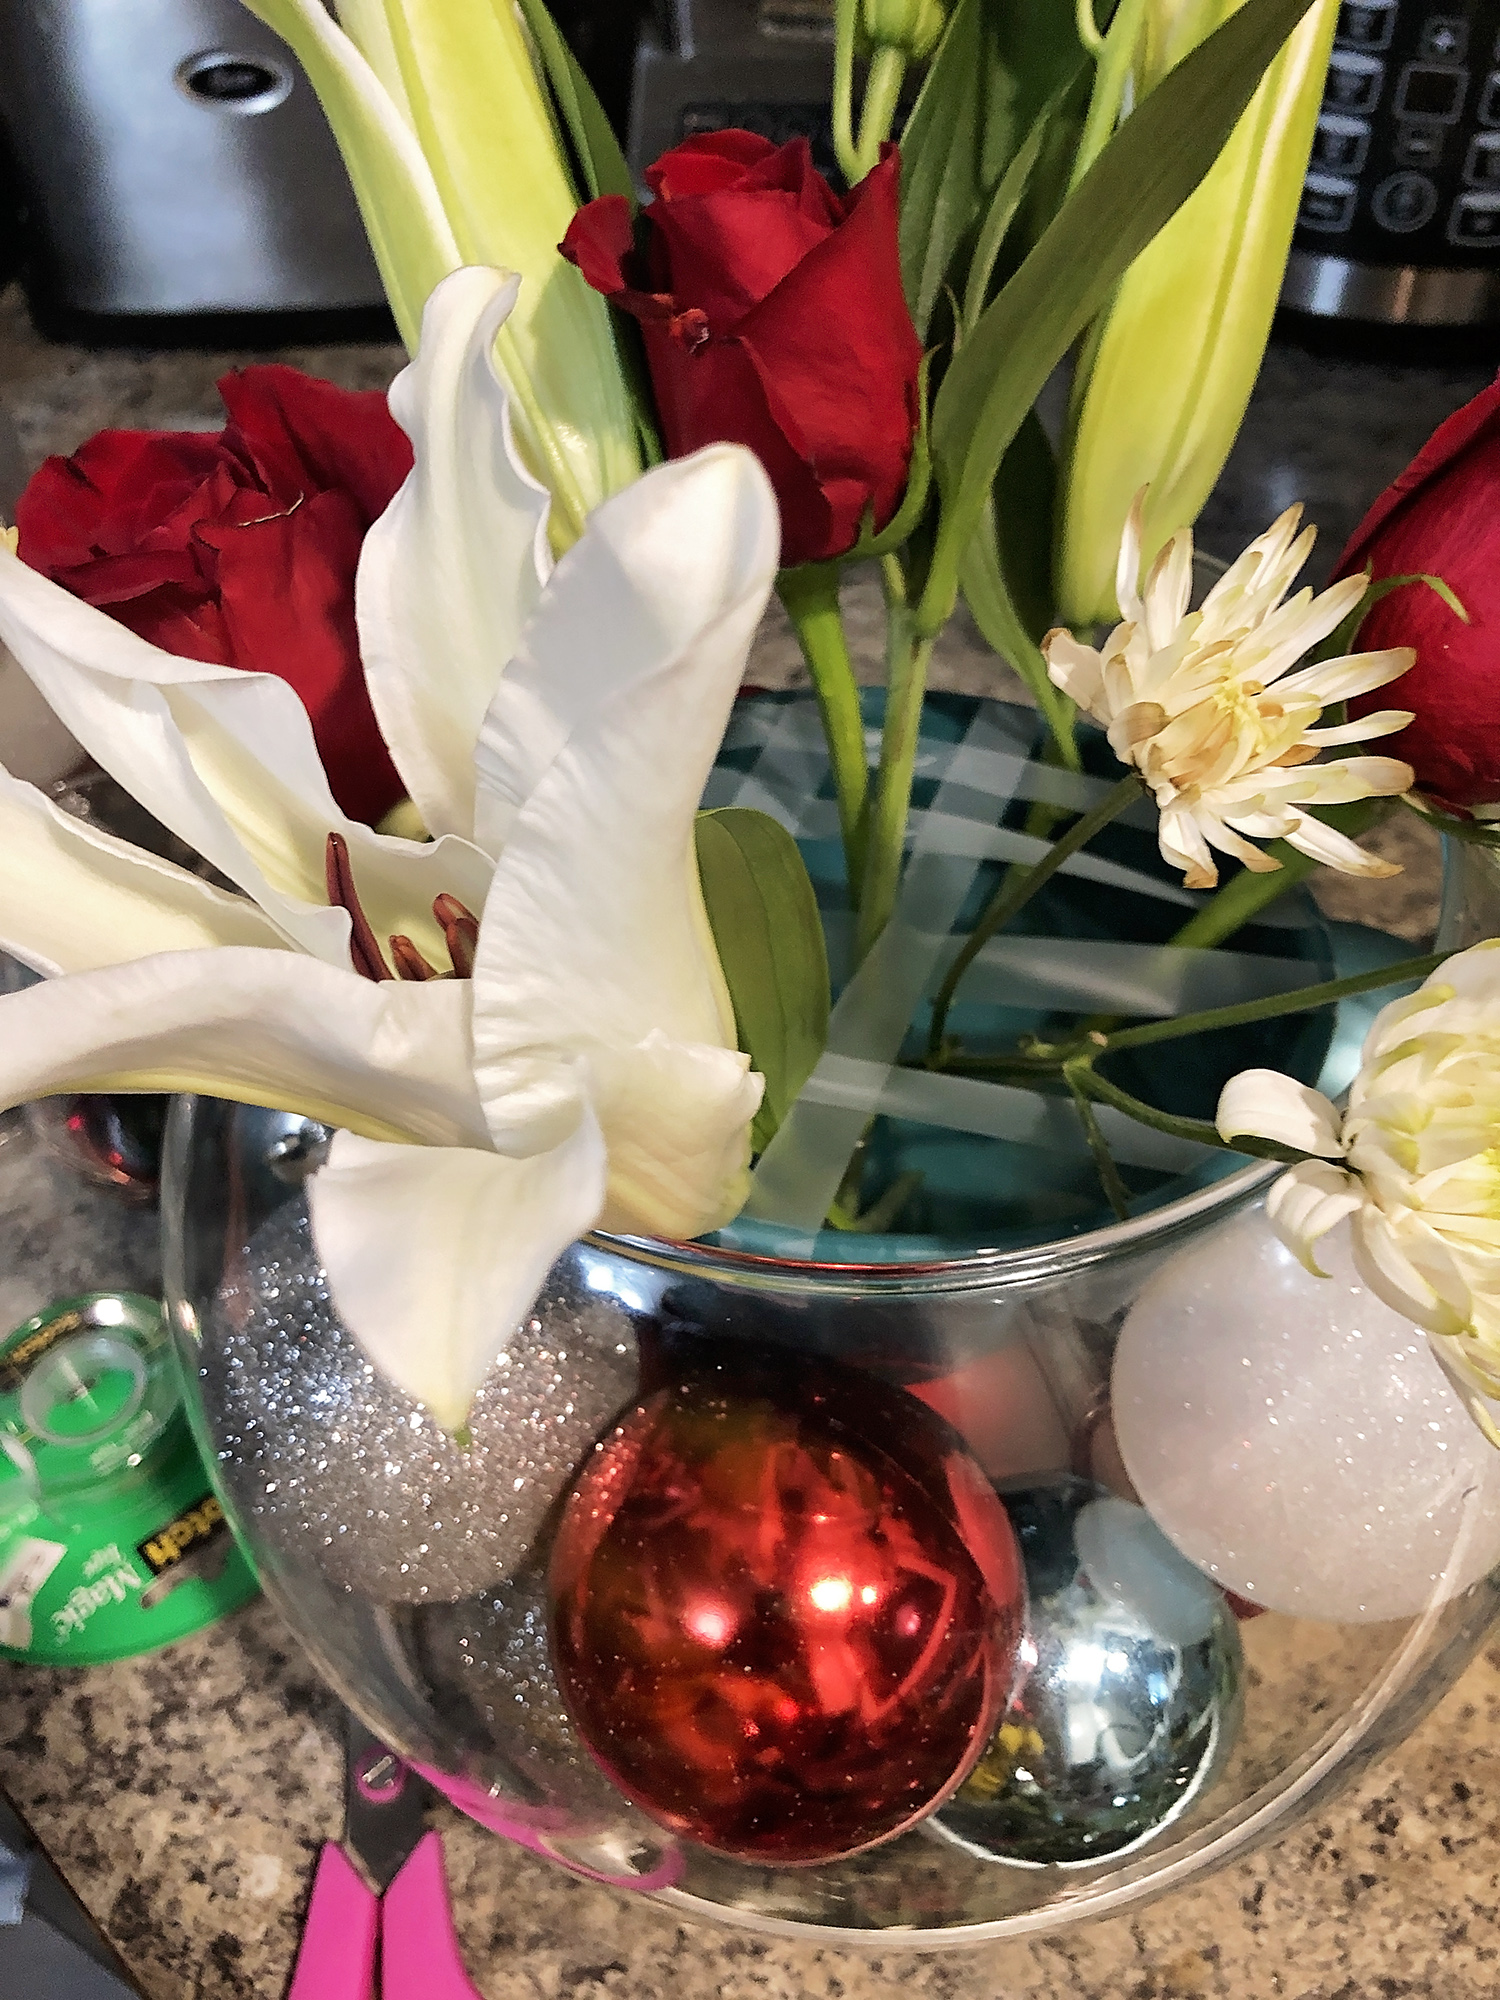
Step Two: Build the base of the floral arrangement.
- Starting with the largest blooms (I used big white lilies), place throughout the grid on that you put on the second bowl. The grid will help keep a bit of the structure before you have other stems keeping things in place. I usually go with odd numbers here adding either three or five large blooms.
- Add in your medium-sized blooms (I used red roses). Again using an odd number, put your medium-sized blooms throughout the arrangement.
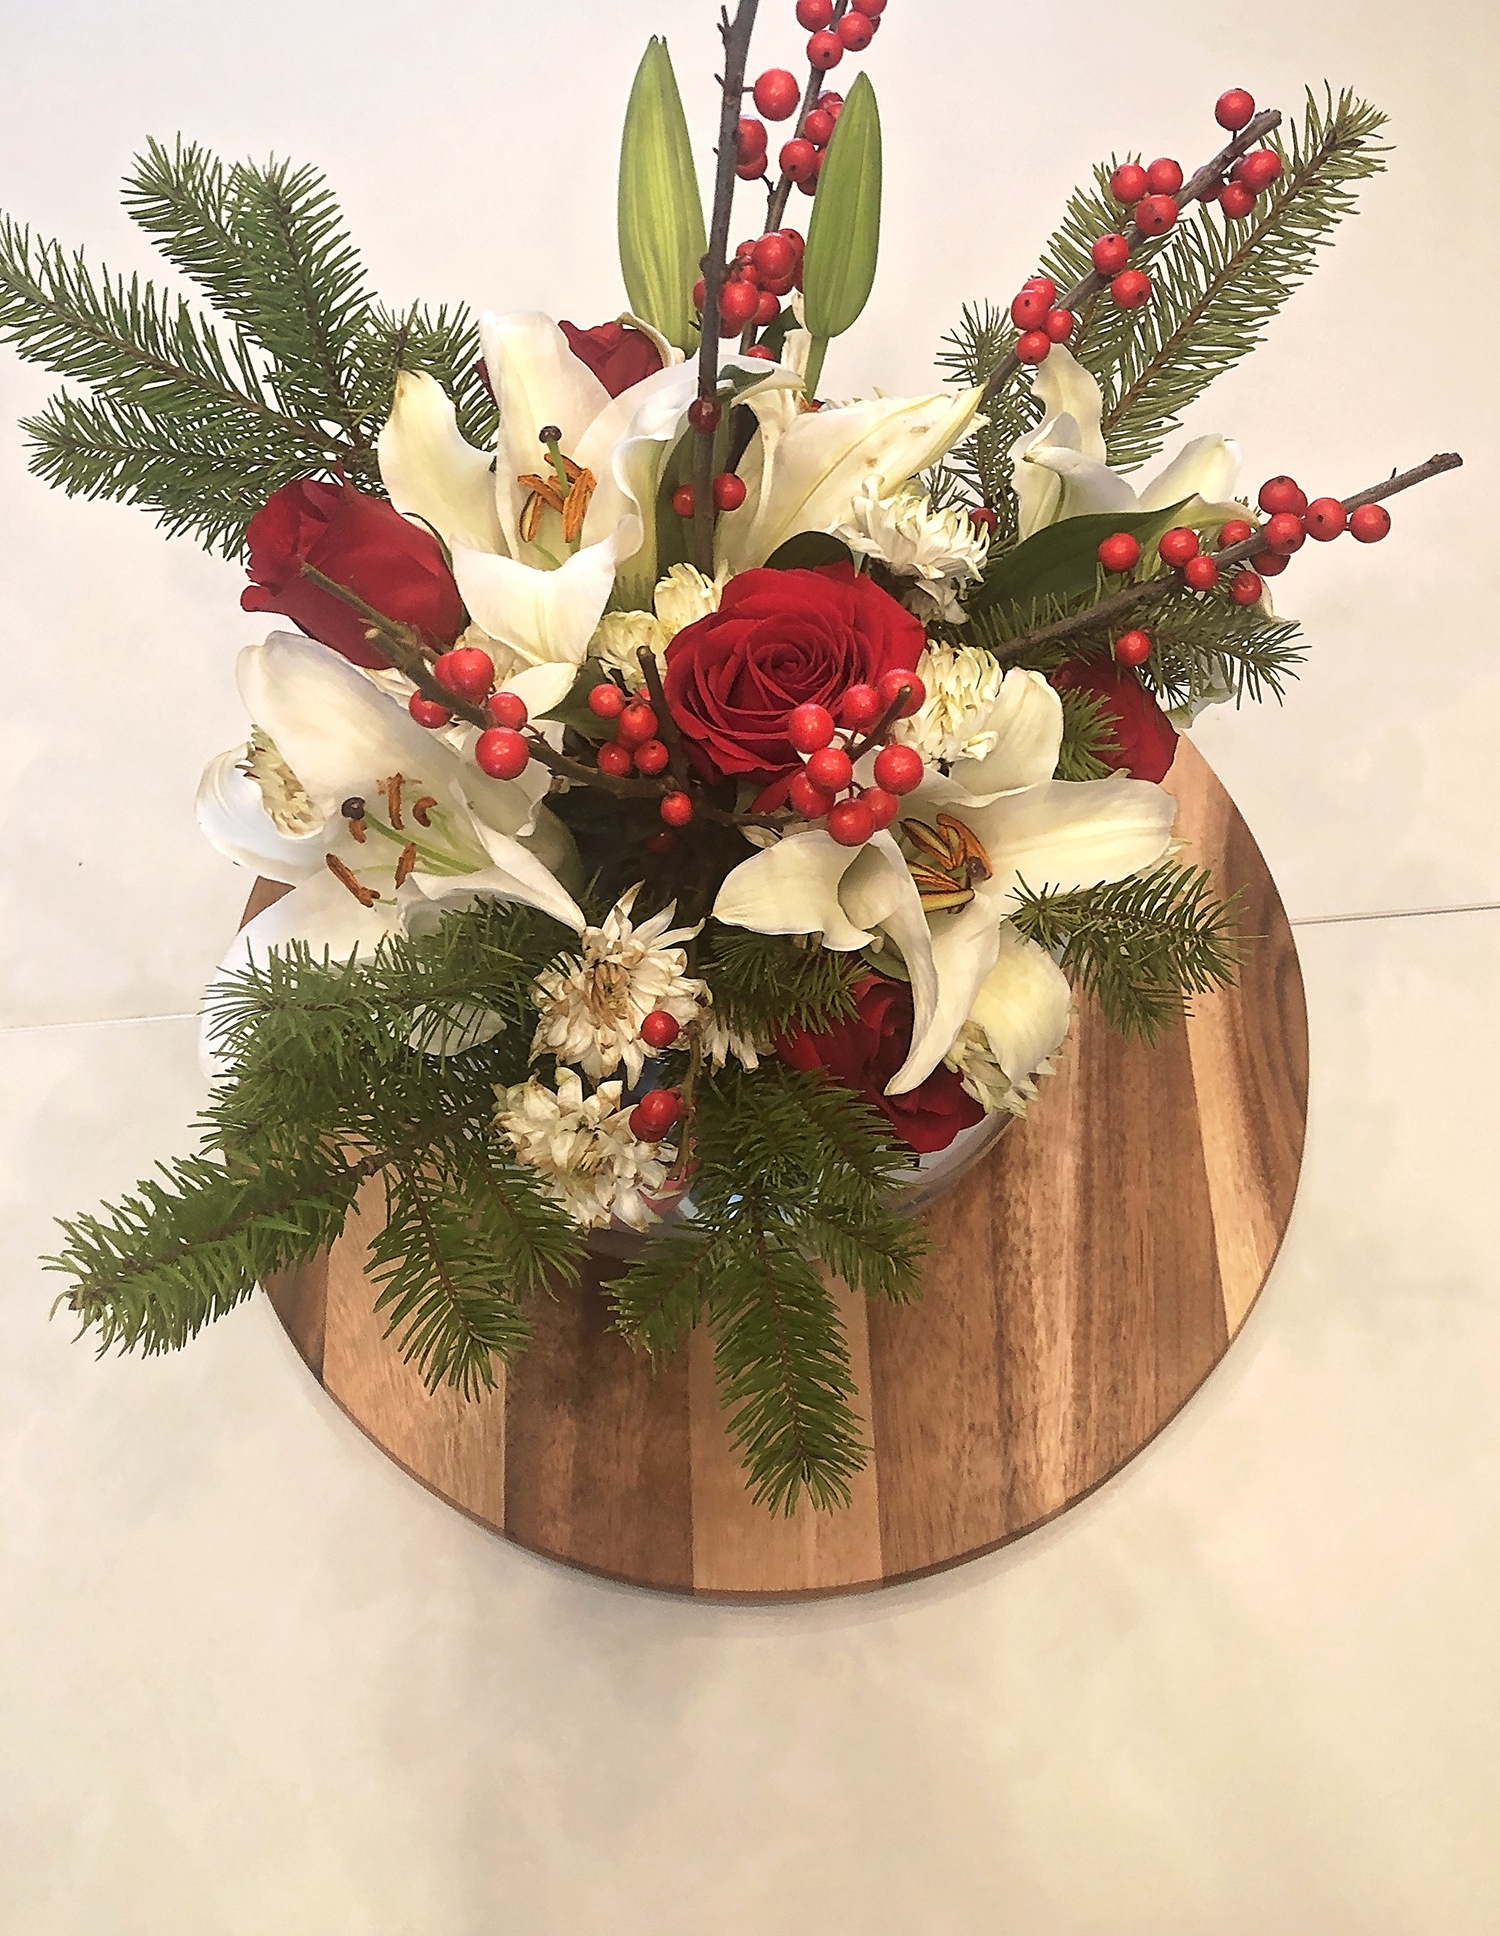
Step Three: Fill in the arrangement
- Now, taking your filler blooms (I used some mums) fill in the arrangement making sure to separate any of the large and medium-sized blooms.
- Taking your two greens (I used evergreen branches and berry branches) place the greens throughout the arrangement. This step actually helps solidify the structure of your arrangement. Cutting your greenery down to match the shape of the arrangement is really important here. There is no need to put an entire branch in the arrangement.
Leftovers…
I always have leftover blooms when creating a centerpiece. I usually use the leftovers to make smaller complimentary arrangements to use throughout the party space. If one bloom breaks too near the head of the bloom don’t throw it away! Float it in a clear vase filled with water for a simple, modern floral arrangement.
Happy floral arranging!