Author

Jenni

Browsing
Jenni is a blogger and marketing professional in Portland, Oregon. A Well Crafted Party is a blog about all the little things to celebrate in life. Follow Jenni or A Well Crafted Party with BlogLovin, RSS feed, Facebook, Instagram, or Pinterest.

When the weather starts to get nice, the first thing I get excited about is opening up my deck and hosting friends for a Summer dinner alfresco or lazy weekend BBQ. These types of events, I like to make as simple as possible so that I can relax on the outdoor couch with friends rather than spend the evening cooking, cleaning, or tending bar. Pitcher cocktails are my go-to for an outdoor summer party drink. They are easy to make ahead, and guests can help themselves without much fuss from the host! This Bee’s Knees Beer Pitcher Cocktail is perfect for a get together with friends on the porch or to bring in a batch (add alcohol once you arrive!) to your next Summer BBQ potluck.

Summer pitcher cocktail great for your next BBQ

Tips for Pitcher Cocktail Success

Pitcher cocktails are a fantastic way to serve drinks to a crowd. The things to remember when making these types of cocktails are proportion sizes and what I call the “water down effect.”

  1. Proportion Sizes: It is easy to throw a bunch of liquor and fixings into a pitcher and call it good. But, it can be a recipe for an unsafe evening or… just a bad cocktail! Consider the size of the cups you are serving the drinks in and the amount of alcohol you want in one cup. In general, a single-pour cocktail would have 1.5 ounces of liquor in them while a mixed drink may have 3 to (not recommended) 4 ounces. You don’t want guests accidently over-imbibing because they assumed a glass to be proportionate to a single-pour or normal mixed drink. Bonus: Watching the proportion sizes will also give you a more balanced cocktail in the end.
  2. Watered Down Effect: There are two sides to this coin when it comes to pitcher cocktails.
        • First, I rarely serve my mixed cocktails in a pitcher with ice, as the ice will often melt and water down the cocktail to such a degree that it is no longer the balanced drink I created.
        • Second, when making cocktails, I often shake or stir my cocktails with ice to chill them. That does add SOME water to my mixture, diluting them just enough to bring out flavors and aromas! That minimal water and chill is actually important to the balance of many cocktails. So, when I do create a pitcher cocktail, I plan a small amount of water into my recipe and chill the cocktail ahead of time by putting it in the fridge. Tip: Just don’t add any bubbles to your pitcher cocktail until right before serving.
Ingredients for a simple crowd pleasing pitcher cocktail for an outdoor party, BBQ, or dinner alfresco!

How to Make Honey Syrup:

Have you ever tried adding honey to a cocktail? It’ll immediately seize up! But, the flavors of honey are perfect for oh-so-many drinks! Enter Honey Syrup. Honey Syrup is similar to a simple syrup in structure, and it prevents the honey from seizing up when adding it to your pitcher cocktail.

Simply add Honey and Water (2 parts honey to 1 part water) to a saucepan over low to medium heat. Stir until incorporated. Let cool and then decant into a airtight container and store in fridge. It should be good for 7 days in the fridge—though, mine never lasts around that long!

Bee’s Knees Beer Cocktail

Bee’s Knees Beer Pitcher Cocktail

The Bee’s Knees cocktail is one of my favorites for a hot day. Gin, lemon, and honey syrup combine for a fantastically sweet and sour cocktail. But, it isn’t really made for a crowd! Enter in a beer-cocktail twist on the classic, for a crowd pleasing cocktail.

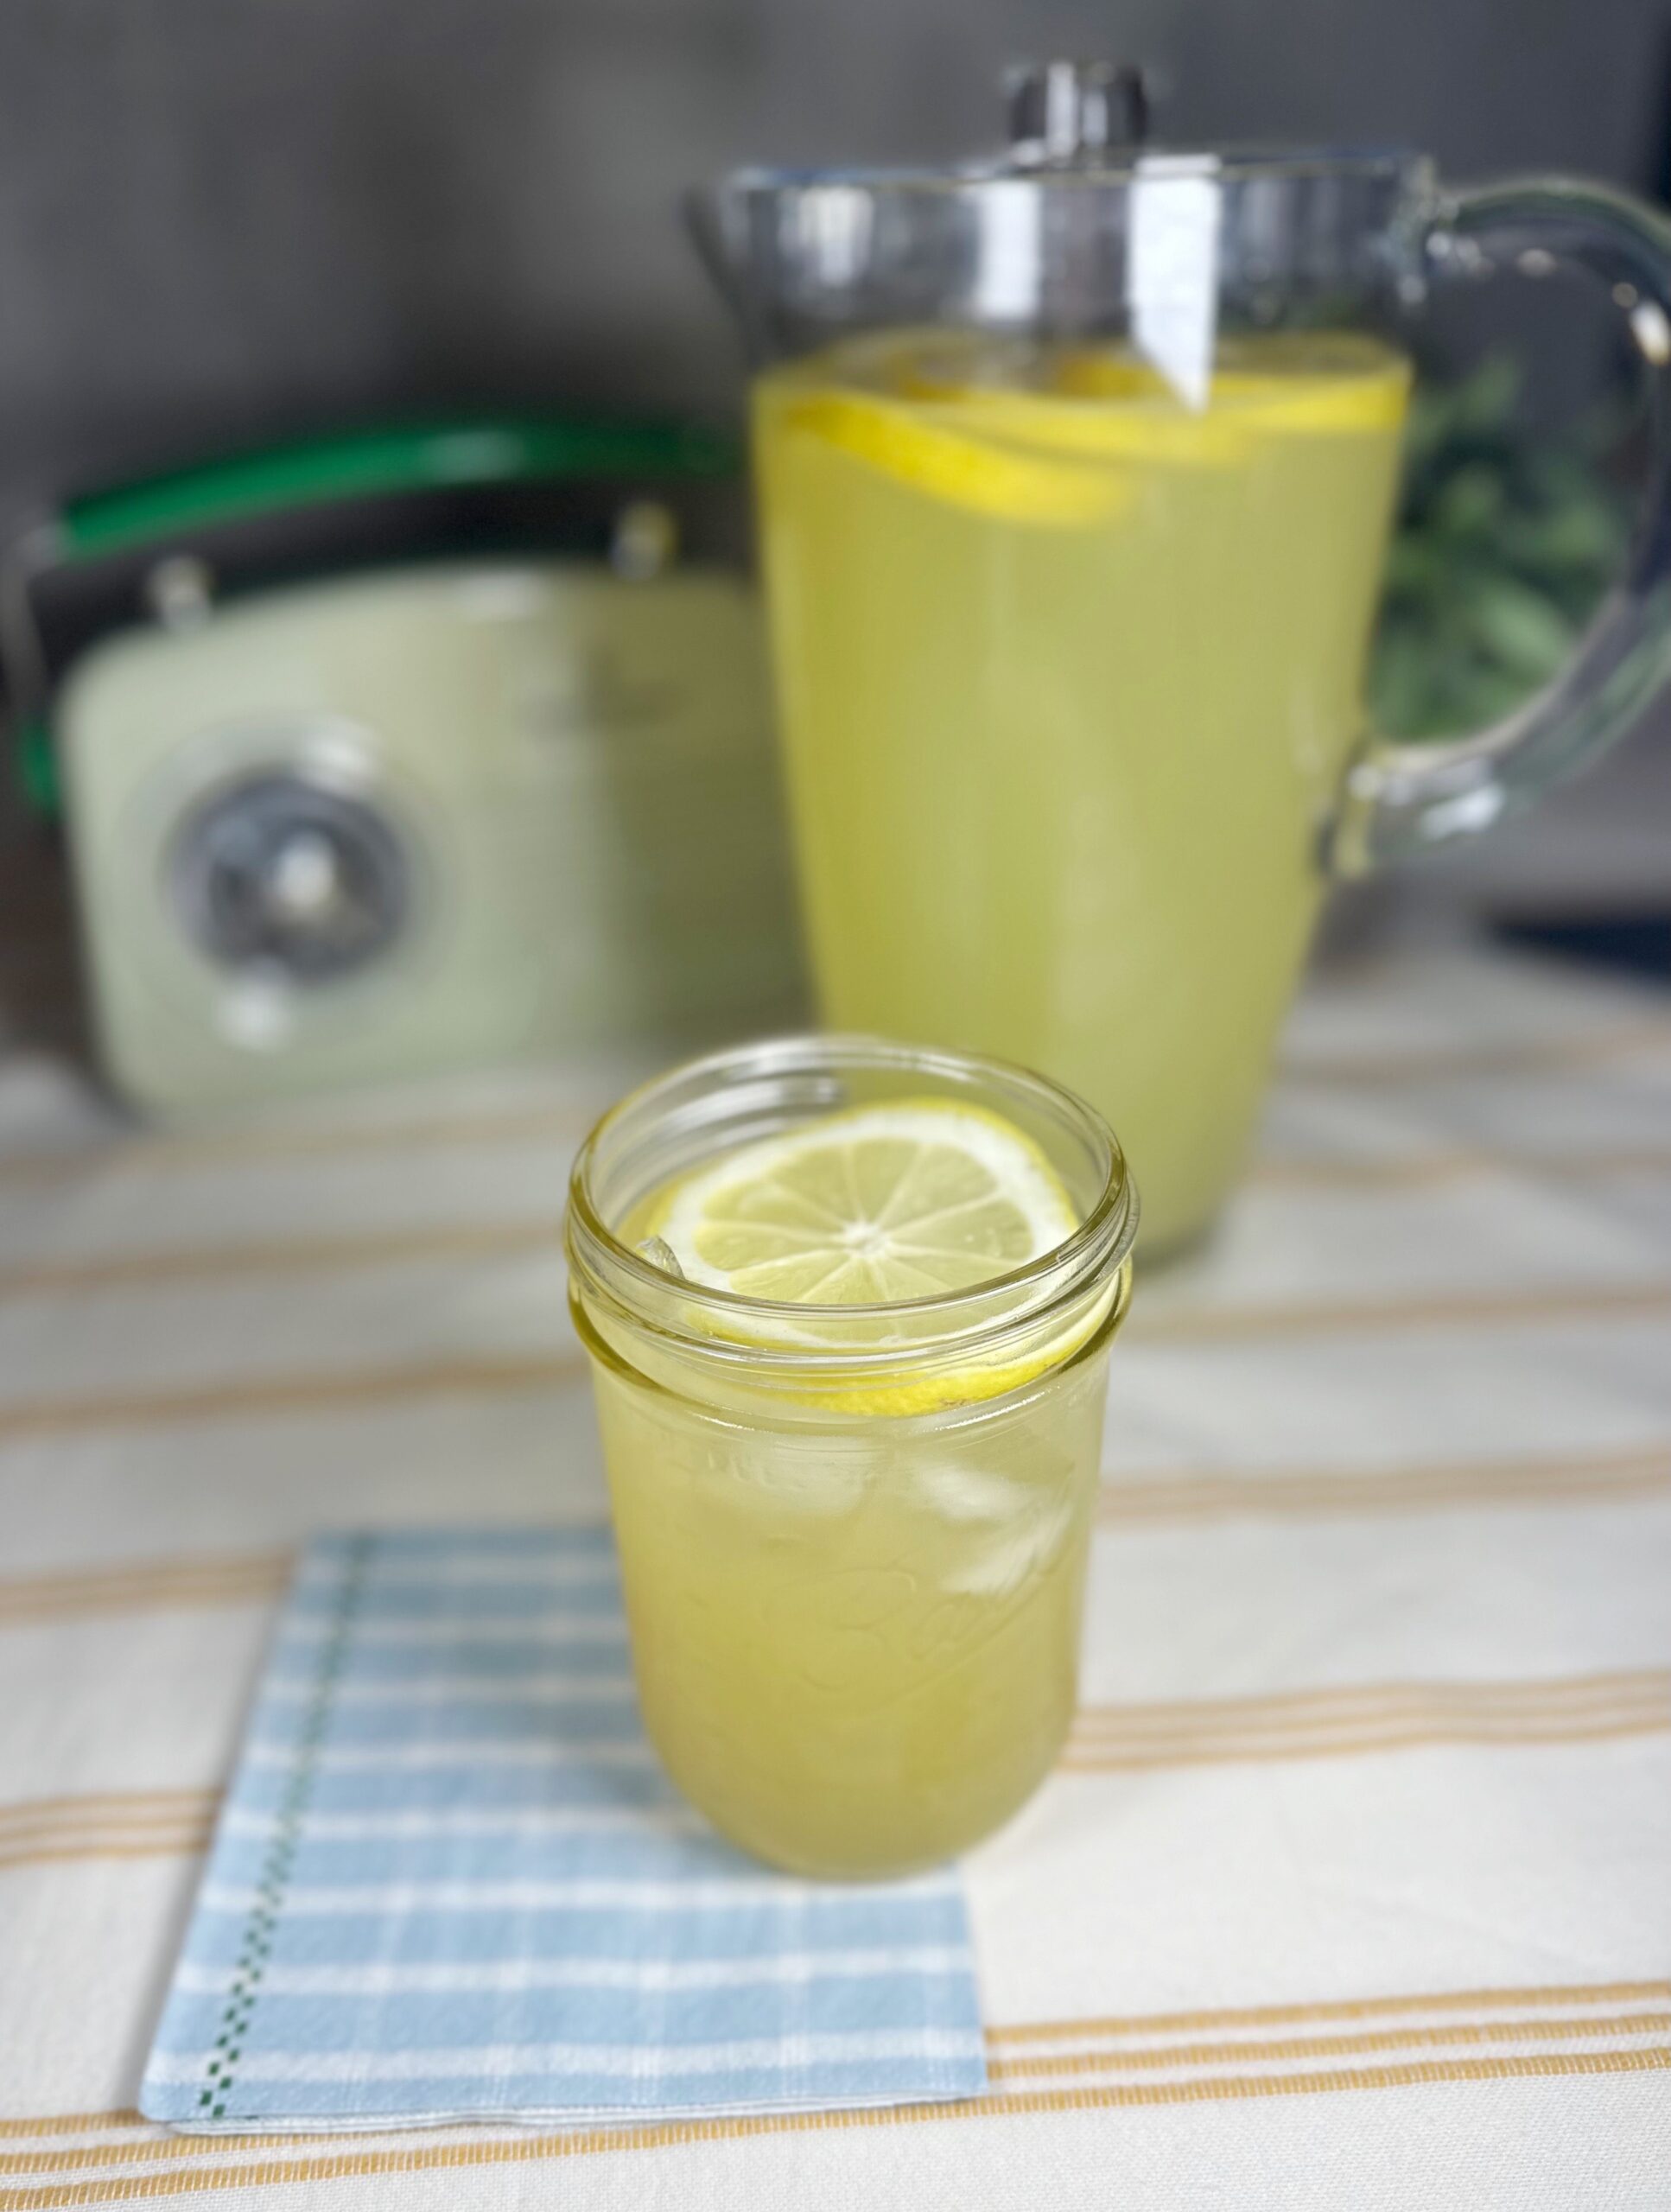
This take on the Bee’s Knees cocktail transforms it from a knockout cocktail to a great summer sipper for a crowd. It’s easy drinking and perfect for an outdoor bbq with friends or packed in jars for a picnic.

Makes approximately 8, 8.5 ounce drinks. I serve on ice with a lemon wheel!
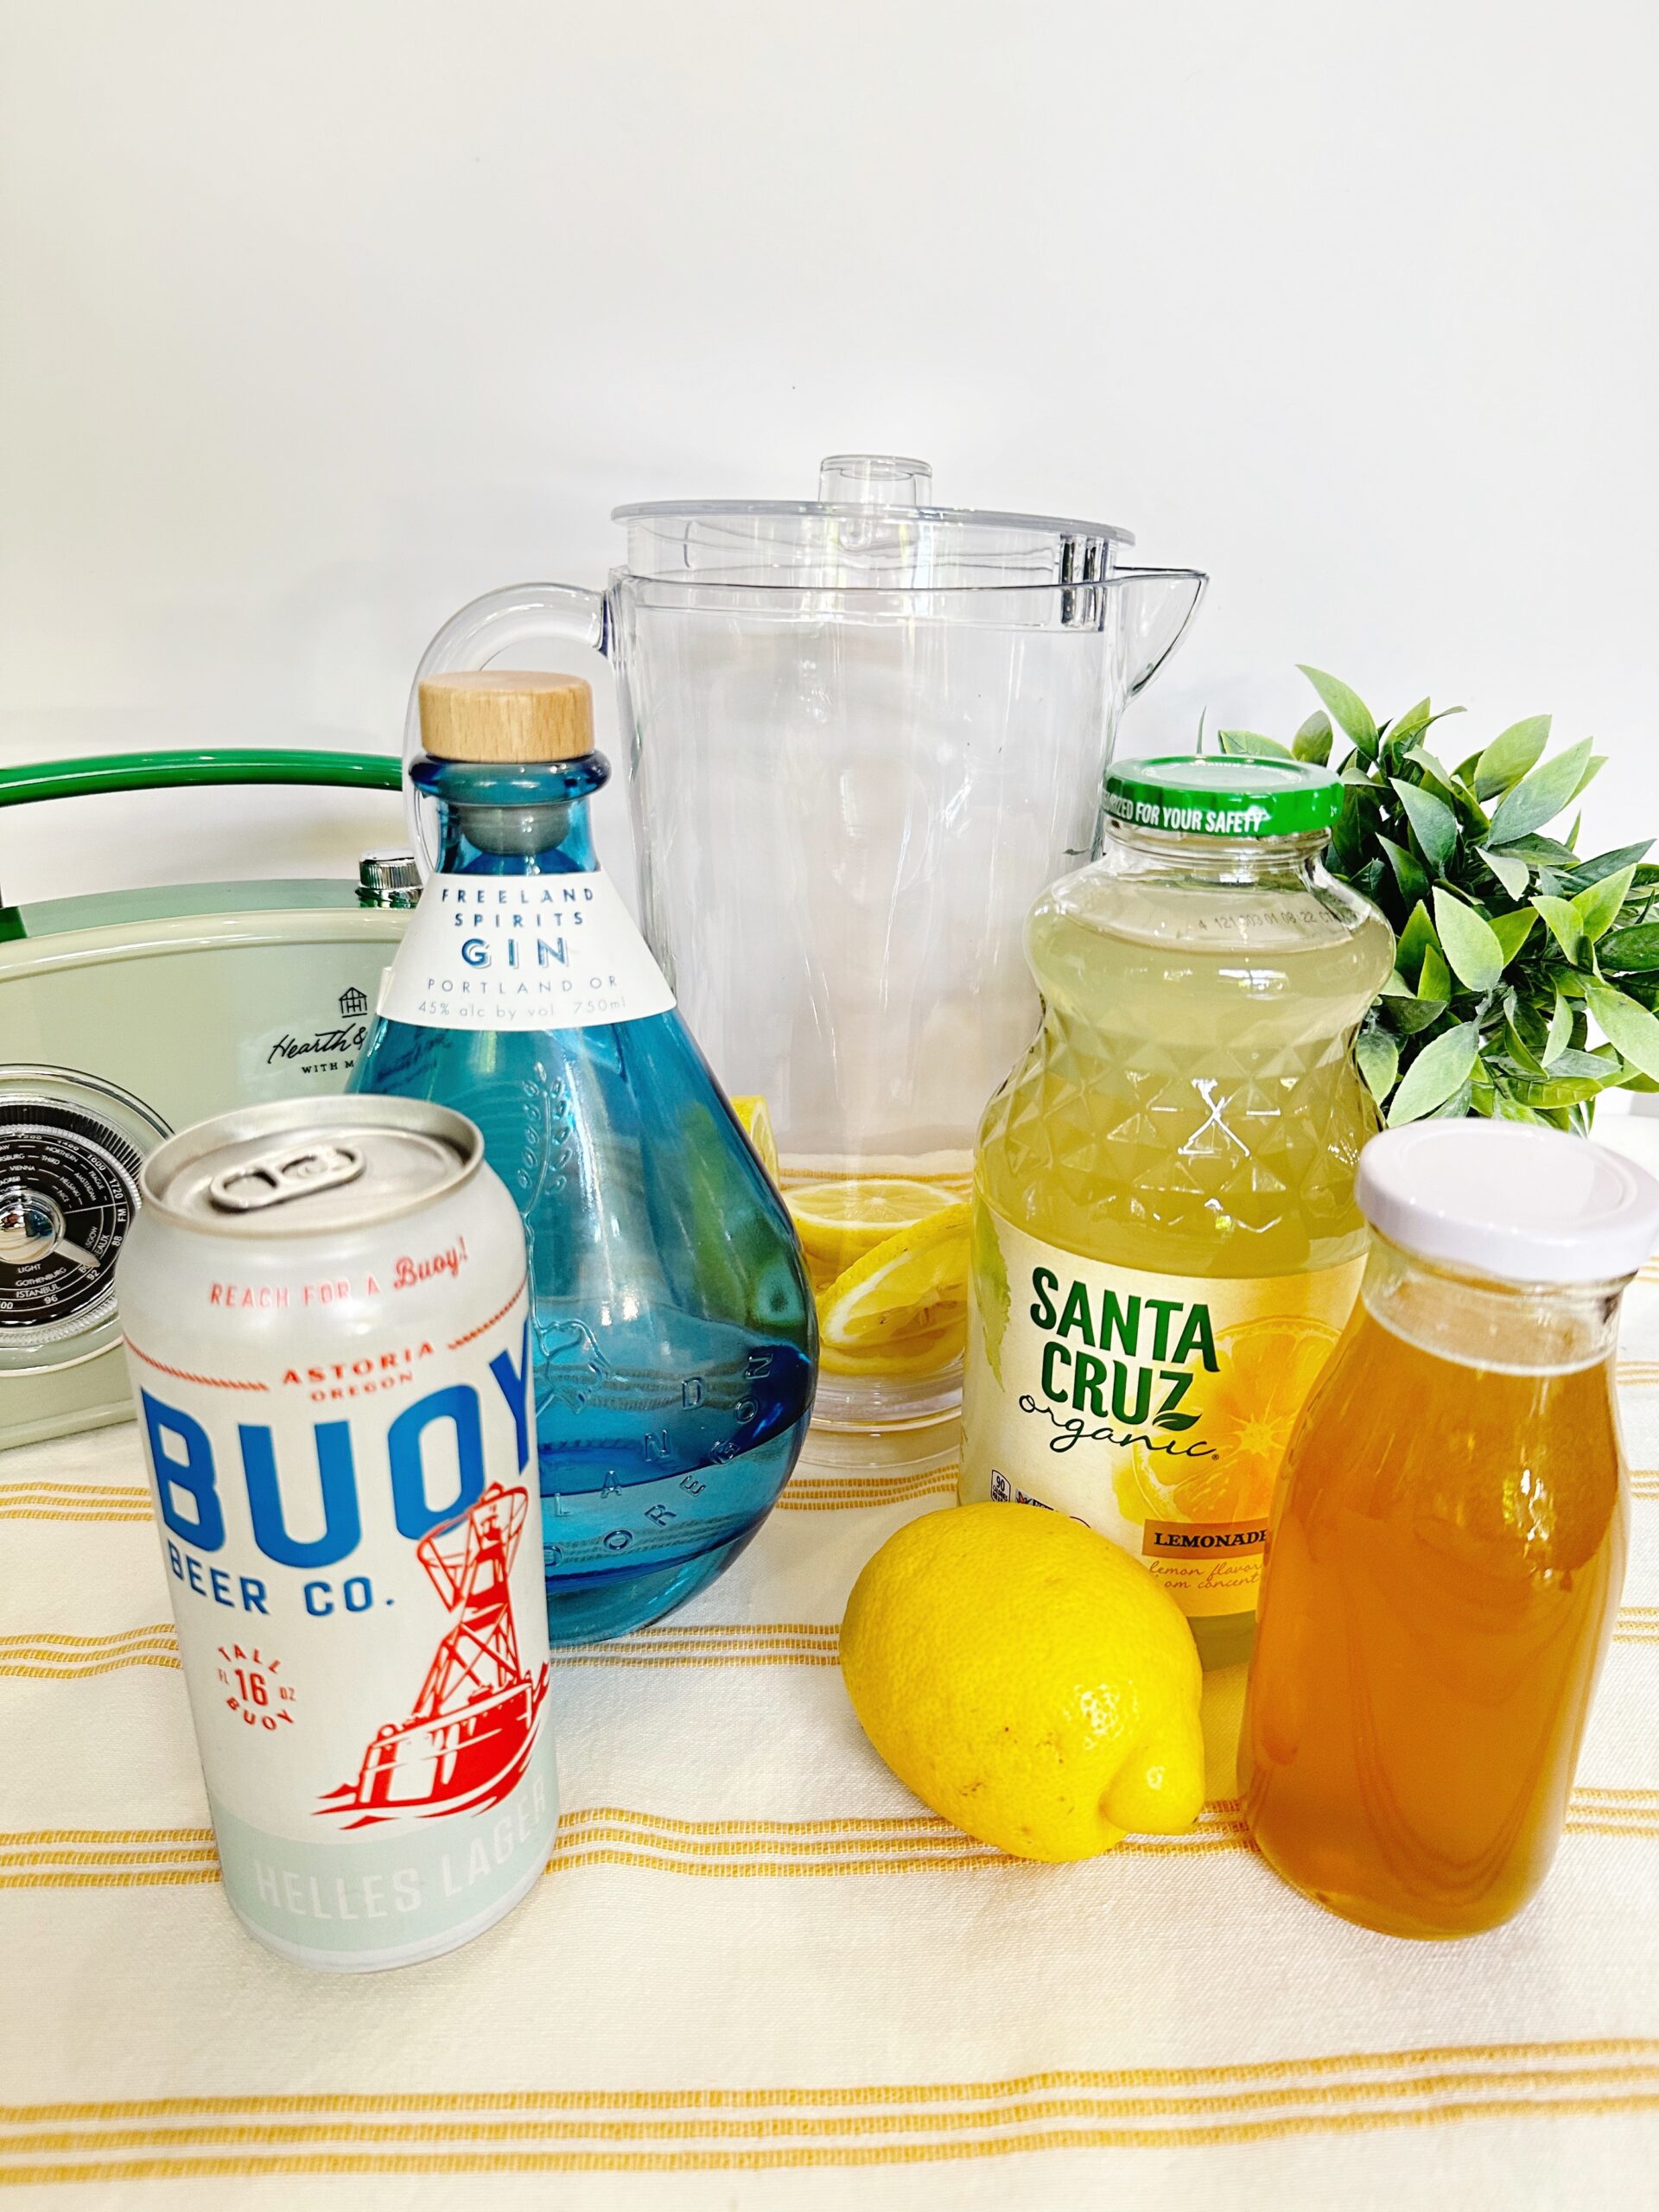
Ingredients:

  • 32 oz lemonade
  • 16 oz beer (lager or pilsner)
  • 8 oz honey syrup
  • 8 oz gin
  • 4 oz water
  • 1 pitcher
  • Ice & Lemon Wheels for Garnish

Directions: 

  1. Combine the lemonade, honey syrup, gin, and water in a pitcher. Stir until mixed. Chill for approximately 3 hours to overnight.
  2. Right before serving, add in 1 can of 16 oz beer.
  3. Pour over a glass of ice and serve with a lemon wheel!

You can increase the proportions of this cocktail to make even larger serving sizes if you are hosting a larger party. Or, if you want to simply make a cocktail for one, decrease all of the ingredients! If you do enjoy this gin summer sipper at your next party, please let me know what you think!

Are you as happy as I am about Spring? Cause, despite my allergies, I’m so very happy. The produce and flavors of Spring are very much a part of what aid my happy feelings about the season. This month for my segment on Afternoon Live I shared some fast, festive, and very Spring-inspired appetizers perfect for your Easter brunch or Mother’s Day celebrations. These appetizers pair perfectly with a beautiful asparagus and chevre quiche or a holiday ham.

Jenni and Hannah making Spring Appetizers on KATU Afternoon Live
Watch the Spring Appetizers Segment on KATU

I recommend you watch the segment for antics, tips, and Hannah’s reactions. But, if you’d like to explore the recipes look below!

Spring Pea Crostini
Spring Deviled Eggs (with the secret to the best boiled eggs!)
Butter Dipped Radishes

Please let me know if you try these recipes! I can’t wait to hear the additions, subtractions, and reactions you have!


Deviled eggs are the perfect addition to any Spring brunch or potluck. Nearly everyone loves them, but they never just make deviled eggs to enjoy themselves at home. Adding a punch of color to your deviled eggs and additional flavor to your mixture can really take this traditional potluck addition from a welcome addition to the table to a showstopping dish that everyone will want to take pictures of before they take a bite.

Dressing Up Your Deviled Eggs

While traditional Deviled Eggs are delicious and welcome, dressing them up a bit can really make a difference in their flavor and visual appeal. My tips for dressing up your deviled eggs come down to adding pops of color, switching up the visual interest in the way the egg is cut, and adding interesting flavors to the yolk mixture.

Adding Color to Your Deviled Eggs

There are many ways to add a punch of color to your deviled eggs, from a good dash of Paprika to the addition of tumeric to your yolk mixture for an extra rich yellow color. You can also add color with fun garnishes such as edible flowers, chives, poppy seeds… even caviar! I chose to add some color in a combination of ways while making this set of deviled eggs… but, the most noticeable of them all was choosing to pickle the eggs slightly in a beet mixture that made the eggs a beautiful pink hue!

Make Pink Boiled Eggs with Beets

To make pink-hued boiled eggs, you’ll want to create a pickling mix with beets. My recipe for pickled beets is pretty simple. I added 1/2 cup apple cider vinegar, 1/2 cup rice vinegar, 1 tsp salt, 1 tsp peppercorns, sliced beets (2 medium beets) and 1 cups of water to a pot and set to a boil. You can add things like sugar, bay leaves, or other favorite pickling items, but I kept it really simple and didn’t overwhelm the mixture with vinegar or salt so that it didn’t change the egg flavor too much. Once the mixture hit a rolling boil, I took off the heat and let cool while I prepped my eggs.

Add peeled eggs to the cooled pickling mixture. Cover and place in fridge for approximately 2 hours. The color of the eggs should be a pretty pink hue!

Deviled Eggs on wooden board

Add Visual Interest by Messing with the Traditional

I don’t know if this is just something from where I grew up or if this is true for everyone, but traditionally devlied eggs were cut lengthwise to make little oval boats for the yolk mixture to sit in. To switch things up, consider cutting the eggs in half at the middle of the egg instead of lengthwise. Or, maybe cut them on an angle! Trim the bottom every so slightly to make sure your egg sits on a platter without moving.

Add Unexpected Flavor

There is nothing wrong with the traditional deviled egg filling of mustard, mayonnaise, pickle juice, salt, and pepper. It is a tasty treat. However, a few changes to the mixture can really add flavors that delight the taste buds. Some combinations that I’ve enjoyed:

  • Use mayo, butter, and curry powder in your mixture (skip the mustard and pickles!)
  • Add some cayenne pepper and smoked paprika for a spicy treat.
  • Switch up the types of mustard you’re using — Instead of plain ole yellow mustard try a dijon or brown mustard
  • Add bacon
  • Herbs! Finely cut herbs into your mixture give a fresh pop of flavor

I used kewpie mayo, double cream, champagne mustard, fresh dill, salt, and pepper to flavor my egg yolk mixture for this particular recipe. I felt like the flavor paired nicely with the addition of the pickled beet and fresh dill garnish.

How to Get a Great Boiled Egg

The hardest part of making deviled eggs is getting a perfectly cooked boiled egg that easily comes out of its shell. But, after many years of cooking boiled eggs, I have my process down.

  1. Start with less than fresh eggs. If the eggs have been sitting in your fridge for a week, that is ideal. This still works with fresh eggs, but I have found that it is easier-going with ones that have been around for a bit.
  2. Put the eggs in cold water and place on a stove top, uncovered, and set the heat to high.
  3. Let the eggs come to a rolling boil. Once the water is boiling cover the pot and drop the temp to the lowest setting.
  4. Set a timer for 10-11 minutes.
  5. While the eggs are cooking, put ice and cold water in a bowl to create an ice bath.
  6. Once done, drain the liquid and add the eggs to the prepared ice bath.
  7. Crack the eggs and peel under running cold water.

Spring-Inspired Pink Deviled Eggs

Jenni
A fun take on the classic deviled egg that is perfect for a Spring party, Easter gathering, or Mother's Day brunch.

Ingredients
  

Beet Pickling Liquid & Pink Eggs

  • 12-14 Large Eggs
  • 1/2 cup Rice Vinegar
  • 1/2 cup Apple Cider Vinegar
  • 2 medium beets, sliced
  • 1 tsp salt
  • 1 tsp peppercorns
  • 1 cup water

Yolk Mixture - Ingredients to be added in slowly and to taste/desired consistency

  • 3/4 cup Kewpie Mayonnaise
  • 3/4 cup Champagne Mustard
  • 1/2 cup Double Cream
  • 2 tsp Fresh Dill chopped
  • 1 tsp Salt
  • 1 tsp Pepper

Optional Garnishes

  • 24 small sprigs Fresh Dill
  • 1 medium Pickled Beet diced very small
  • 1/4 cup Edible Flowers

Instructions
 

  • Boil eggs to a hard boil (see the blog for tips!)
  • While eggs are boiling prep the Beet Pickling Liquid

Beet Pickling Liquid

  • Add vinegar, salt, peppercorns, water, and sliced beets to a pot
  • Bring the mixture to a boil over medium-high heat
  • Once boiling, take off the heat and let cool

Pickle Eggs

  • Peel eggs and leave whole. Add to pickling liquid.
  • Cover and set in fridge for 2 hours.

Egg Yolk Mixture

  • Once the eggs are the color you want, strain and rinse with cold water. Reserve the pickled beets for garnish.
  • Cut eggs in half and add yolks to a bowl. Trim the bottoms of each half of the egg white (or pink in this case) slightly to create a solid base to stand the egg on. Do for all eggs.
  • In the yolk bowl, you'll add the yolk mixture ingredients slowly—a spoonful or so at a time— mixing well as you do so. You'll want to do this to your taste and texture preferences. More of the mixture ingredients will make for a smoother texture, but less of the yolk flavor. You want your mixture to be a consistency and texture that will allow you to pipe into your egg halves.
  • Add to a piping bag with a star tip or into a zip lock bag and cut the corner off. Pipe into the egg half with a swirl to your wrist. Fill generously!

Garnish

  • To finish your eggs, garnish with a sprig of dill, chopped up pickled beets, and some edible flowers.

I would love to hear if you try these eggs out for your next Spring event!

A Well Crafted Party
Privacy Overview

This website uses cookies so that we can provide you with the best user experience possible. Cookie information is stored in your browser and performs functions such as recognizing you when you return to our website and helping our team to understand which sections of the website you find most interesting and useful.

You can adjust all of your cookie settings by navigating the tabs on the left-hand side.

View our entire privacy policy.