
Let’s caution this post with a big ole: I’m Not a Pro! Heck, I’m not even a home DIY blogger. I’m an entertaining, food, and lifestyle blogger. However, if you are wanting to read a true beginner experience of DIY flooring, then read on! I’ll share what I felt went well and where I will hopefully do better next time.
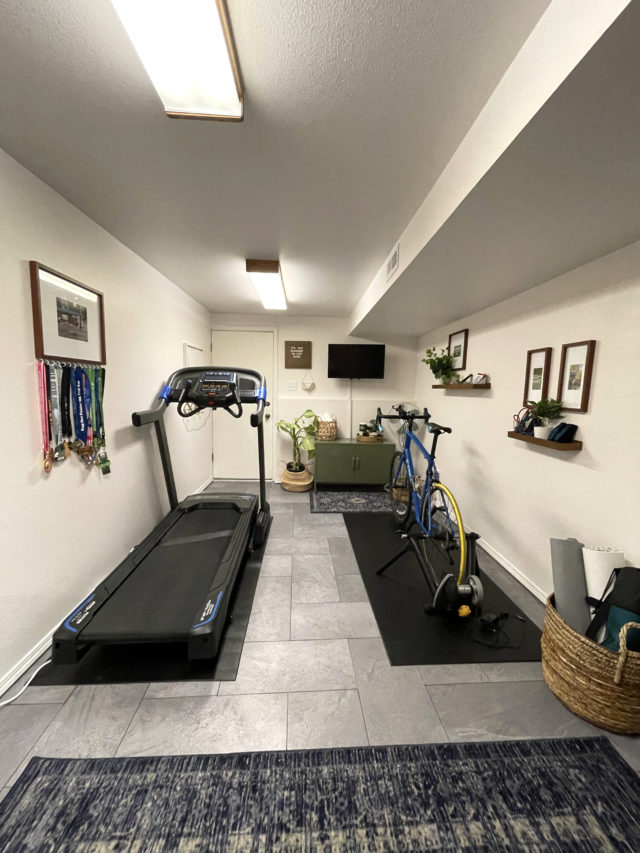
Our first foray into flooring was in our home gym space that resides in a mudroom area. The space measures 16X9 and houses our gym equipment, a secondary office space, and laundry area. We have not finished out the laundry area as of yet because there is a lot more work to do there. We did get the whole gym/mudroom space ready for use!
Our First Foray Into Flooring
Out of all the projects in our house flooring was the one I was the most scared of doing. After talking a bit with my friend Suzannah from Create/Enjoy, I decided to give DIY flooring a try. The mudroom worked perfectly for my first DIY flooring project because I didn’t want the same flooring throughout the rest of my house. That way, I didn’t need to buy more product than that was needed for this one project.
I went back and forth on what type of flooring to get but went with Luxury Vinyl Tile that was water-resistant and peel-and-stick. If you would have asked me a year ago I would have said that I’d never put that in my home. But, I’m really happy with the quality and felt like it was a good beginner flooring project.
Disclosure: The below links are affiliate links that will allow me to make a small amount of money with any purchase at no cost to the buyer. Thank you for helping to support this blog!

Our DIY Flooring Experience
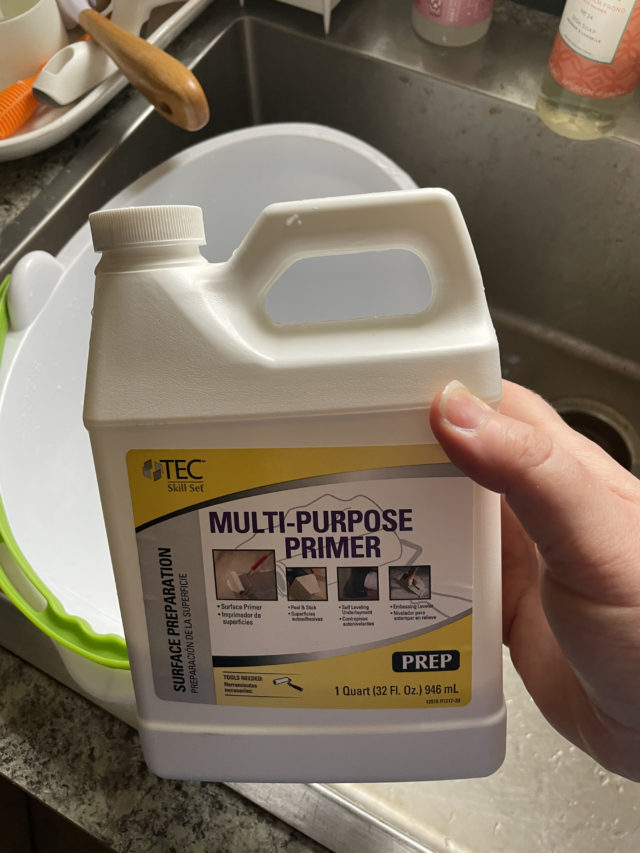
- Prepping the floor: Pulling up our carpet was fairly straightforward. We just pulled it up and took out the tacking strips. The concrete got a little damaged as we were taking out the strips, so I had to fill those spots with a concrete patcher. We then prepped the flooring by sweeping well, washing it, and then put on a few coats of primer.
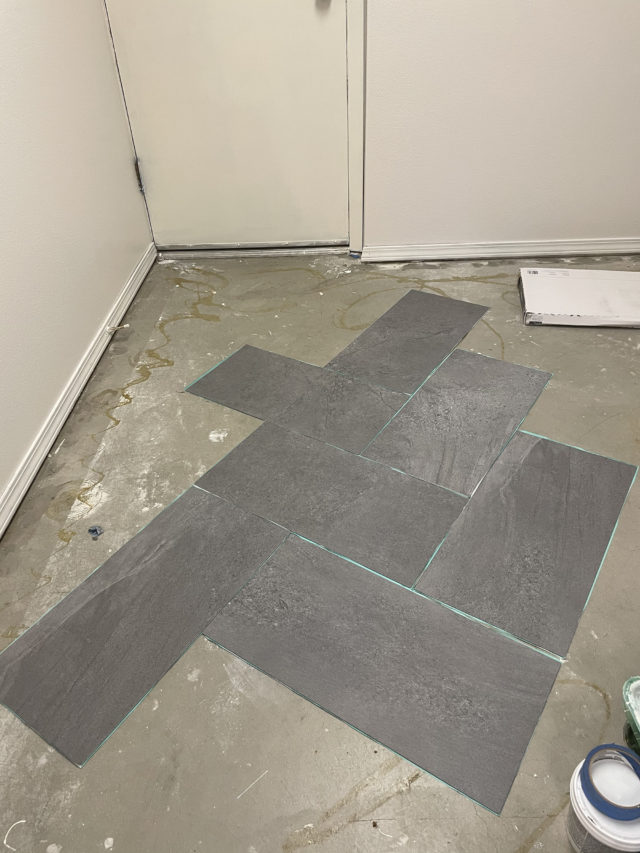
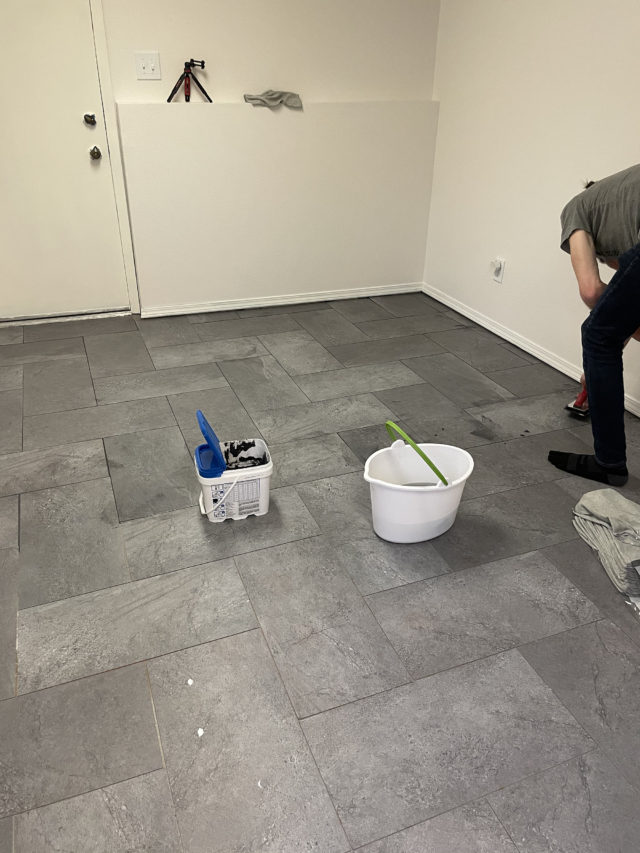
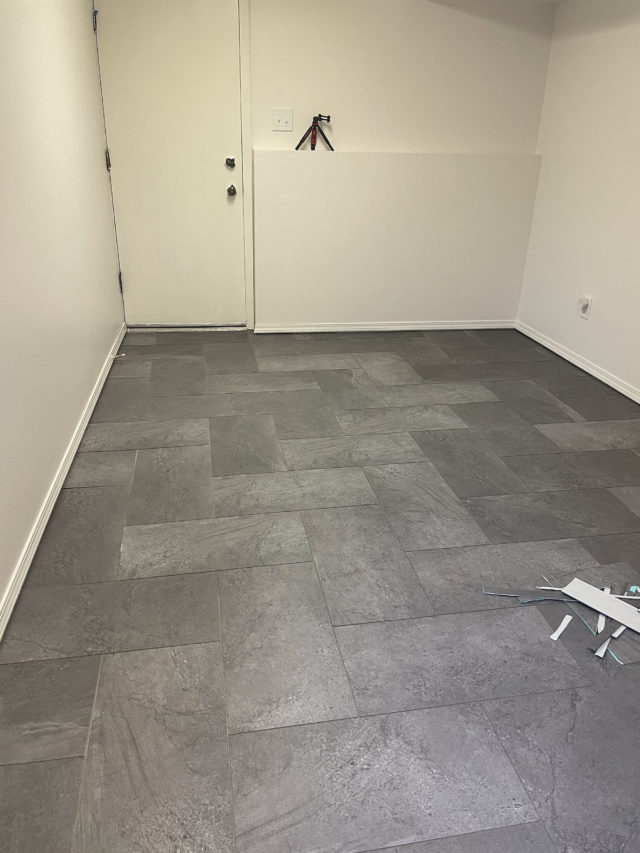
- Planning out the placement: I wasn’t entirely sure how I wanted the flooring to look in this space. Do I go horizontal, or would that make the space look cut off? Do I go verticle? Perhaps herringbone? I laid out my options and took photos of the space and walked around a lot to try to figure out what I liked. In the end, we decided on a herringbone pattern that was lined up with the walls rather than at an angle. This made cuts just a tad easier.
- The Hardest Part: The most difficult part of this whole project (for me) was making sure that the placement was level in the room. I used a chalk line to try to find the center of the room and a spirit level to make sure that it was straight. I was not perfect in doing this, but I thankfully wasn’t too far off. We did end up getting chalk all over us!
- Tile Choice & Supplies: We went with the LTV tile by Style Selections in Symphony Gray. It was 12X24 inch water-resistant, peel and stick tiles. We wanted to make sure the tiles stuck in place well so we purchased an extension handle roller and flooring adhesive.
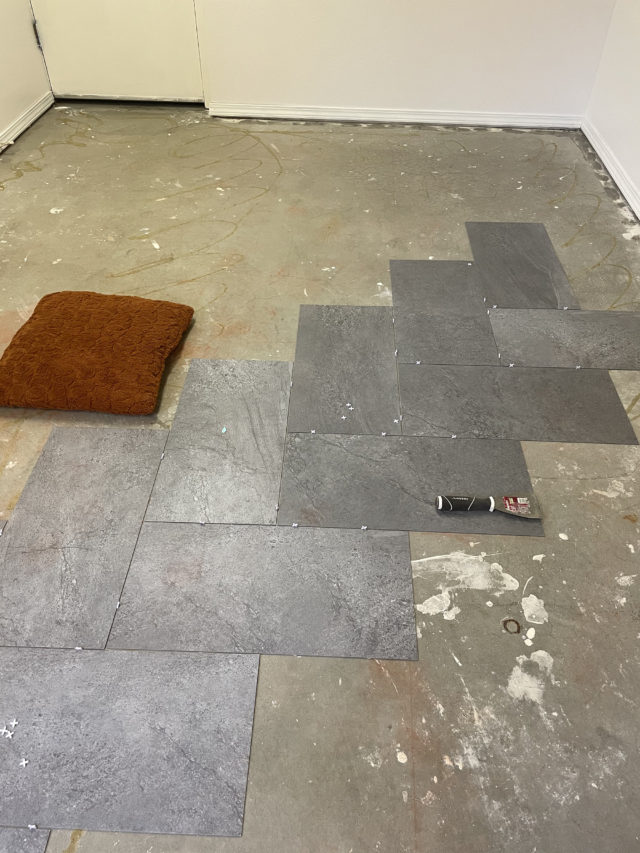
- Laying the Tile: Setting the tile wasn’t super hard. The most difficult part was trying to make sure we got it spaced correctly with spacers. For the most part, the peel and stick had a GREAT hold. We know because we made a mistake after the first five tiles and had to pull them up. Let’s just say it was near impossible! We utilized the flooring adhesive in addition to the peel-and-stick adhesive in a few areas where the floor wasn’t as even. Big tip: Wear kneepads! This was killer on our backs and knees. Finally, apply a lot of pressure when pressing the tiles with the extension handle roller. This will get them good and stuck.
- Edges: Cutting the tiles for the edges did not go super smoothly. If you were to look at our flooring job closely, you would see most of our beginner mistakes revolved around this task. We used an LTV tile knife to cut the tile, but if I ever do it again I’ll invest in a more robust tool.
- Grouting: The tiles are able to be done with grout so we also purchased a grey ready-made grout. Grouting again was not hard, just time-consuming and hard on the body. Once it was complete though, it really made the floor look great!
How To Resources:
I hope my experience helped with sourcing products and potential pitfalls for a home DIY flooring project. Below are some of the resources I used while learning how to do this project in my own home.
- The Style Selections Installation Guide was essential to this project.
- Lowe’s has a great video and step-by-step instructions for laying luxury vinyl tile flooring.
- If you like the step-by-step instructions with photos that you can just print off, check out the Better Homes and Garden’s article, “Installing Self-Stick Vinyl Tile.”
- Looking to lay a different style of flooring? My friend Suzannah has a couple of handy posts over flooring projects including a how-to for laying sheet vinyl, tile, and laminate flooring.
Do you think you’ll be jumping into a DIY flooring project anytime soon? I’d love to see how you do! Share it with me on Instagram by tagging or messaging @JenniBost!

5 Comments
Pingback: My Boho-Modern, On-A-Budget Home – A Well Crafted Party
It’s always inspiring to see someone take on a DIY project and have success with it, especially when it’s in an area that may have seemed intimidating at first. Your willingness to try something new and step outside of your comfort zone as a food and lifestyle blogger is admirable. Your decision to use luxury vinyl tile in the mudroom was a wise choice, as it not only gave you the desired look but also provided the necessary water-resistance and ease of installation.
Great looking tiles. I love the color and designs and its nice that it is really easy to install to your home.
floor tiles Cleveland recently posted…How to choose the perfect tile for your next bathroom
Very helpful for those starting to do basic cleaning and repairs on the house. Really helpful. Thanks for sharing.
I used this same home flooring. From home depot. It is amazing 5 years later and it still looks like day 1 when it gets mopped. I even used it in my living room that is 20×24, no random gaps, no weird pop outs at all.