America’s Favorite Couple: The Bosts
I’m notorious for entering competitions and signing me and my. husband up for things that he isn’t quite in…

I’m notorious for entering competitions and signing me and my. husband up for things that he isn’t quite in…
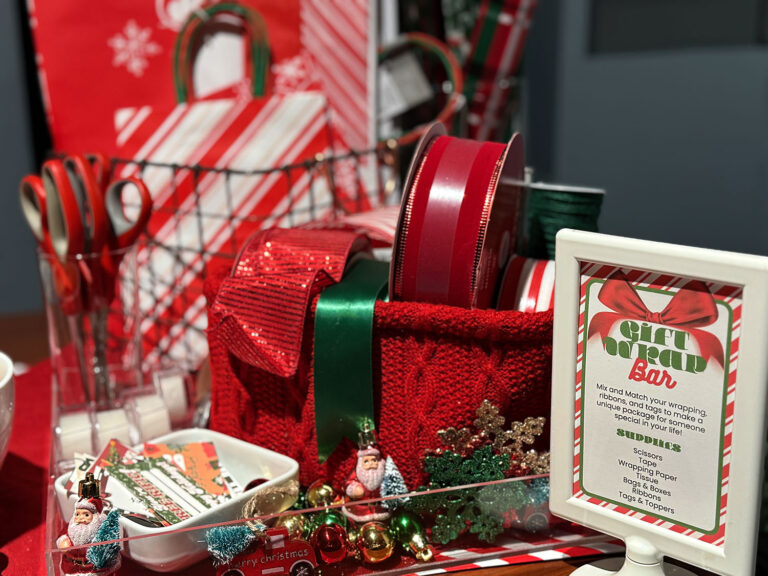
Moms (and dads) everywhere are currently decking the halls to make this season as bright as they possibly can….

We purchased our first home three years ago. Three years of on-a-budget updates with my boho-modern aesthetic cumulated in…
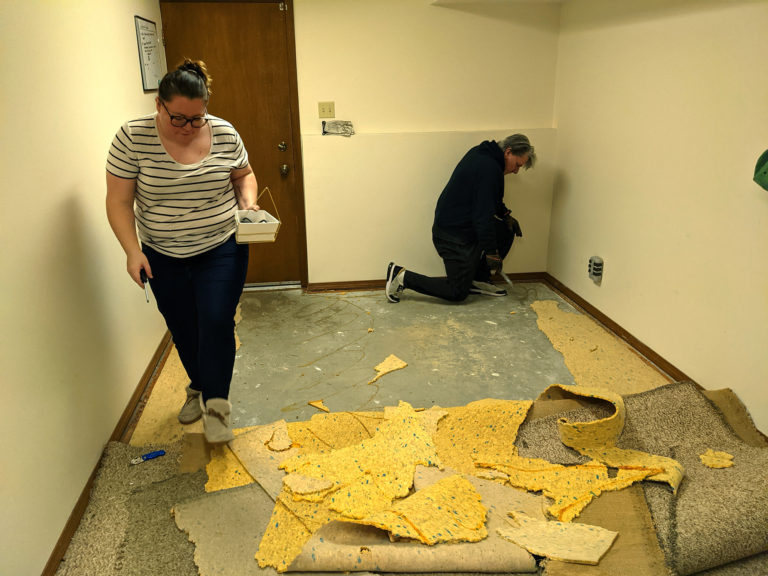
Let’s caution this post with a big ole: I’m Not a Pro! Heck, I’m not even a home DIY…
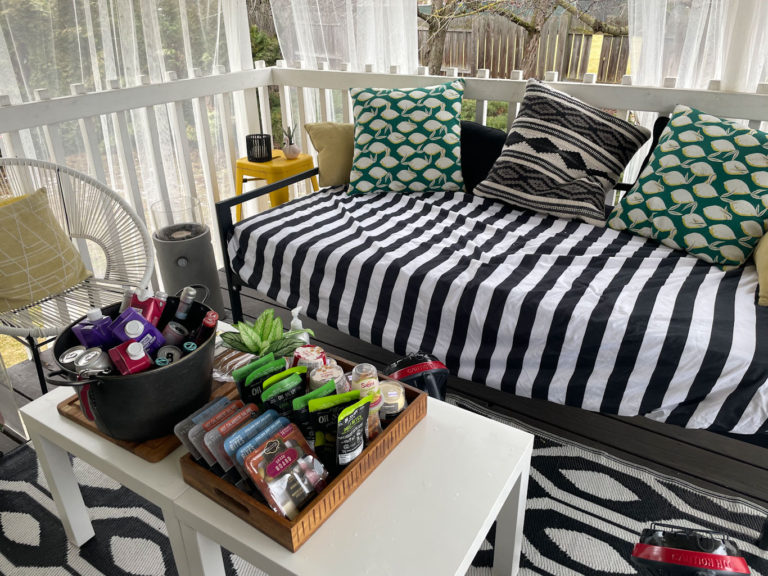
For someone who owns a blog about entertaining—someone who feels entertaining is an integral part of her identity—the restrictions…