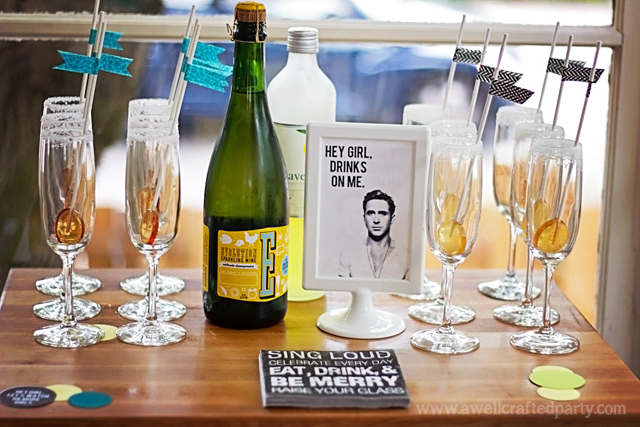
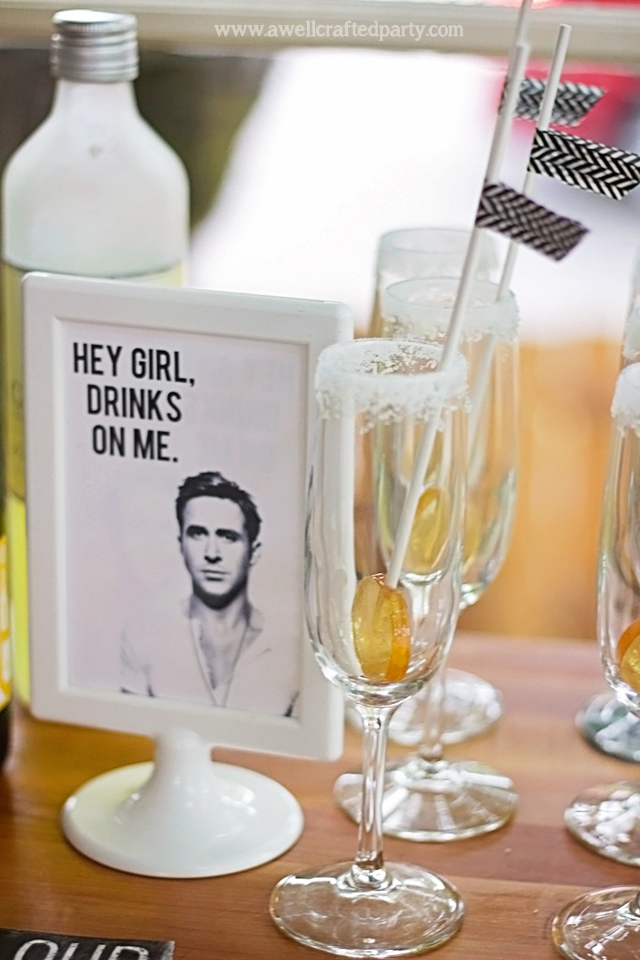
Wow! It has been a couple weeks since I’ve last shared a Saturday Spirits. I didn’t quite mean to go on a hiatus… but, it happened. Anywho, I’m bringing you one awesome cocktail today, so the wait will have been worth it. A few weeks ago I created these Lollipop Sparkling Cocktails for my “Hey Girl-Ryan Gosling Themed Birthday Party.”
First I made lollipops using Raft Botanical Cocktail and Soda Syrups for the flavoring. This was my first successful time making candy… and, boy it is fun, easy and TASTY. I discovered that patience really was the key to making candy right. Well, that and a candy thermometer.
Once your lollipops are done the hard part of this cocktail is completed. All that is left is creating a tasty rimming sugar and pouring your favorite sparkling wine! These make for a really festive cocktail. There are quite a few recipes and how to’s below. Don’t let them intimidate you. The whole process is much easier than it sounds when you look at a huge blog post.
How to Make Lollipops
To make lollipops you just need a few essential tools. I made my lollipops with molds because I wanted to have a very precise look to them. However, you could use this powdered sugar method as well! For flavoring I really wanted to avoid using artificial or concentrated flavoring. I opted to test out creating the pops out of my Raft cocktail syrups and was thrilled with the way they turned out. (Affiliate Links Below)
Tools:
- Saucepan
- Candy Mold
- Lollipop Sticks
- Candy Thermometer
Ingredients:
- 2 Cups Sugar
- 2 Tablespoons Corn Syrup
- 1 3/4 Cup Water
- 3 Tablespoons Raft Botanical Cocktail Syrup (I used Lemon Ginger for one set & Hibiscus Lavender for another)
- Extra sugar and syrup to create rimming sugar
Directions:
- Prep your candy molds by spraying with vegetable oil (non flavored!) and placing the lollipop sticks.
- In a saucepan combine sugar, corn syrup and water over medium to medium-high heat. Stir to keep it from overheating or sticking. Burnt sugar will quickly make happy candy-making time into throwing out a pan and dealing with a stench time.
- Heat the sugar, stirring, until the candy thermometer reads just about 305 degrees. You don’t need to keep the candy thermometer in there the entire time, but once it starts to boil a bit it is a good idea to get that in there. You don’t want it to get past the hard-candy stage. Once the thermometer reads 305 go ahead and add in the Raft syrup. Stir into the mixture and watch the thermometer closely.
- Once the thermometer reads between 310-320 degrees remove the mixture from the heat. using a spoon pour the mixture into the molds. Be very careful… liquid candy burns are not a pretty thing. You’ll want to do this part while the mixture is hot, I recommend buying several lollipop molds. I ended up making about 24 lollipops per batch.
- Once the candy has cooled the lollipops are ready to eat! We stored ours on wax paper in a sealed container for about 2 weeks and they still tasted awesome. Though, try to keep them separated as they will stick together. You can also just buy some candy wraps and wrap them up nicely!
How to Make Rimming Sugar
A good sparkling cocktail needs some sugar to it. The lollipop will give the cocktail sugar and flavor… but, it won’t be immediate. The rimming sugar helps drive the flavor until the lollipop can do its magic. It also looks pretty too!
Ingredients:
- 1/2 cup Granulated sugar
- 1- 2 teaspoons Raft Syrup
- Lemon zest (use a microplane and it takes no time at all!)
Directions:
- Mix ingredients well… breaking up any clumps that might have formed from the liquid
- Lay out flat on a plate or baking sheet until mixture has totally dried. It can then be stored in an airtight container for about a week or so.
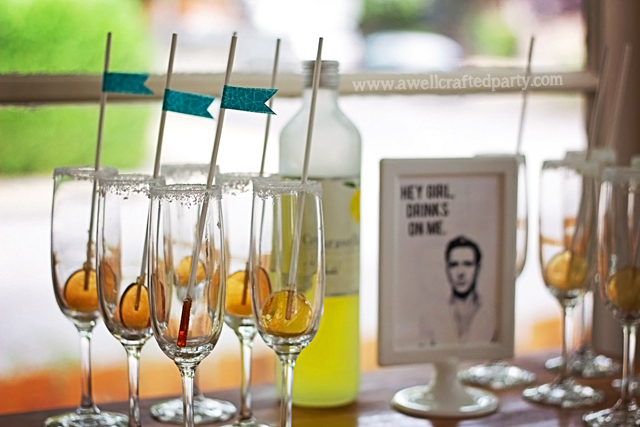
Lollipop Sparkling Cocktail Recipe
Ingredients:
- Lemon Wedge
- Champagne Flute
- Rimming Sugar
- 1 Lollipop
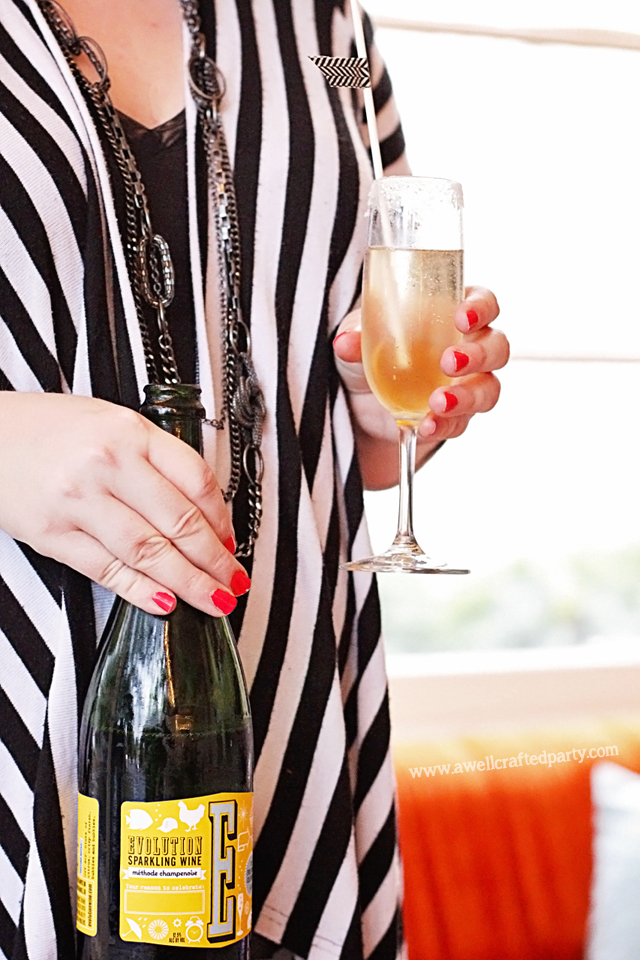
- 5 oz Sparkling Wine (I used the delicious Sokol Blosser Evolution Sparkling Wine)
Directions:
- Use the lemon wedge to ring around the glass and dip onto a plate with rimming sugar.
- Drop a lollipop into the glass
- Pour in the sparkling wine!
- If you’d like a little more kick then add in 3/4 oz of Limoncello Liqueur
")