Tissue paper flowers are EVERYWHERE right now. Martha made them easy to make and now everyone is doing it. And, why not!? They are a fantastic and inexpensive way to help decorate a party. Make them small and put them in vases or make them large and hang them from the ceiling—any way you use them they always look fantastic.
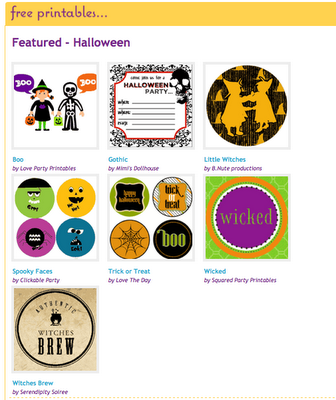
I’m currently in the middle of creating a TON of tissue paper flowers in several different ways to use for this year’s Halloween event. So, I thought while in the process I’d share with you some tutorials on how to create easy tissue paper flowers for whatever event you are working on.
This tutorial is for a basic flower and is based on the Martha Stewart instructions (be sure to check out the tutorial on the Martha Stewart website… now that is a pro!).
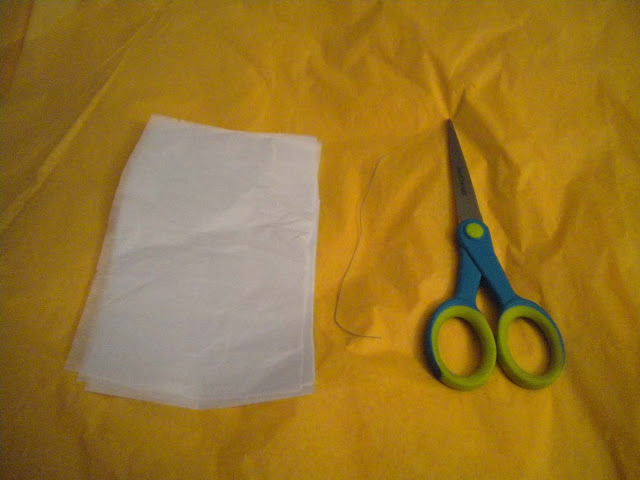
Supplies
Tissue paper, floral wire and scissors are all you need to make these flowers. For the three inch buds that I am creating I have cut my tissue paper into 4X6 rectangles. I’ve found that 8 sheets of tissue paper make a nice, full flower for this size without the tissue paper being too thick to cut through. For larger flowers I’ve found that I need to use more paper to create a full flower.
Instructions
Step One— Fold the tissue paper (like you would a paper fan) by alternating the folds. Crease the folds as well as you can so that the paper will crimp like an accordion.
Step Two— Wrap a piece of floral wire around the center of the folded tissue paper. I’ve only used a small piece of wire for this project because I’m wiring all of my flowers together. But, I’d suggest at least 5 inches of wire for most projects.
Step Three— Round or point the edges of the tissue paper with scissors to create the petals of the flower. (I have rounded the edges for these flowers.)
Step Three—Fan out the two sides of the flower around the wire.
Step Four—Start pulling up each layer of tissue paper towards the center of the flower. This can be tedious and you might tear the tissue paper a little at times… don’t worry, you probably won’t even notice when the flower is finished. After finishing one side of the flower continue to the opposite side until all layers of tissue paper have been pulled free of their folds.
The finished flower! Once the flower is finished you can add ribbon to it and use it as a napkin holder or add a stem and stick into a vase.
Have fun making tissue paper flowers! Beware… making these once starts an addictive trend! All props to Martha for the easy instructions that I’ve been using for the past few years and several parties.
Keep checking in on the blog (or, hey, just hit follow just up to the left there) for tutorials on different variations on tissue flowers that I’ll be posting over this week.


Thank you for this close up tutorial… I need help with these!
I needed help with these too! Thank you so much for the tutorial!