Lucky You St. Patrick’s Day Party Favors with Free Printables
I’ll be the first to tell you that favors are never necessary. But, I love favors. I enjoy giving…
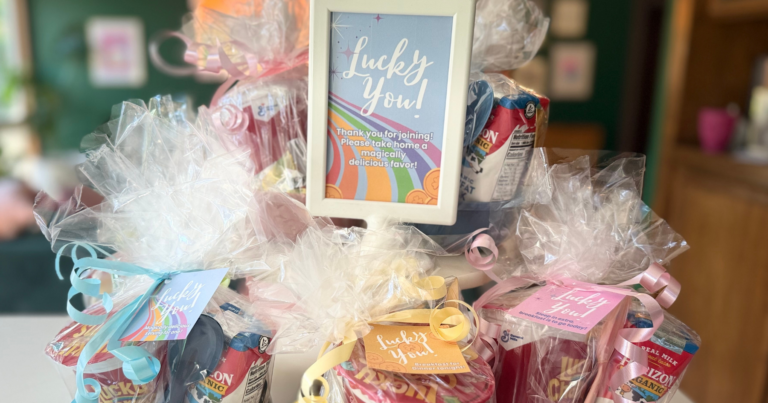
I’ll be the first to tell you that favors are never necessary. But, I love favors. I enjoy giving…

A celestial-themed party already feels magical, but adding interactive party favors like fortune tellers and decision spinners brings that…
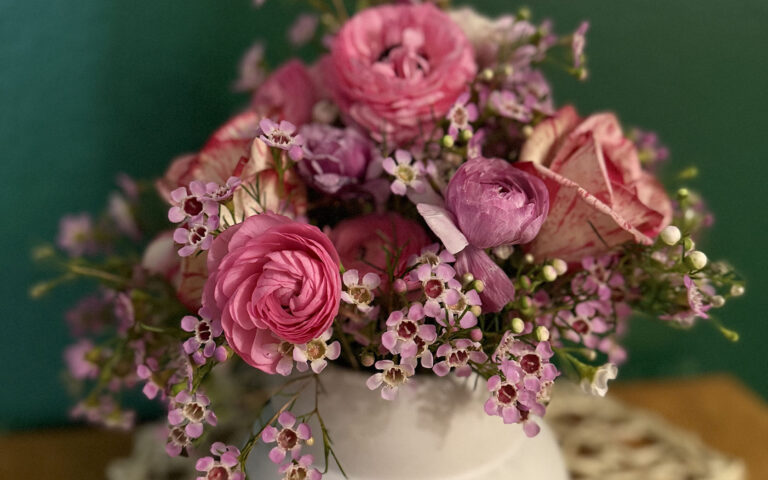
While there is a time and place for amazing work by professional florists, if you are on a budget or need flowers for every day decor read on for easy tips on how to turn grocery store flowers into stunning, and affordable bouquets!

Cherry and chocolate belong together. It is a fact and there is no disputing it. They especially go together…
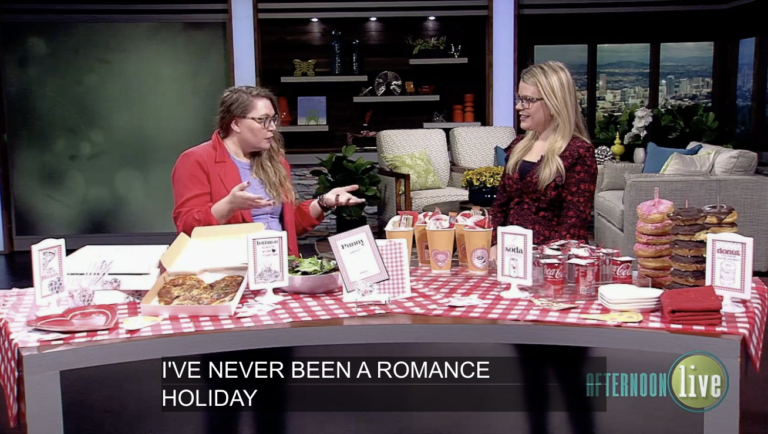
Valentine’s Day isn’t just for those romantically connected. They are a great time to tell you friends, family, and…