Tag

flowers

Browsing

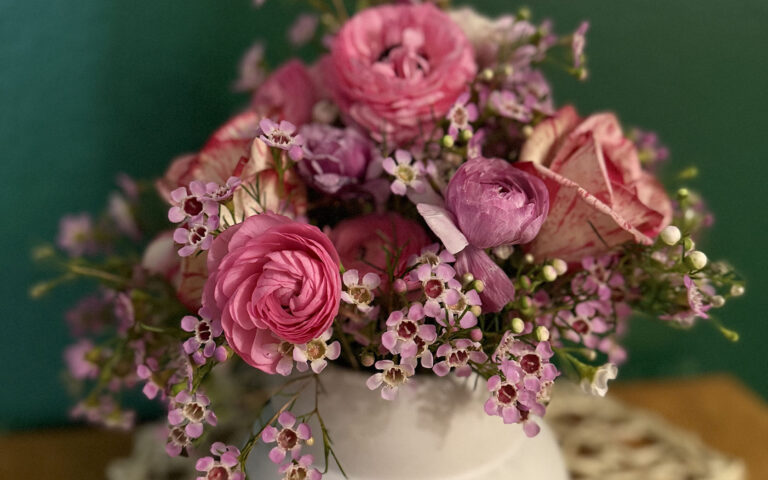
I remember one Valentine’s Day when my husband took the time and effort to order flowers from a local flower shop and send them to my work. I felt incredibly special and the flowers were absolutely stunning. However, we were young and just starting out at the time, the $70 price tag made me a bit sick. While there is a time and place for amazing work by professional florists, if you are on a budget or need flowers for every day decor read on for easy tips on how to turn grocery store flowers into stunning, and affordable bouquets!

This blog post contains affiliate links. Affiliate links help this blog by providing a small portion of the purchase of items recommended to this blog at no additional cost to the purchaser. Thank you for supporting A Well Crafted Party’s conent! All affiliate links are marked with an asterisk (*).

When I’m looking for flowers for my arrangements I tend to look for a few different categories. And, because I’m a bit dramatic… the categories are as follows: The Stars, The Supporting Characters, and then the Extras or the Day-Players.

Grocery store flowers for DIY bouquets

The Stars: This will include 1 to 2 different types of flowers that are the focus of the bouquet. They are leading the cast of characters in this show and are beautiful to look at. Often you’ll see flowers like roses, peonies, and irises be the stars.

The Supporting Characters: These will include 2 to 3 different types of flowers that are also beautiful and interesting, but not as BIG or exciting as the stars. Roses can fit here too if you have other more interesting flowers standing in as the stars.

The Extras/Day Players: These are your filler pieces. You can use 1 to 3 different kinds usually and make a beautiful bouquet. Generally this is your area for greenery or flowers that are more of a filler like baby’s breath or hydrangeas.
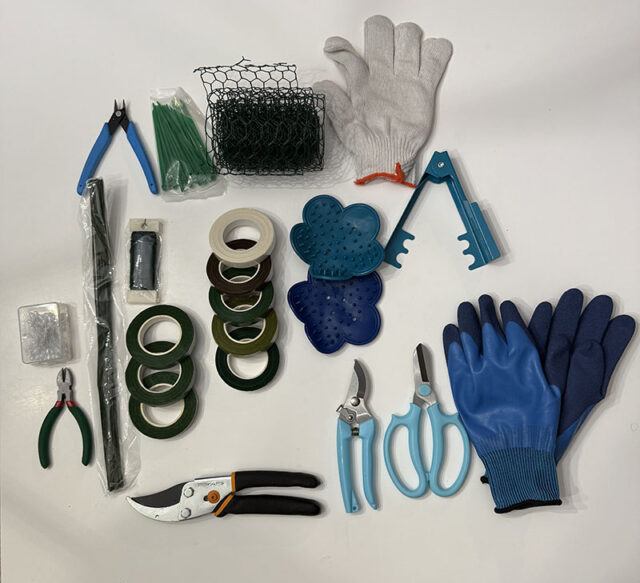
Pictured: Floral Design Kit with Wire, Floral Tape, and More*, Flower Prep Kit with Thorn and Leaf Strippers and more*, my favorite pruning shears*

Start with proper flower prep: Remove leaves, clip the end at an angle, and get the stems in water as soon as you get home from the store if at all possible. This will allow your blooms to really pull in water and look their best.

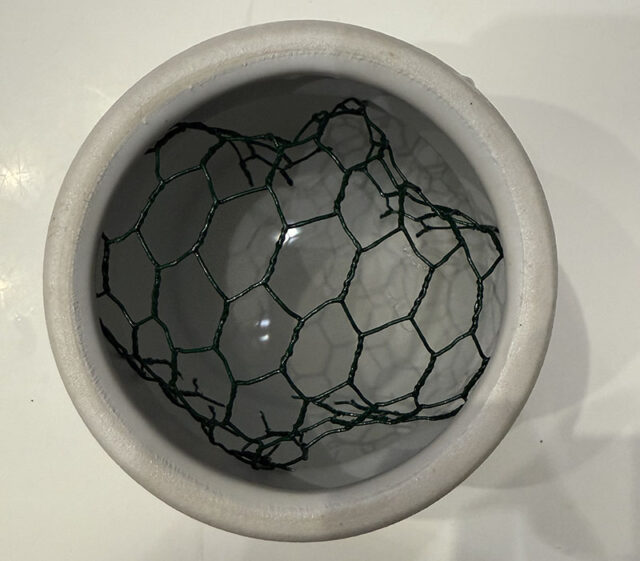
Ceramic Vase with Chicken Wire: I like using ceramic vases* when doing more elaborate designs because I can hide my inner workings a bit. If you want to have a lot of structure I suggest using floral chicken wire* wrapped into the vessel so you can place stems where you’d like them. I also love fun vases such as a head shaped vase* or small bud vases* to create smaller but interesting bouquets.
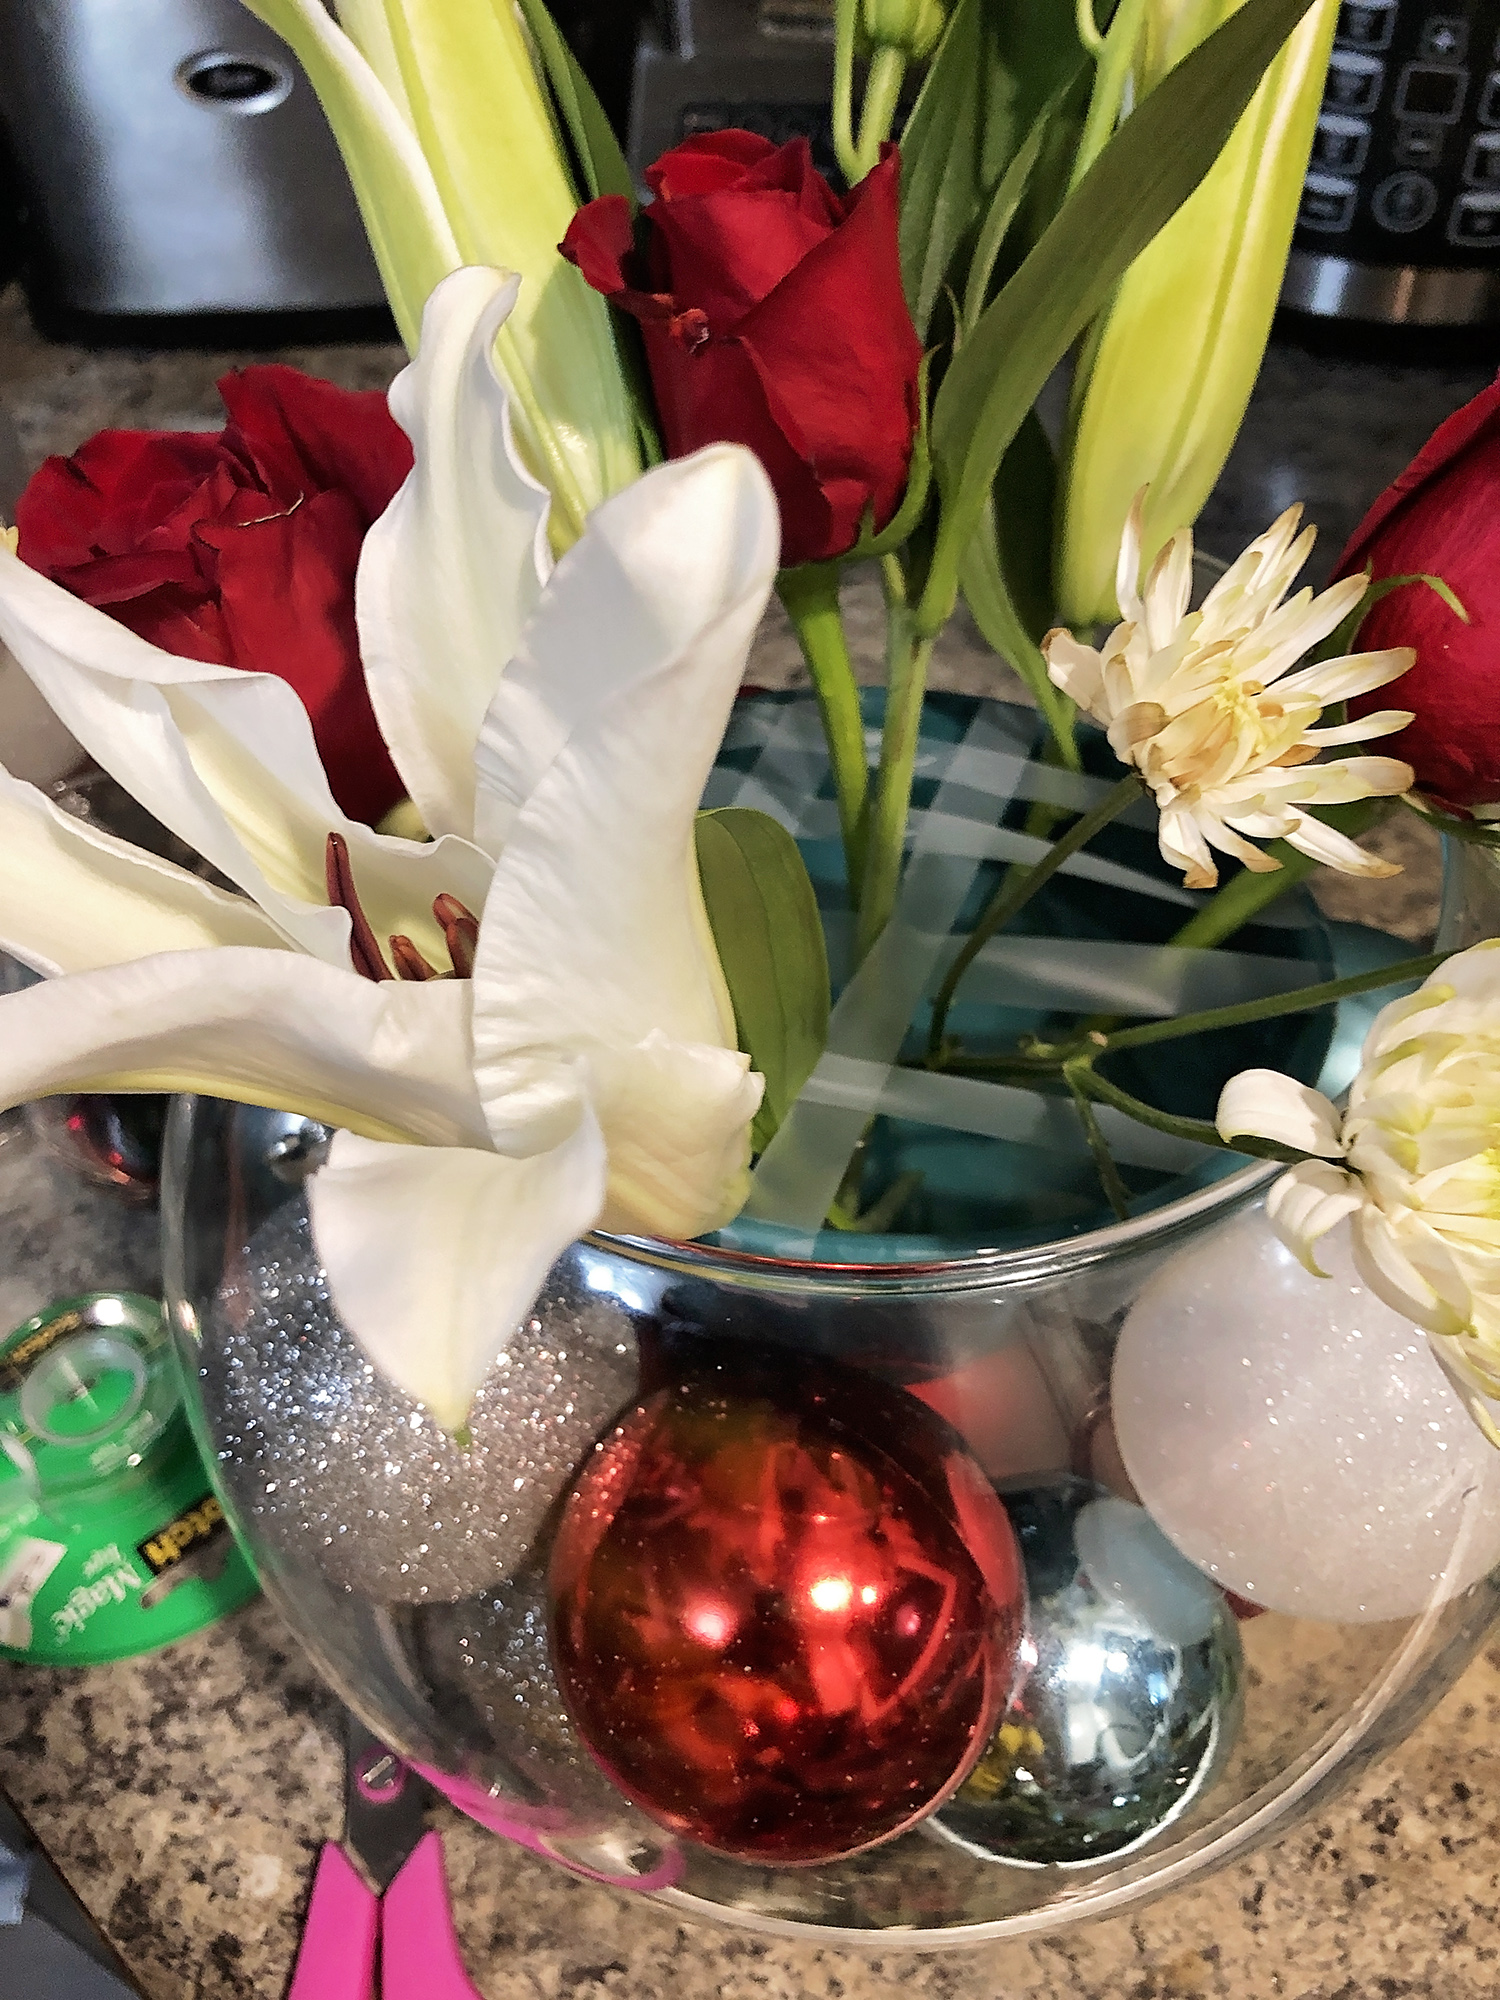
Clear Vase with Scotch Tape Grid: If you are using a clear vessel you can use scotch tape to create a grid on the top of the vase. It isn’t the most sturdy solution, but it helps!

Water: Pour in fresh water for your vessels (as in not the water it has been sitting in). I typically use the pack of flower food that comes with the grocery store flowers per directions in my water. I feel like it does help with the overall time my flowers do well. However, the best tip is to clean your water and pour fresh water every couple of days to really extend the freshness of the bouquet.

Now that you have your vessel and flowers prepped, it is time to have fun and build your bouquet. Now, you’ll get different schools of thought on the method of building, but I’ll share what works well for me. As with most things, there are many ways to get to your goal!

First, plan to clip your flowers to the size you need as you go. I use a pair of floral shears*, but a good pair of kitchen shears work fine as long as your stems aren’t too reedy or thick. As a general rule of thumb your flowers can be about as tall above the vase as the vase is tall. You can cut to different sizes to create shapes or highlight certain blooms more.
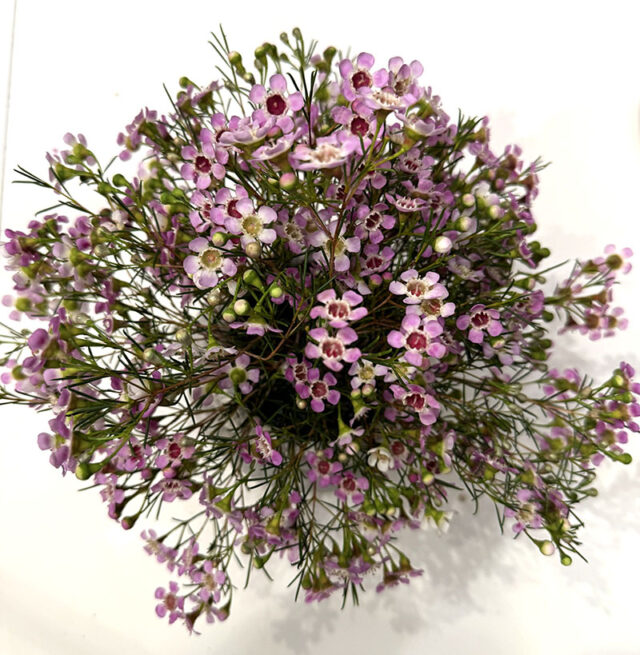
  1. Extras go first! Fill the base with a good layer of the filler flowers and greenery.
  2. Supporting characters go next. I like to work with these in odd numbers. If I want 3-5 of my stars then I’ll do 5 to 7 of my supporting character flowers.
  3. FInally, add in your stars! Give them the spotlight. I like adding them last as I am able to utilize the rest of the stems to help give my stars the structure they need to stand out.

Be careful to not overfill your vase with the extras and supporting cast. You can always go back and add more if needed, just get in enough to build structure and let you get your stars in the exact place they need to be.
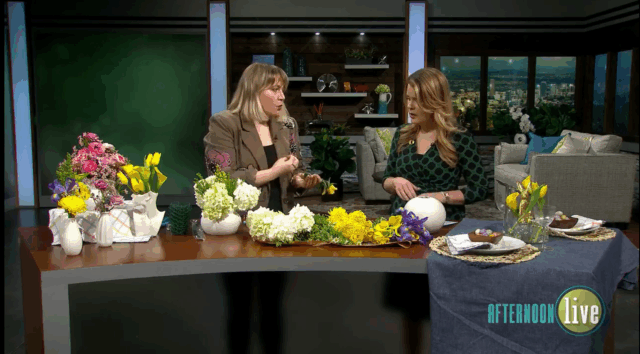
It was a blast sharing my DIY floral tips with Hannah at KATU’s Afternoon Live. It was a speed marathon floral building session, but in the end, we ended up with some beautiful home-bouquets!

Do you have any tips or tricks that I might be missing here? Share in the comments!

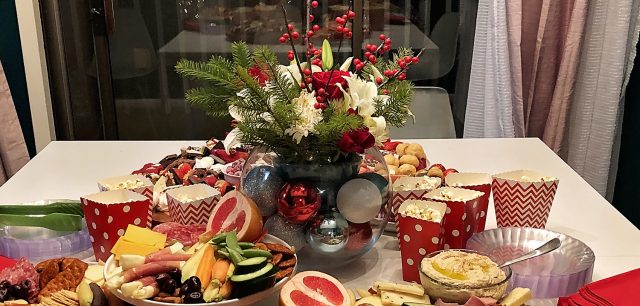
I love beautiful floral arrangements as much as the next person. What I don’t love is spending an arm and a leg for them. I absolutely believe there are times where it is SO worth it. The pros are pros for a reason. However, when the budget is a concern and I have the time, I will put together a floral arrangement using budget blooms from my local grocery store or supermarket. Read on for tips on creating your own holiday centerpiece using supermarket flowers.

This is the ninth post of my 12 Days of Christmas DIYs for 2018. Each day for the next twelve days I share DIY projects, recipes, entertainment, and more, that you can incorporate in your holiday season. Most will be super simple!

DIY Holiday Floral Centerpiece | A Well Crafted Party

Tips for creating a beautiful holiday centerpiece with supermarket flowers

Supermarkets generally have really pretty flowers, but not necessarily beautiful arrangements. (I’m sure that some supermarkets will prove me wrong!) Below are some tips to help you create a great holiday centerpiece with supermarket flowers and below are the directions I followed to create my centerpiece!

  • Grab a few bunches of different flowers: While you can absolutely make a pretty arrangement with a single bloom, for this particular centerpiece I opted to give it a bit more dimension. When choosing your floral bunches consider getting the following: 1 bunch of large bloom, 1 bunch of medium-sized blooms, 1 bunch of filler blooms, and two bunches of greenery.
  • Incorporate non-floral holiday items to your centerpiece: I used holiday baubles for my arrangement. However, some other ideas include ribbon, favorite ornaments, or candy canes!
  • Think about structure: Using cellophane tape or floral wire can really go a long way in helping you build the shape you like for your centerpiece.

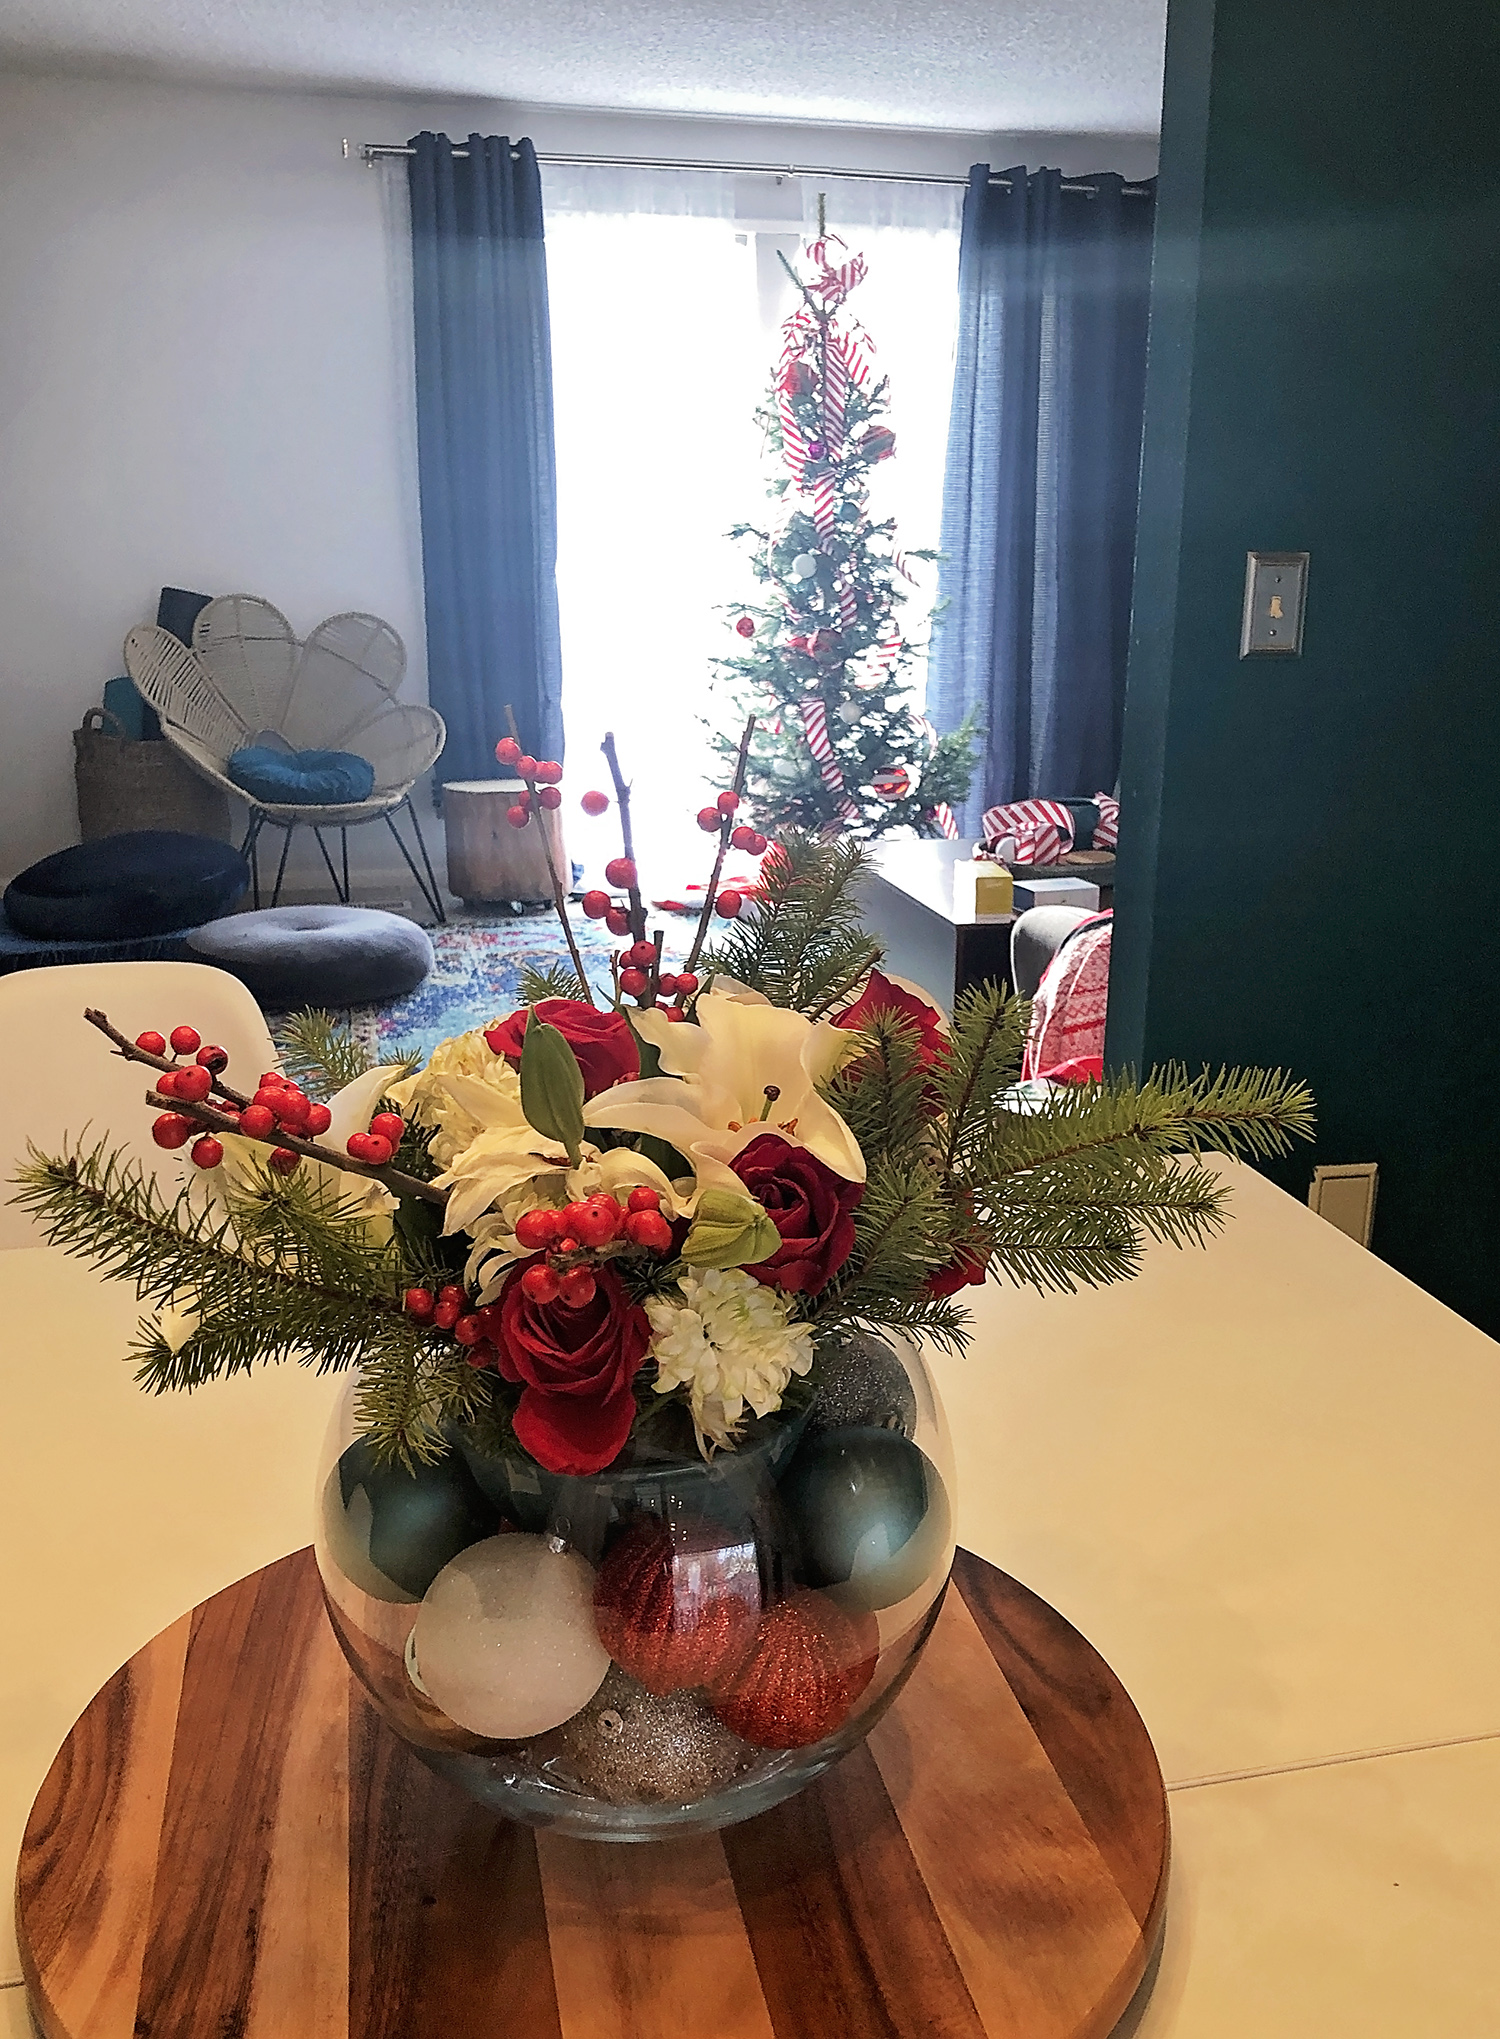
How to create a red, white, and green holiday centerpiece

This year I mostly used red and white (with pops of green, pink, and teal) in my holiday decor. So, when creating the holiday centerpiece I wanted to stick to a red/white/green color scheme. I used holiday baubles to give it a bit more interest as well. Below I use affiliate links. I receive a portion of a sale made from my affiliate link with no added cost to you my reader. Affiliate links help support this blog.

DIY Holiday Floral Centerpiece | A Well Crafted Party

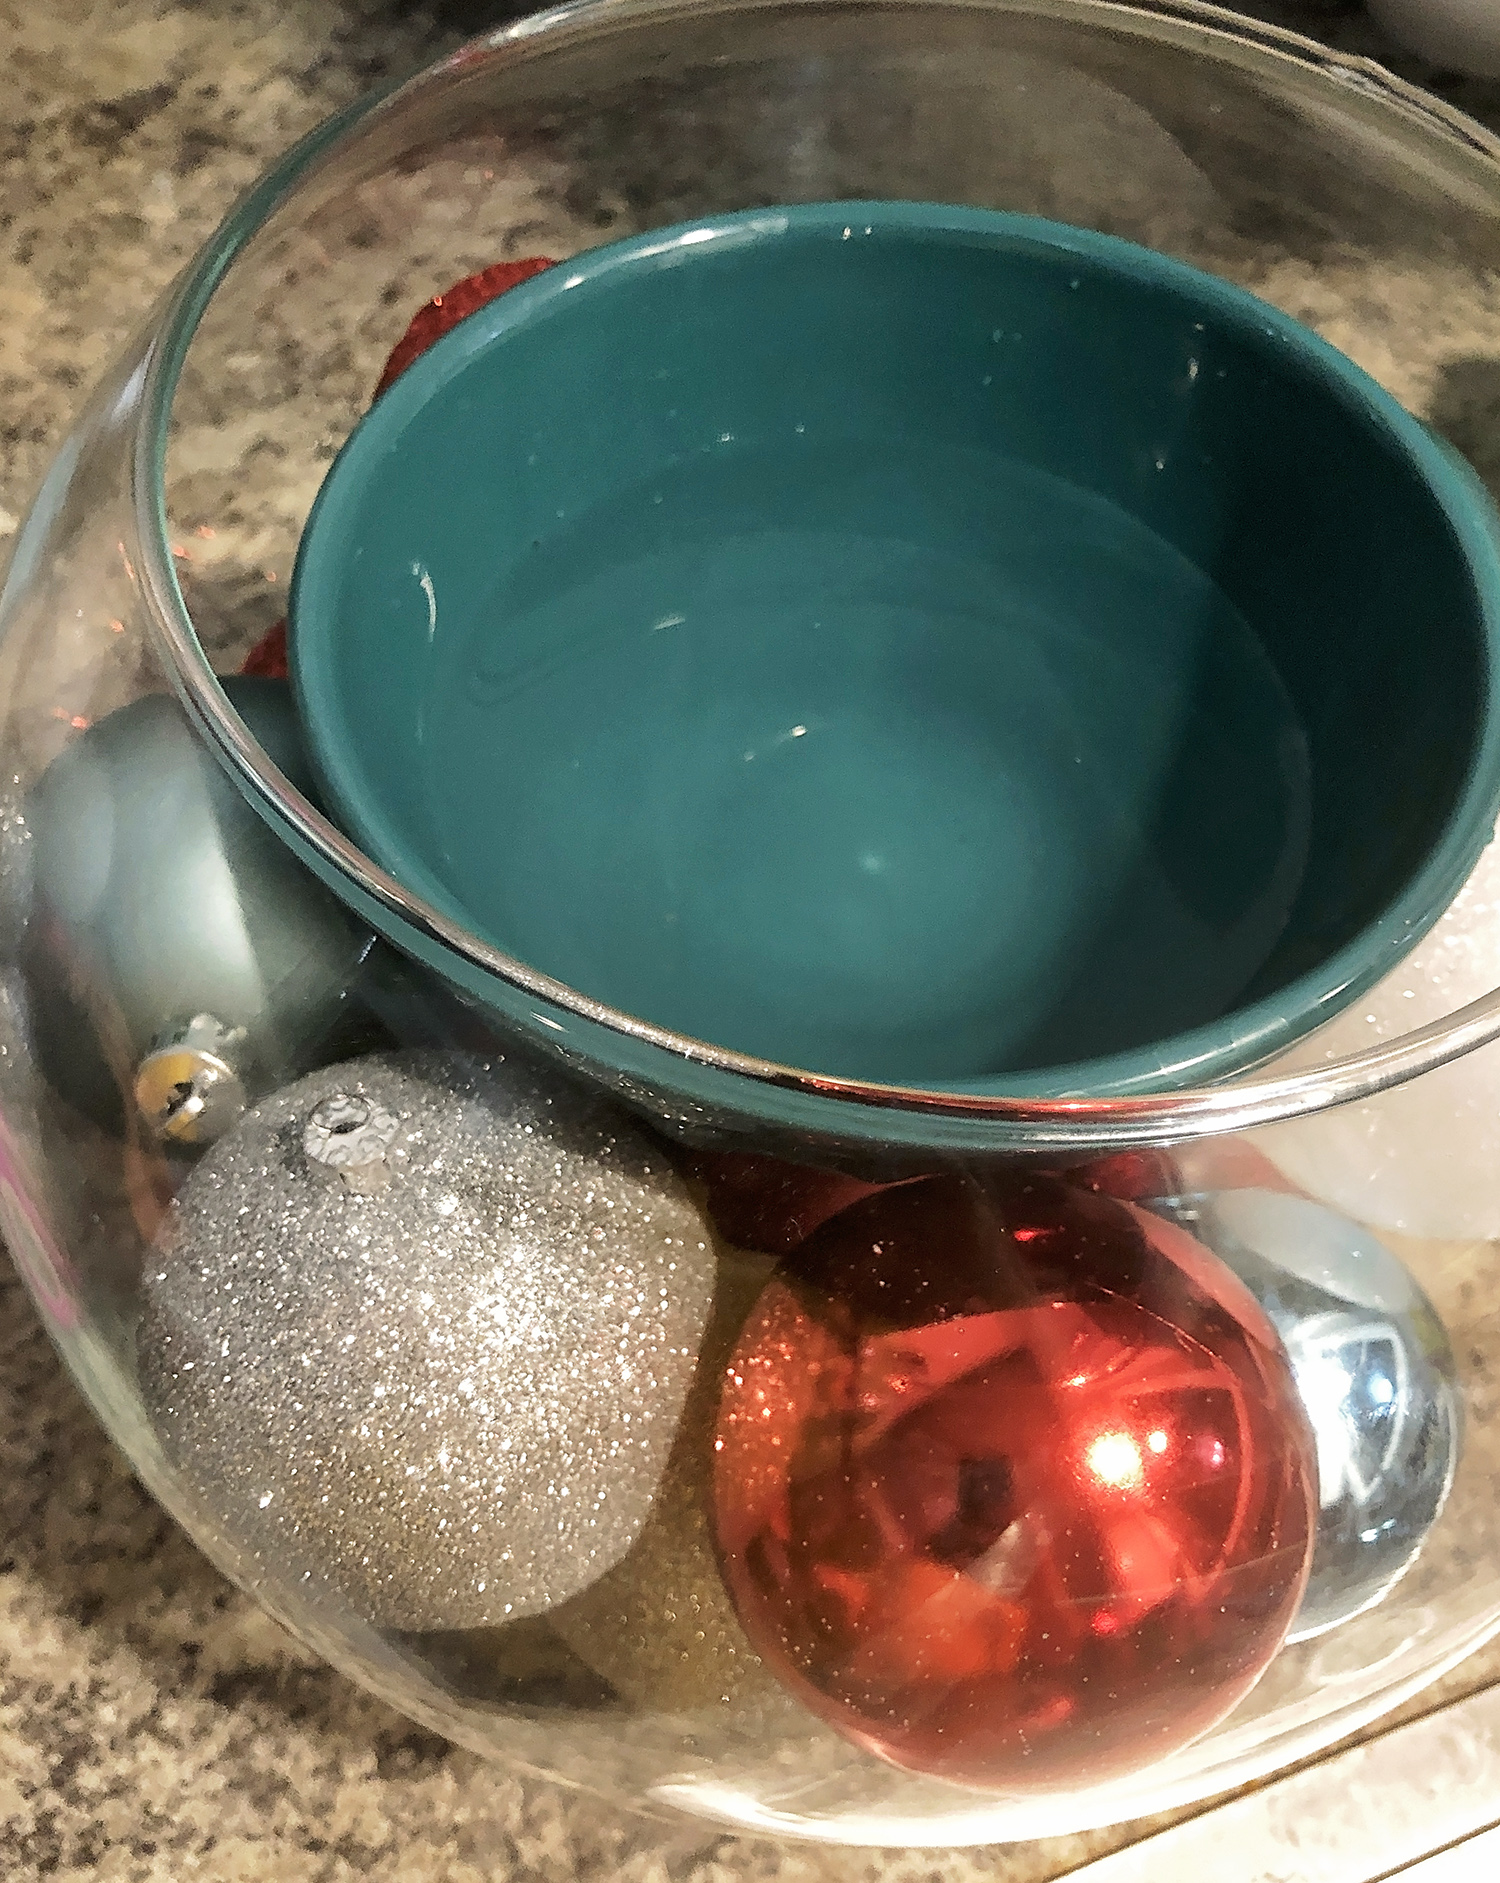
Step One: Prepare your vase.

  • For this centerpiece, I chose to use a large round Libby glass bowl.
  • I filled the bowl with my holiday ornaments and then sat another bowl inside. The second bowl sat on top of the baubles.
  • I filled the second bowl with a water.
  • I then taped a grid onto the top of the bowl with clear tape. Floral tape would work okay here as well as long as it adhered to the bowl and didn’t show up too much.

DIY Holiday Floral Centerpiece | A Well Crafted Party

Step Two: Build the base of the floral arrangement.

  • Starting with the largest blooms (I used big white lilies), place throughout the grid on that you put on the second bowl. The grid will help keep a bit of the structure before you have other stems keeping things in place. I usually go with odd numbers here adding either three or five large blooms.
  • Add in your medium-sized blooms (I used red roses). Again using an odd number, put your medium-sized blooms throughout the arrangement.

DIY Holiday Floral Centerpiece | A Well Crafted Party

Step Three: Fill in the arrangement

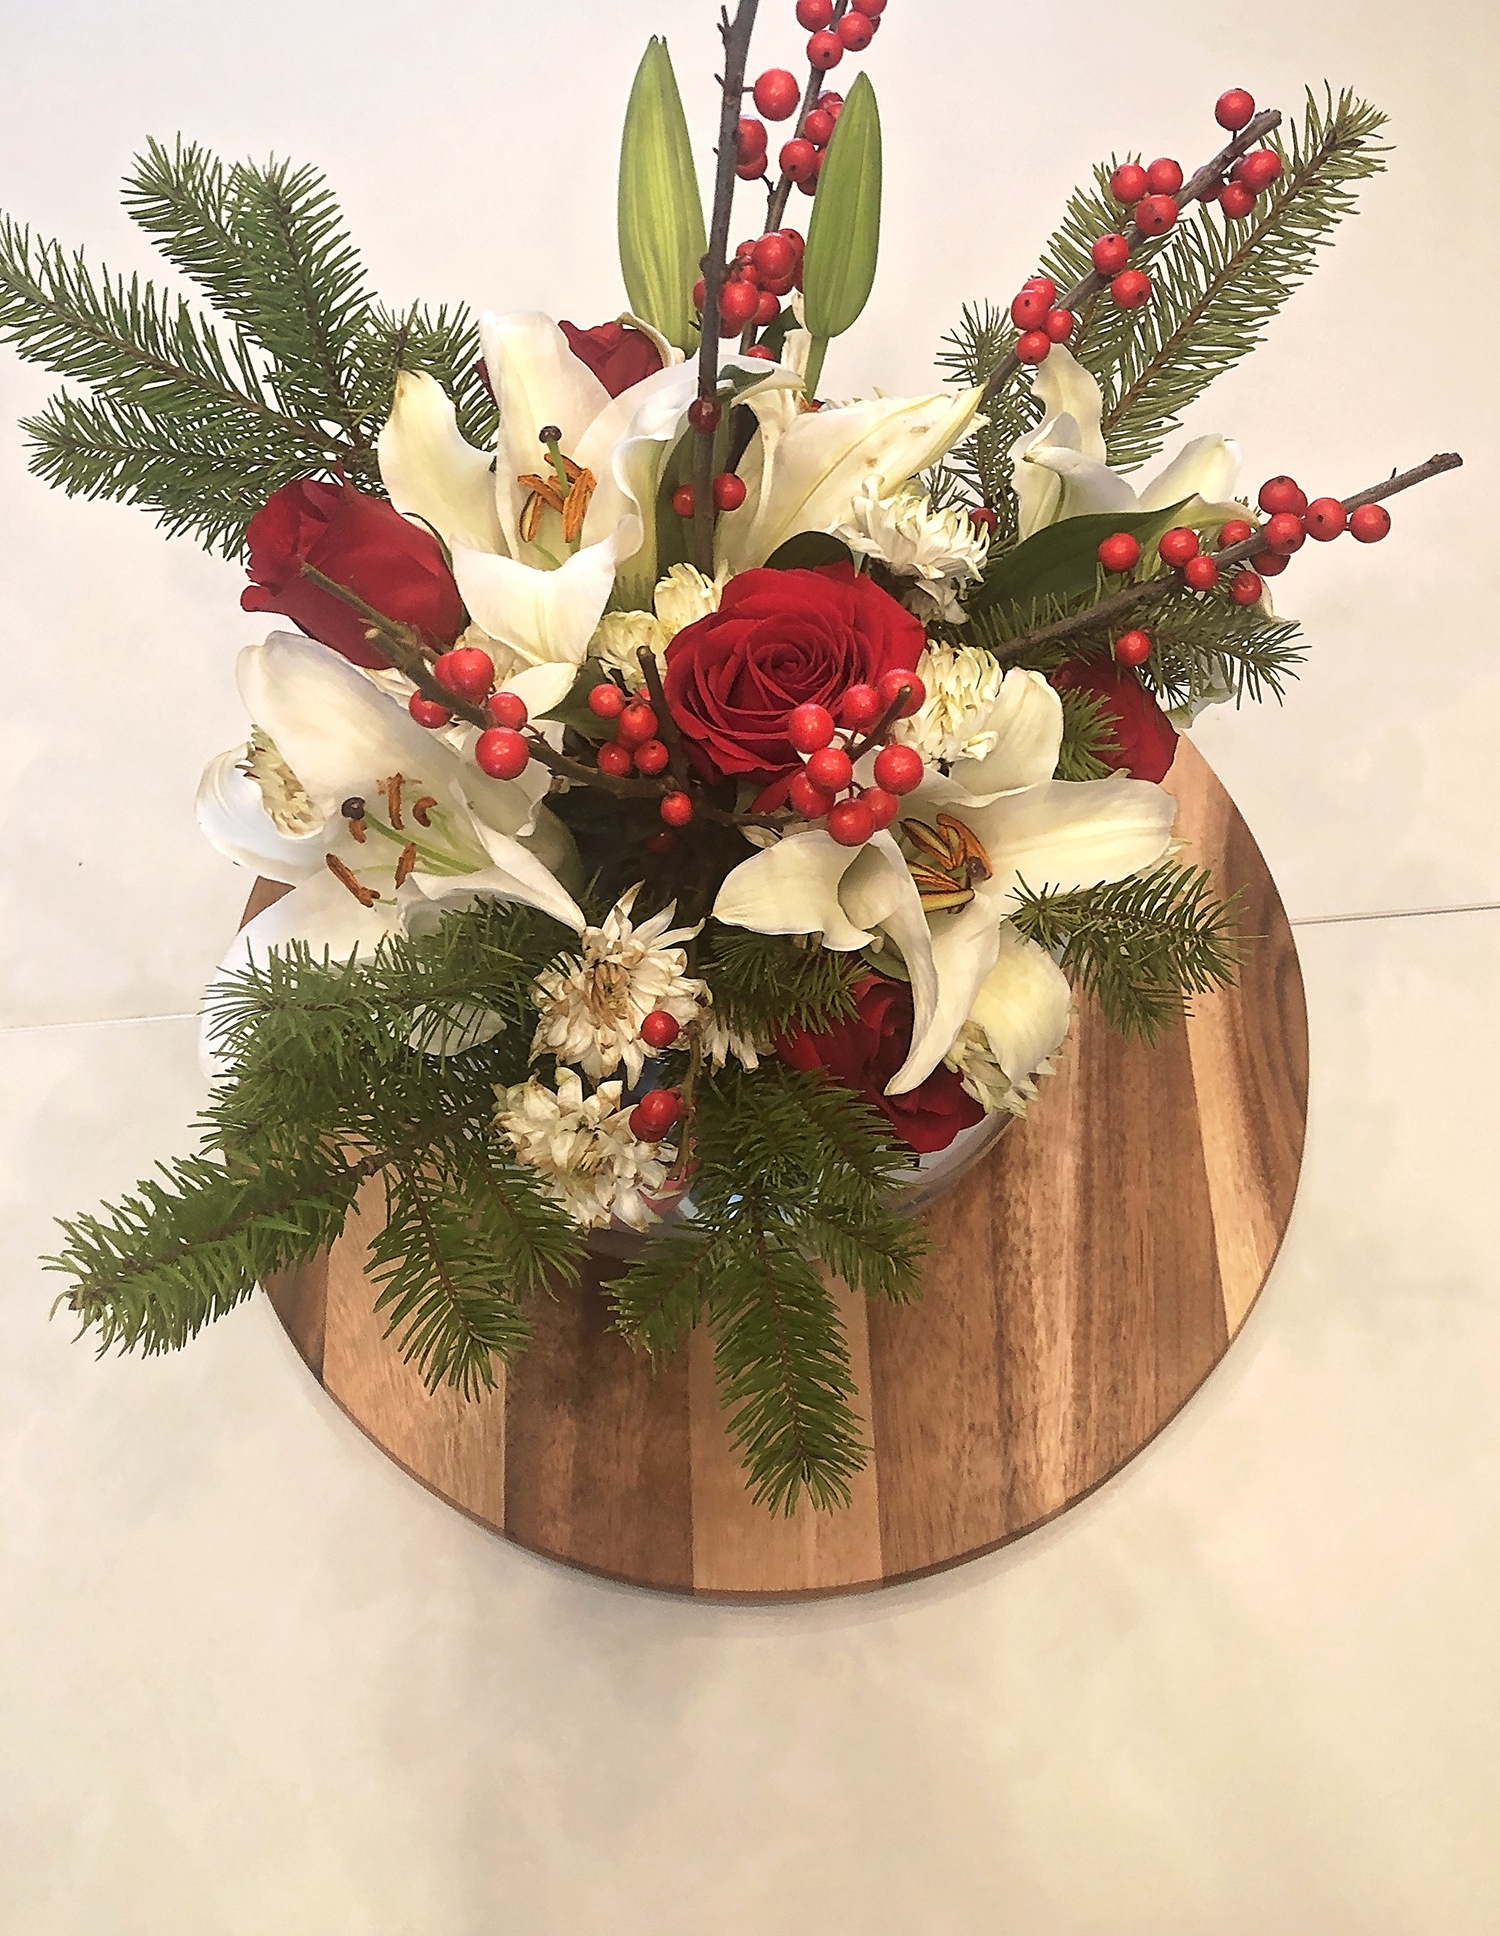
  • Now, taking your filler blooms (I used some mums) fill in the arrangement making sure to separate any of the large and medium-sized blooms.
  • Taking your two greens (I used evergreen branches and berry branches) place the greens throughout the arrangement. This step actually helps solidify the structure of your arrangement. Cutting your greenery down to match the shape of the arrangement is really important here. There is no need to put an entire branch in the arrangement.

Leftovers…

I always have leftover blooms when creating a centerpiece. I usually use the leftovers to make smaller complimentary arrangements to use throughout the party space. If one bloom breaks too near the head of the bloom don’t throw it away! Float it in a clear vase filled with water for a simple, modern floral arrangement.

Happy floral arranging!


Mother’s Day is around the corner! Writing about all of these amazing working mothers has certainly got me thinking about Mother’s Day a little more than I normally would. It has made me want to tell my mother and mother-in-law just how much I appreciate them. Makes me want to snuggle up with the two boys who made me a momma. These DIY Mother’s Day Flower Arrangement tips make giving flowers easy and inexpensive.

Flowers are such a beautiful way to say that you are thinking about someone. But, with prices starting at $50 for a nice small Mother’s Day flower arrangement it is fairly cost prohibitive to many. I typically love giving flowers in addition to a small item that will last for some time or be a sweet treat for that person. Often spending $50 or more on flowers is just out of my budget. Thankfully, I know a few tricks to make a DIY Mother’s Day flower arrangement look like a million bucks.

Tips for DIY Mother’s Day Flowers:

Simple Flower Arrangement

Keep it simple!

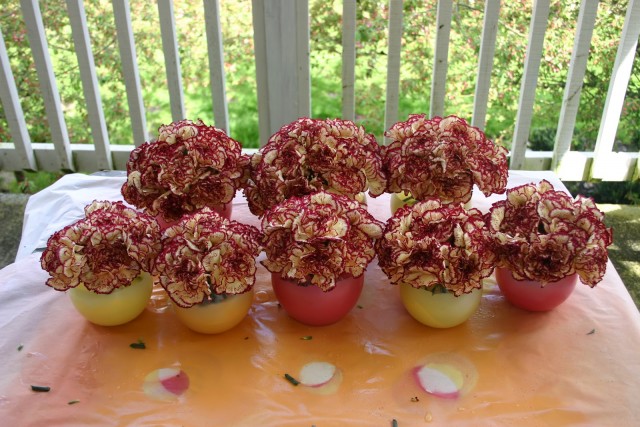
Use one flower (or one color scheme) in a low vase to make a simple, but beautiful, flower arrangement. It doesn’t take much time to  make an incredibly easy flower arrangement. Your mom will love it, I promise!


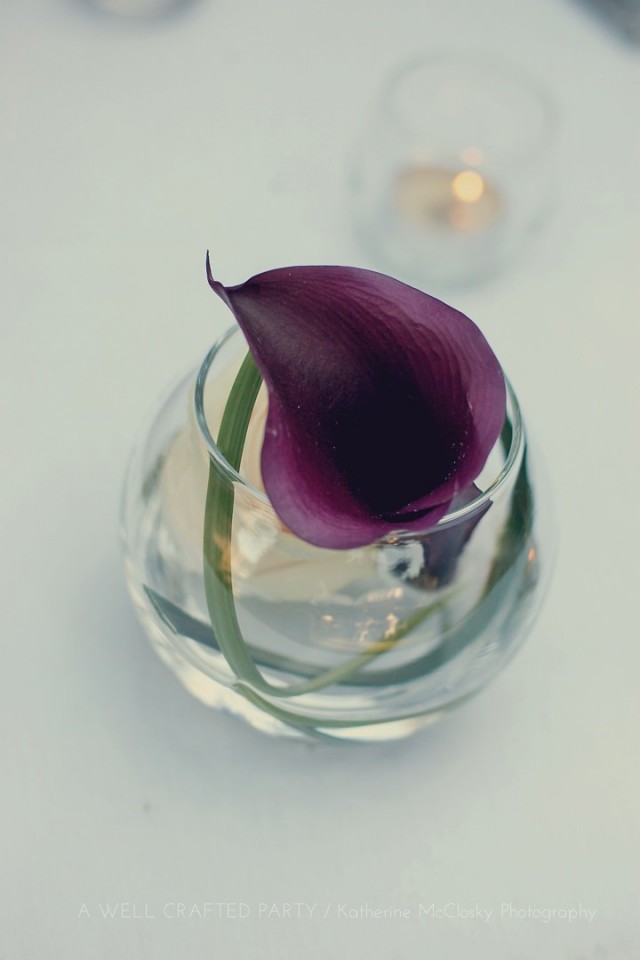
Floating Flowers make great impact in an easy DIY flower arrangement - A Well Crafted Party
Photo by Katherine McLoskey Photography

Float your flowers for high impact and low cost.

Floating one or two stems or buds of flowers in water is a cost effective way to make a statement. These don’t last as long as some flower arrangements, but they are beautiful! The photo above shows a beautiful black lily floating with the bud of a white rose and some lily grass. If you would like some sparkle, try putting some sequins in your vase as well!


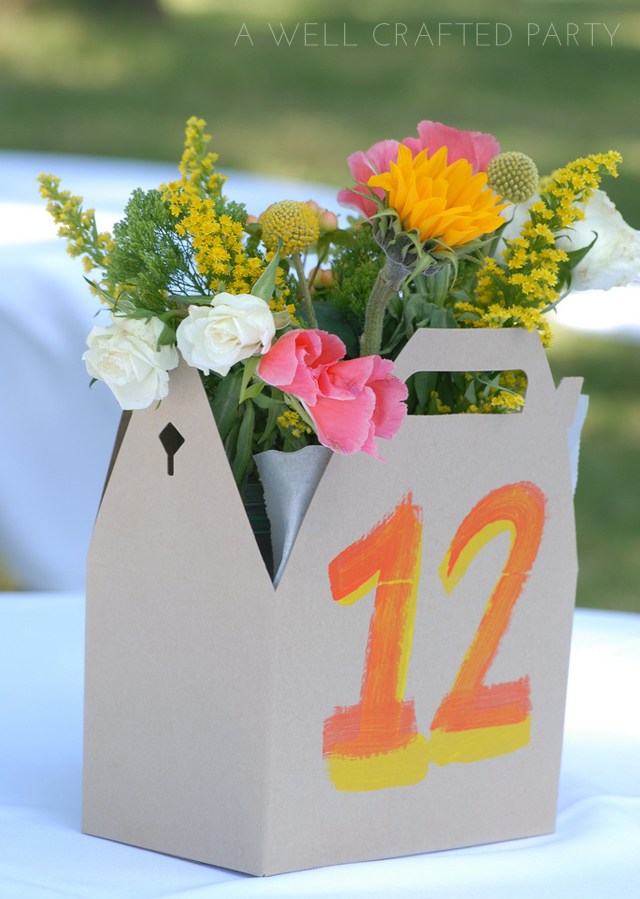
Use Unexpected Vessels in Creating Fun DIY Floral Centerpieces - A Well Crafted Party
Photo by West Impressions


Use unexpected vessels for your DIY flower arrangement instead of vases.


I love using unexpected vessels for flowers. Use bottles, cans, baskets, or boxes to house your arrangement. (You may need to put a small vase or jar in to hold the flowers with water, but the outer vessel can be anything really!) Get a beautiful serving bowl for a gift and put the flowers in it! Two gifts in one. We used picnic boxes for flowers on the tables at my sister’s cheery Summer Wedding. Guests received their lunches in the same boxes so it was a lot of fun seeing them all together.


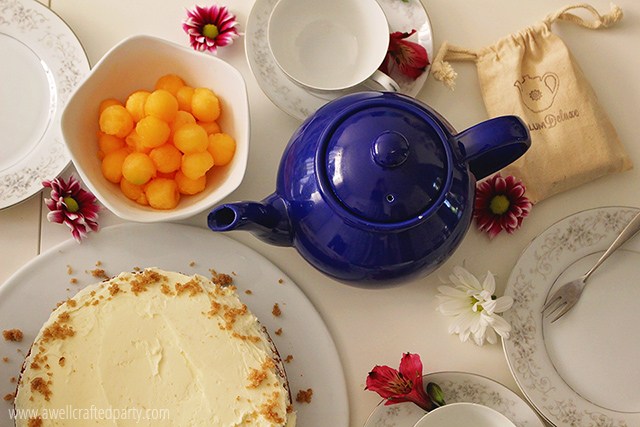
Sprinkle your tea table with flower buds - A Well Crafted Party


Sprinkle your table with flower buds!


Last year we had a little Mother’s Day tea on the coffee tables in our living room. I simply sprinkled the tables with the buds from a few flowers that I picked up at the store and snipped out of my yard. The table looked festive throughout the entire tea party. The buds do get a bit wilted over a long period of time. But, this was a short tea party so I was able to make a small, low arrangement in a jam jar after the party that I was able to enjoy for a few more days.


Want to make some flowers that will last a little longer? Check out the posts below:


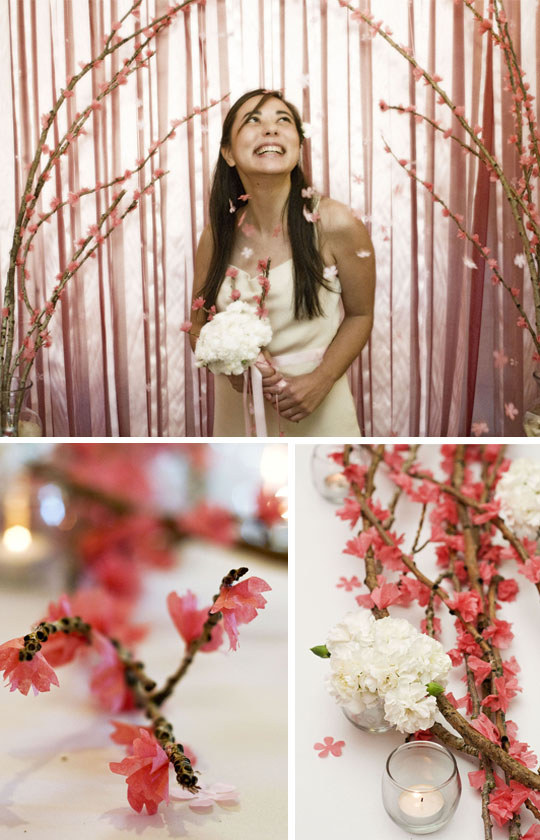
DIY Cherry Blossom Branches - A Well Crafted Party
Photo by Aubrie Legault – First featured on Hostess with the Mostess

DIY Cherry Blossom Branches

These DIY Cherry Blossom Branches will last for years and are so pretty to look at! A large vase with these sticking out would be a stunning gift.

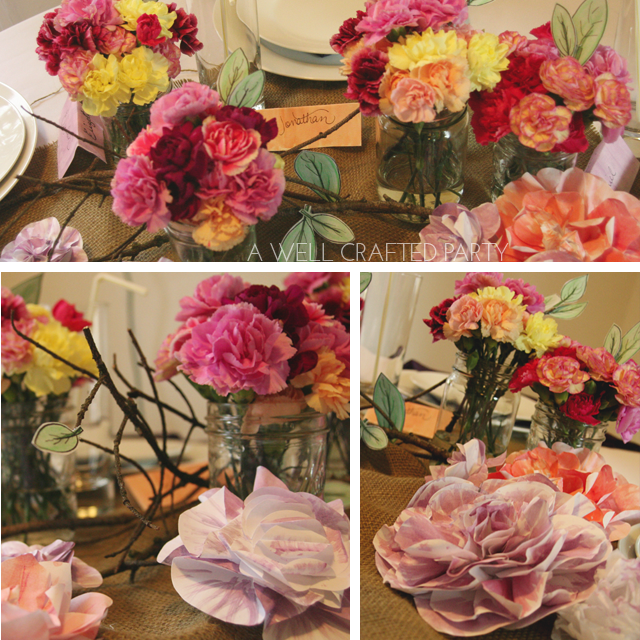
Mix up your Mother's Day Flower Arrangement by adding in some paper flowers and leaves with real, inexpensive blooms. - A Well Crafted Party

Use Paper Leaves and Flowers to Fill in Real Blooms

I love real flowers. Sometimes when wanting to create a fun, whimsical look and to save money I’ll combine paper flowers and leaves along with inexpensive real blooms.

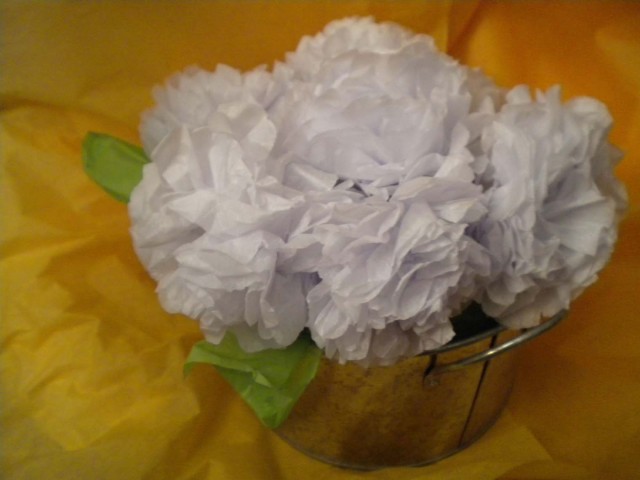
Make Mom a Tissue Paper Flower Arrangement - A Well Crafted Party


Make a Tissue Paper Flower Arrangement for Mom


Tissue paper flowers are easy to make, inexpensive and a lot of fun. Plus, they don’t die!


What do you like giving mom for Mother’s Day?


A Well Crafted Party
Privacy Overview

This website uses cookies so that we can provide you with the best user experience possible. Cookie information is stored in your browser and performs functions such as recognizing you when you return to our website and helping our team to understand which sections of the website you find most interesting and useful.

You can adjust all of your cookie settings by navigating the tabs on the left-hand side.

View our entire privacy policy.