First Birthday Activity Ideas
Ahhh… the First Birthday. Such a weird age to throw a party for! You get the food done and…

Ahhh… the First Birthday. Such a weird age to throw a party for! You get the food done and…
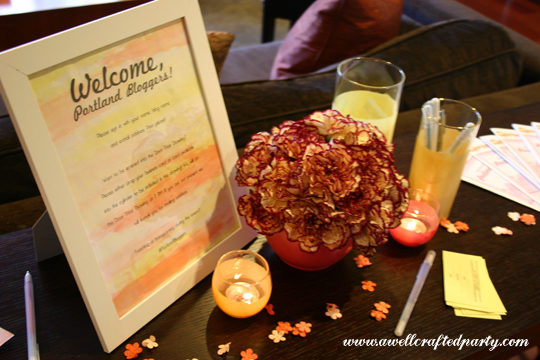
One of my favorite parts of the recent Portland Blogger meet-up was creating some of the pretty spring decorations…
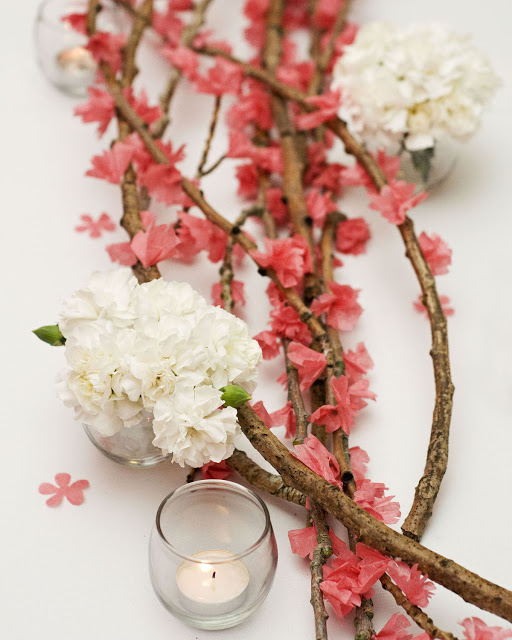
If you are a fan of the Love in Blossom photoshoot that I featured a while back… (and that…
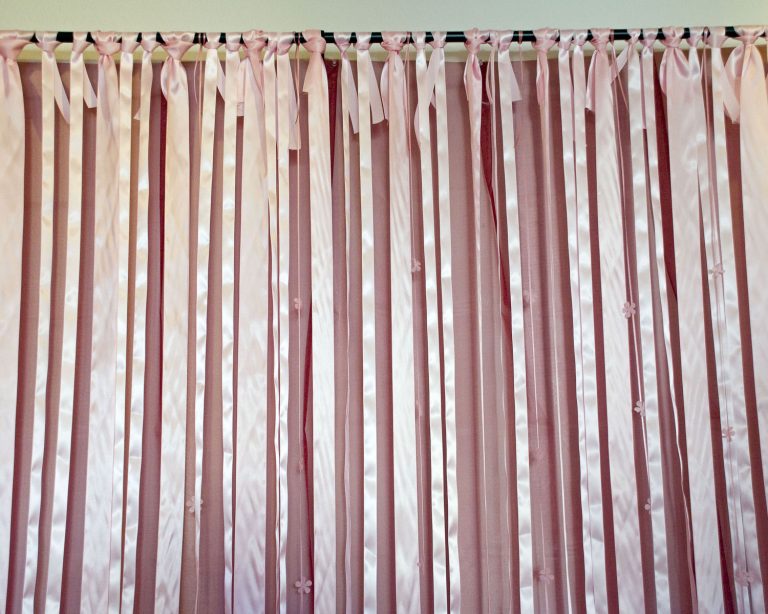
DIY Ribbon Wall Backdrop Supplies: Several Yards of Various Widths of Satin Ribbon in you color choice Curtain Rod…
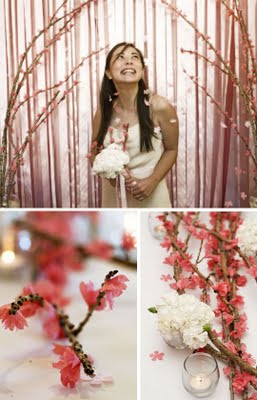
If you are a fan of the Love in Blossom photoshoot that I featured a while back… (and that…