Category

Appetizers

Category

Every Spring I get overly excited about eating artichokes. These slightly intimidating vegetables are just so good and really not too difficult to make! I’m always doing things like steaming, grilling, or roasting my artichokes. But, when hosting a party where people aren’t easily able to eat and dispose of the artichoke leaves, a great way to introduce this tasty vegetable to the table is by creating this cheesy, slightly spicy, and very delicious artichoke dip!

This post is in partnership with Imperfect Produce. All opinions are my own. Imperfect Produce is a delivery company that sources “ugly” produce straight from the farm and delivers it to your door at 30-50% less than grocery store prices. 

artichoke dip

Artichoke Dip

I have been making this recipe for years, but this was the first time to try it with fresh artichokes. This recipe can be made with several fresh artichokes by steaming the artichokes, removing leaves until you just have the artichoke heart, and adding some lemon juice and salt to them. It takes about 15 fresh artichokes to make this dish. I often opt to create it with two cans of artichoke hearts which is what the recipe calls for. If you prefer to do it with fresh artichokes then don’t waste the outer leaves, dip them in your favorite sauce and have a snack! Toss your artichoke hearts in the juice of one large lemon and 2 teaspoons of kosher salt.

Ingredients: 

  • 2 cans of artichoke hearts packed in water, drained, and chopped
  • 2 boxes of cream cheese
  • 1 teaspoon garlic powder
  • 1 teaspoon onion powder
  • red pepper flakes to taste (I use about 1 tsp)
  • salt to taste ( I use about 1 tsp)
  • 1 cup parmesan (half for in the mixture, half to top)

Directions: 

  1. Mix the chopped artichoke hearts, cream cheese, onion powder, garlic powder, salt, red pepper flakes, and 1/2 cup of parmesan with a hand mixer until well incorporated.
  2. Transfer to an oven safe dish and bake at 400 degrees Fahrenheit for twenty minutes or until heated through.
  3. Top with parmesan cheese and put back in oven for about five minutes or until cheese has browned slightly.
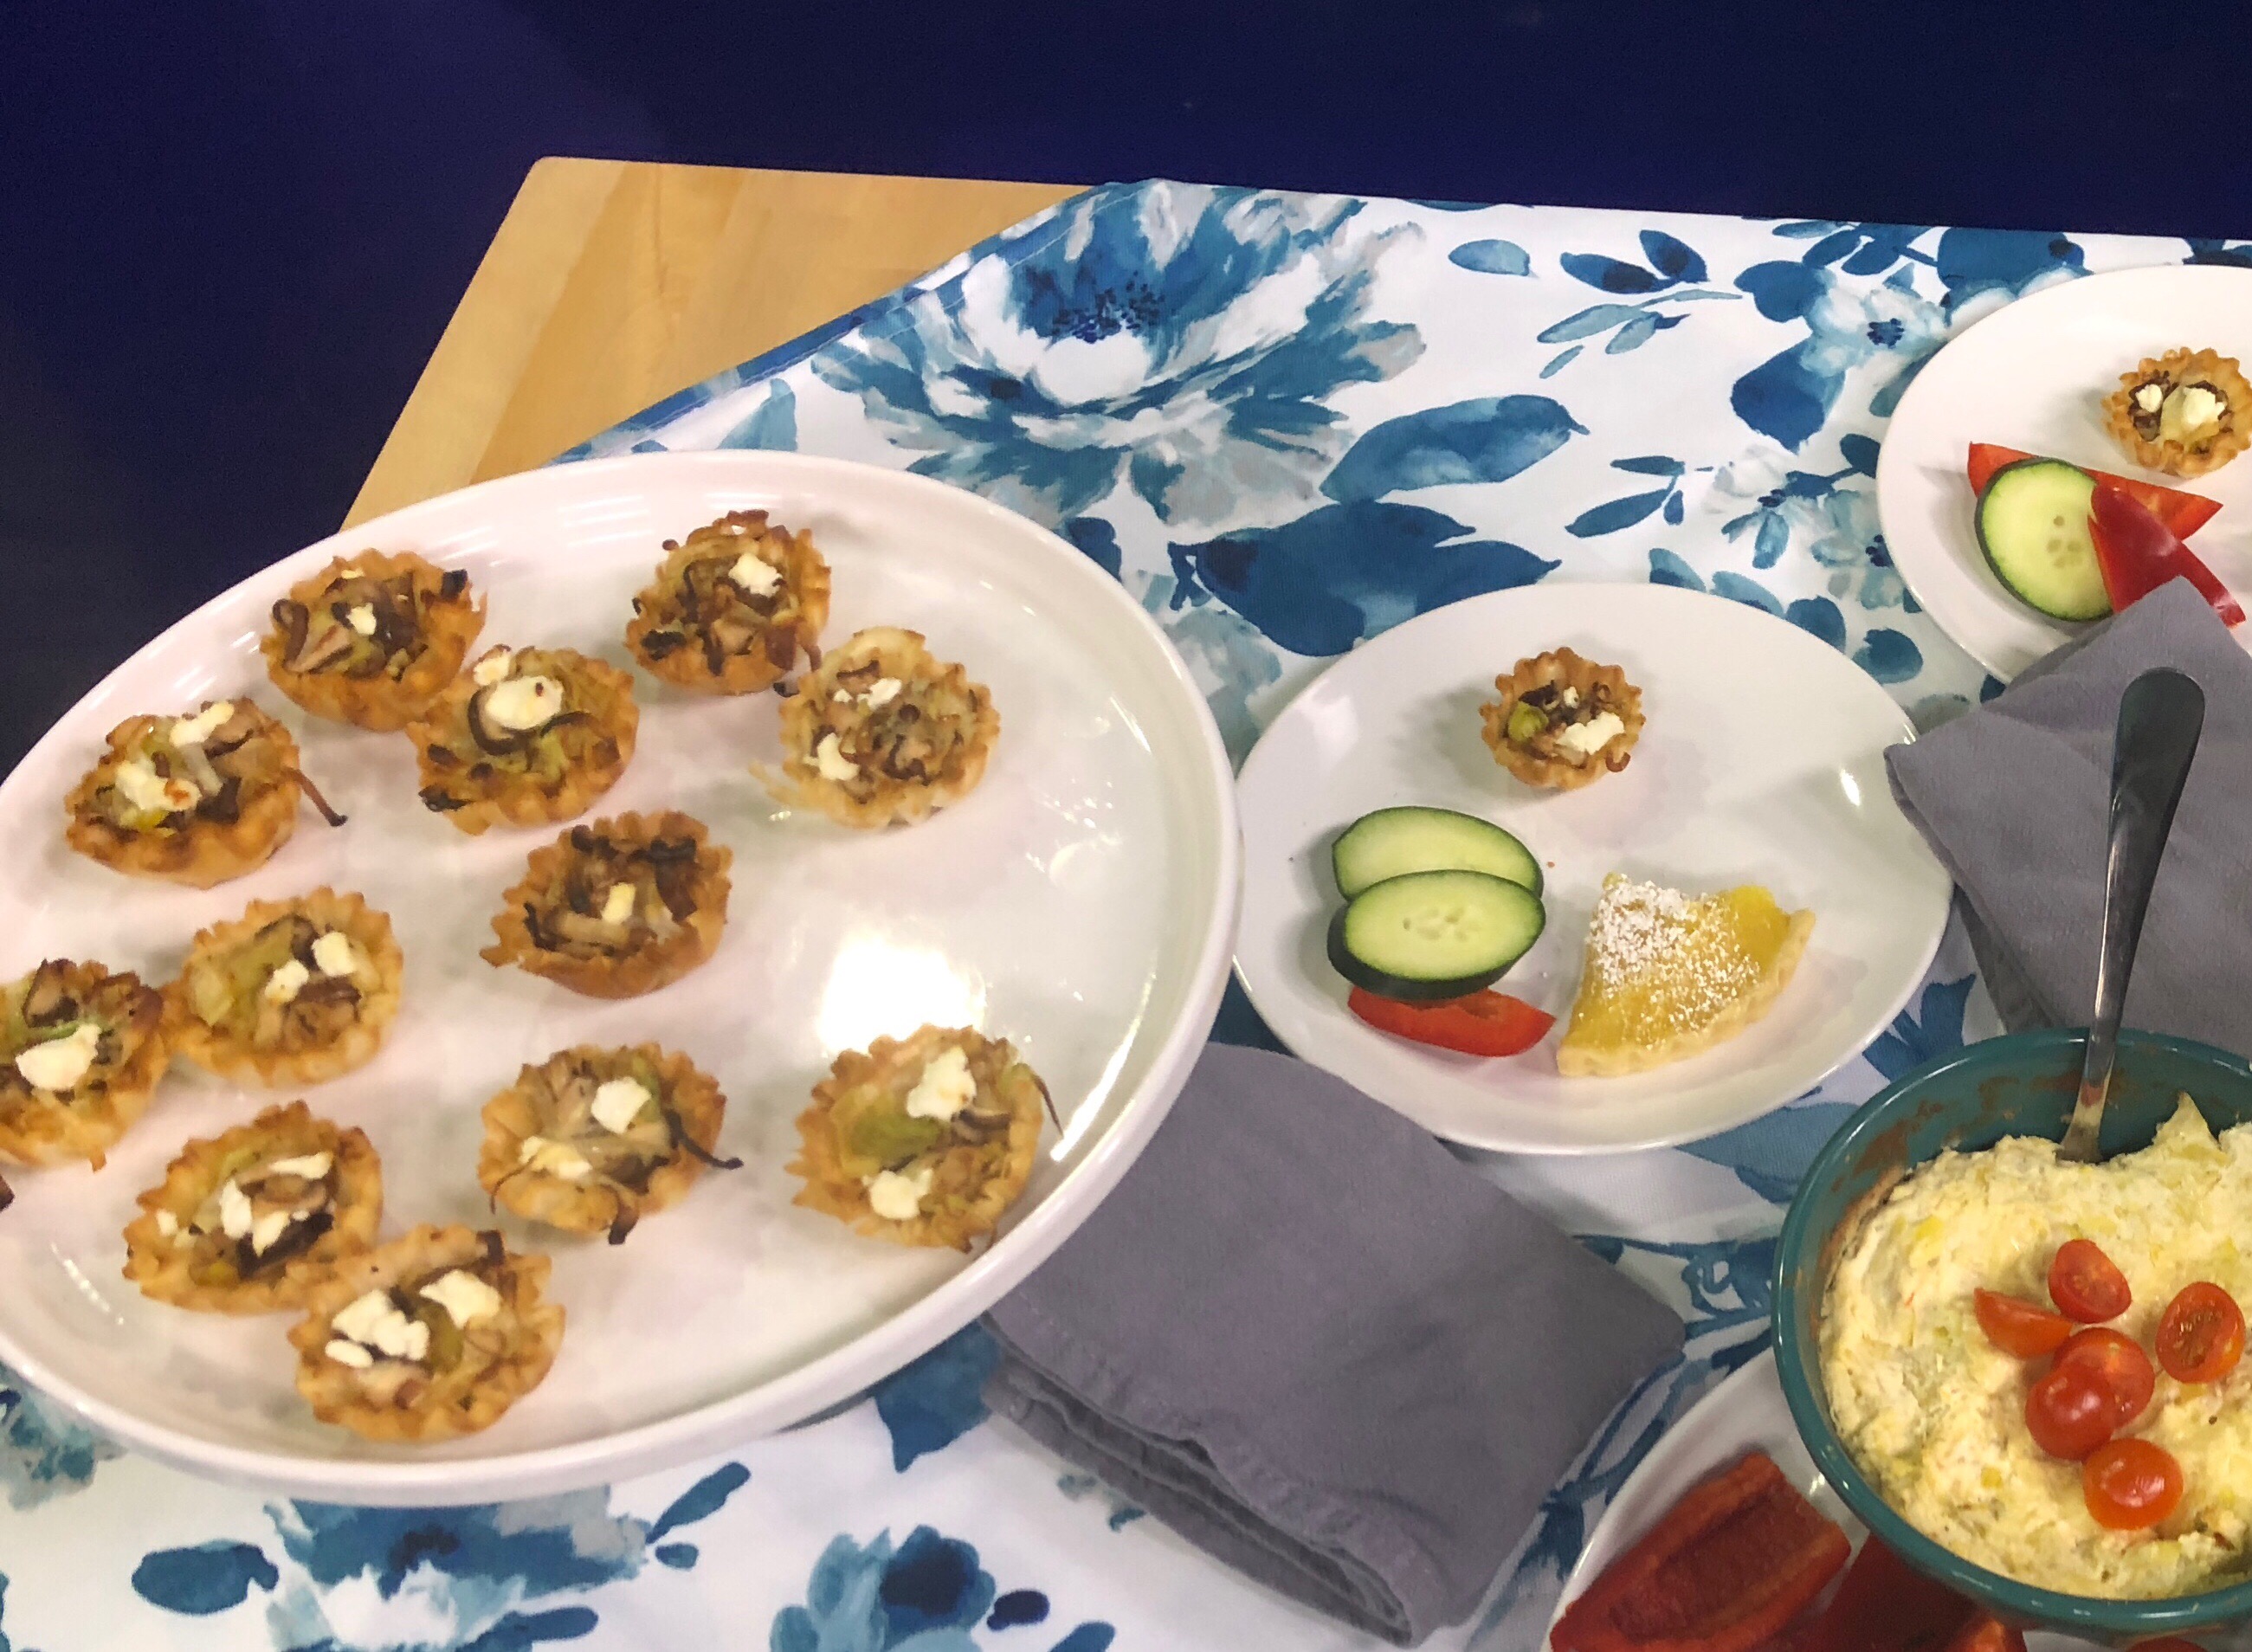
  4. Serve with chips, crackers, or vegetables!

Do you like leeks? Have you tried leeks? What feels like a thousand years ago, but was sometime in the last decade, I tried leek for the first time because it arrived in my CSA box. I had never had a leek in anything and had no idea what to do with the long white/green vegetable. Which part was edible? What do you do with it! Thankfully the internet came in with a win that day and I created a delicious leek and potato soup utilizing mostly the white part of the leek and just a little bit of the greens.

That experience began my love affair with leeks. I typically crave these mild onion-like veggies in the spring. When I saw that I could order them in my Imperfect Produce box I quickly put them in along with some wonderful shitake mushrooms. I knew I just had to put these two flavors together for a fun bite-sized appetizer.

This post is in partnership with Imperfect Produce. All opinions are my own. Imperfect Produce is a delivery company that sources “ugly” produce straight from the farm and delivers it to your door at 30-50% less than grocery store prices.

Mushroom and Leeks Tartlets

Mushroom and Leeks Tartlets

This recipe makes 15 mini-tartlets.

Ingredients:

  • Athens Mini Fillo Shells (find in many grocery stores’ freezer sections near pie crusts)
  • 1 cup sliced leeks (mostly the white part of the leek, a little of the green is fine.)
  • 1 cup diced shitake mushrooms
  • olive oil (about 2 tablespoons)
  • 3 cloves garlic minced
  • Goats Cheese (to taste…I used about 3 tablespoons)
  • Salt & Pepper

Directions: 

  1. Saute the mushrooms, leeks, and onions in olive oil until reduced and slightly browned. About 5 minutes.
  2. Put a small amount of goats cheese in each Fillo Shell. Top with mushroom and leek mixture. Then top with a little more goats cheese.
  3. Pop in an oven at 400 degrees Fahrenheit for 10 minutes or until goats cheese is slightly melted.
  4. Serve warm or at room temp.


I recently discovered that corned beef and cabbage isn’t actually Irish, but it certainly is a traditional dish at my St. Patrick’s Day celebrations! I look forward to it each year. This year I decided an appetizer twist on this classic St. Patty’s Day meal was necessary.

Corned Beef and Cabbage Hand Pies

This recipe makes 24 three-inch hand pies. However, if you have a large piece of corned beef you could easily add more pie dough to your plans and make more!

Ingredients:

  • 1.5 lb corned beef roast
  • 1/4 a head of cabbage thinly sliced
  • 1/2 medium-sized yellow onion thinly sliced
  • 4 nine-inch rounds of pie dough (I did pre-made but you could absolutely make your own!)
  • 1 egg
  • Olive oil, salt, & pepper

Corned beef takes a long time to make. However, it’s delicious and completely worth it! Follow the directions that come on your corned beef roast. I used my crockpot and cooked the roast on low for 8 hours. My directions will begin after the corned beef is cooked. You could absolutely pick up corned beef at a deli and make this dish!

Pre-heat your oven to 450 degrees F.

Directions:

  1. Sauté your cabbage and onion in a saucepan over medium heat until slightly translucent and browned.
  2. Dice your cooked corned beef and mix into the cabbage and onion mixture.
  3. Cut circles from your pie dough using a cookie cutter or glass.
  4. Using a rolling pin, roll out your circles of dough just a bit.
  5. Pile the corned beef and cabbage mixture in the center of a pie dough round. Top with another round of pie dough and crimp the edges to seal. Continue until all pie dough is used.
  6. Put on a parchment lined cookie sheet. Cut small slots into the top of each pie to let steam out.
  7. Crack your egg into a small dish and add a tablespoon of cold water. Whisk the egg until it makes an egg wash. Using a pastry brush or your fingers, brush egg wash onto each pie.
  8. Bake in the preheated oven for approximately 10-12 minutes or until browned.
  9. Serve with mustard or a delicious Russian dressing.

Do you have St. Patrick’s Day plans? Share below!