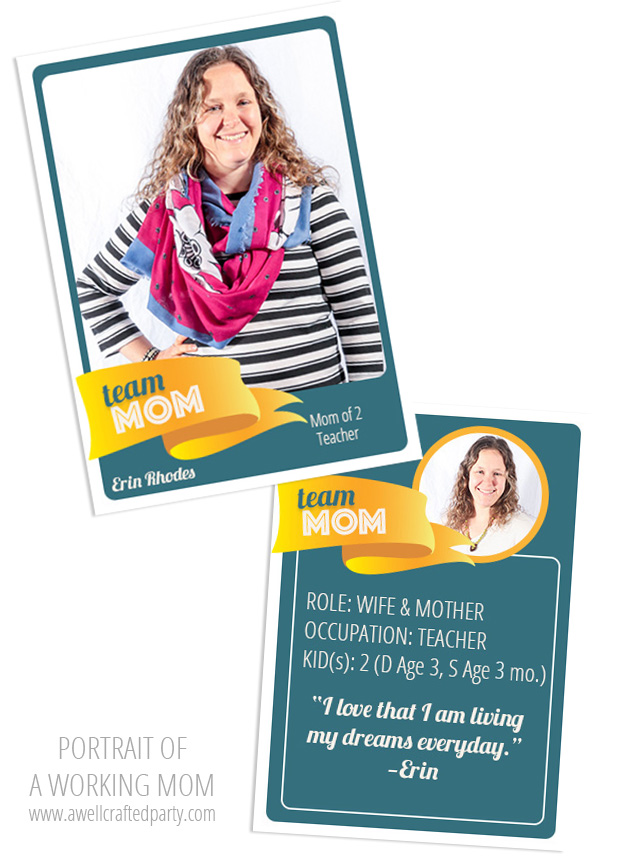
Working Moms: Teacher & Mother of Two
This post is a part of a blog series of stories of the working mom. I’m excited to share 13…
This post is a part of a blog series of stories of the working mom. I’m excited to share 13…

This is the first post in a series of stories on working moms. While I’m excited for the amazing variety…
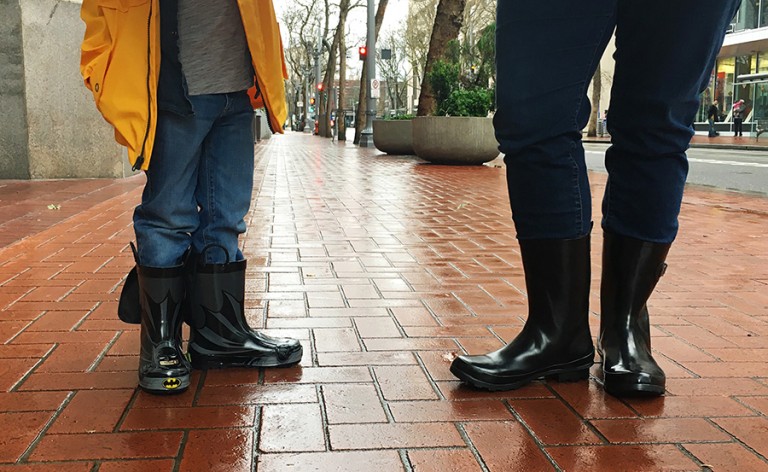
Western Chief sent complimentary rain boots to get us ready for a Pacific Northwest Spring and to introduce themselves…
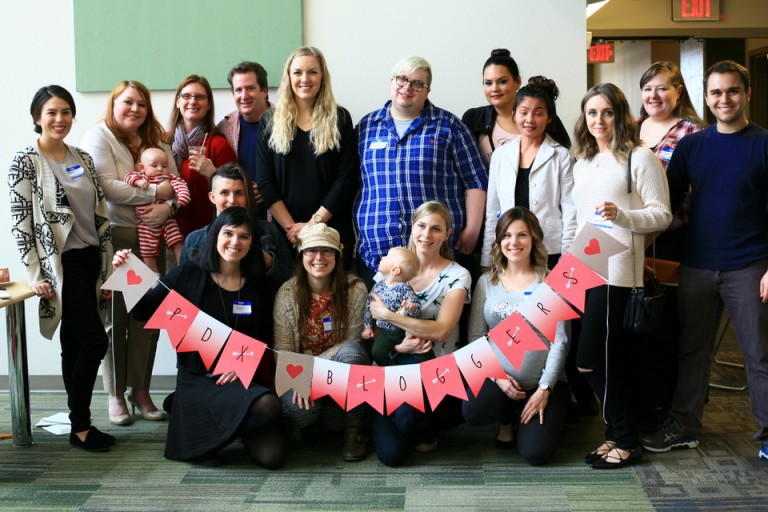
The Portland Bloggers, a local bloggers meet-up group and resource, hosted a Valentine’s Day brunch potluck this past month….
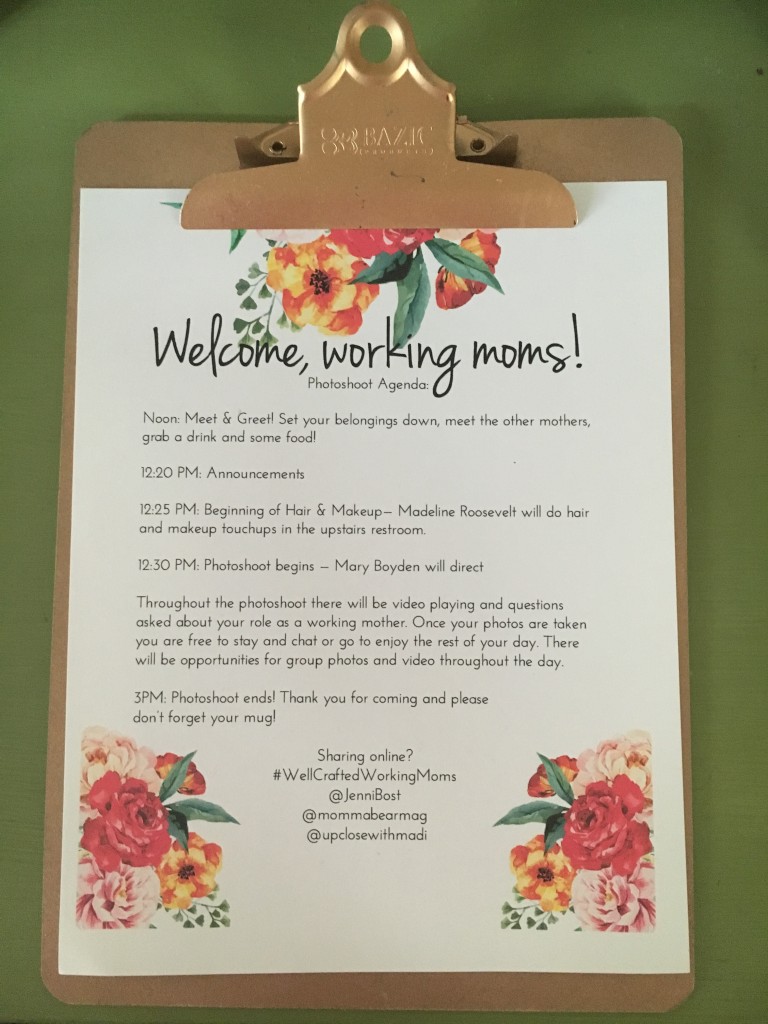
Just dropping in to show you what I’ve been working on behind the scenes these days! This April I’ll…