Black Forest Cocktail- Cherry & Chocolate Martini Recipe
Cherry and chocolate belong together. It is a fact and there is no disputing it. They especially go together…
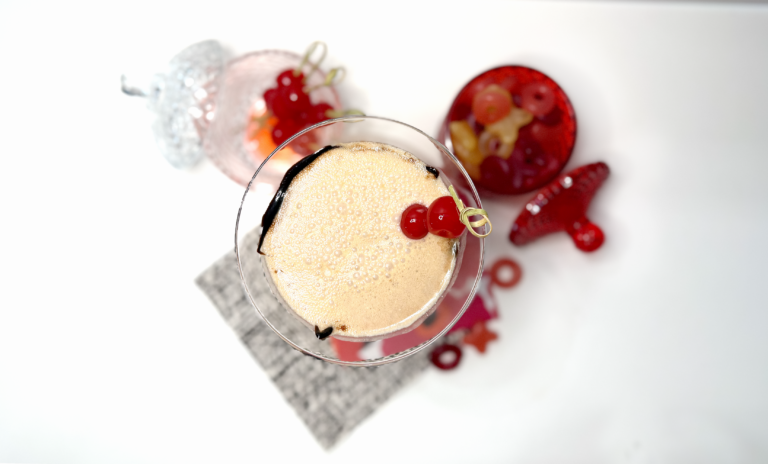
Cherry and chocolate belong together. It is a fact and there is no disputing it. They especially go together…
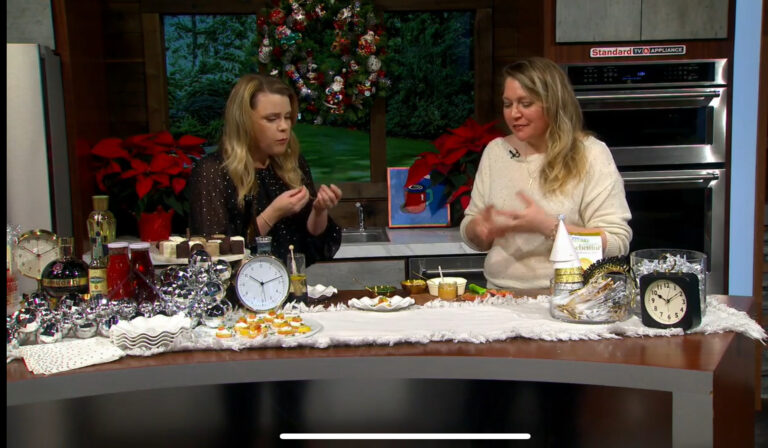
The end of the year is here. Again. And, if you’re like me, you’re not going out for the…

Home entertaining is a passion of mine because it helps bring people together. After years of working in restaurants,…
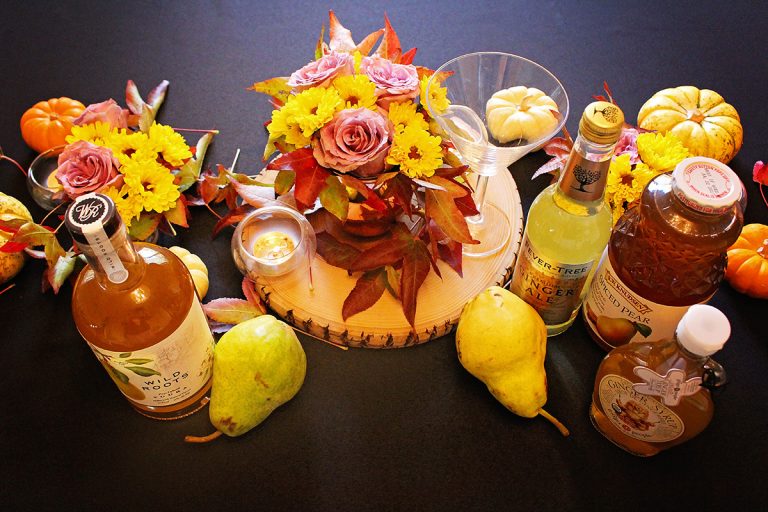
Be the reason your friends and family are thankful this Thanksgiving get-together by bringing one of these delicious Thanksgiving…
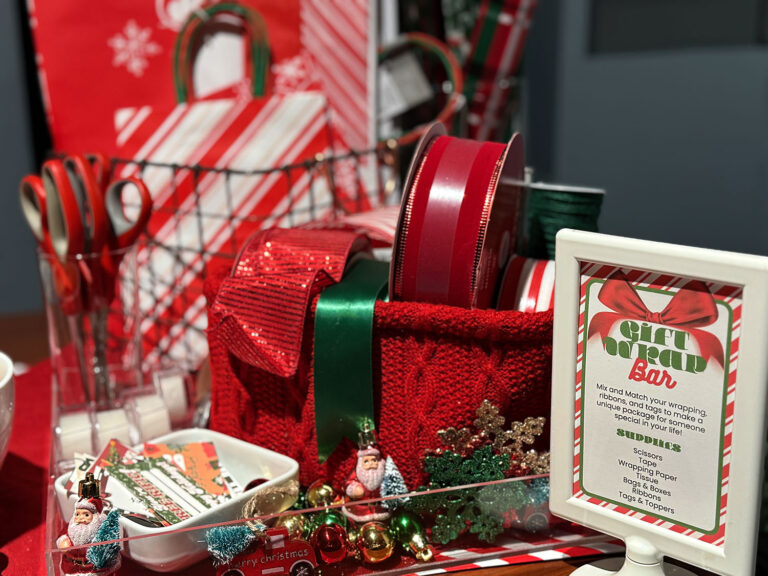
Moms (and dads) everywhere are currently decking the halls to make this season as bright as they possibly can….