Host a Cider Tasting Party – VIDEO
Tasting parties are so fun to do as they give guests a bunch of different choices and allows everyone…
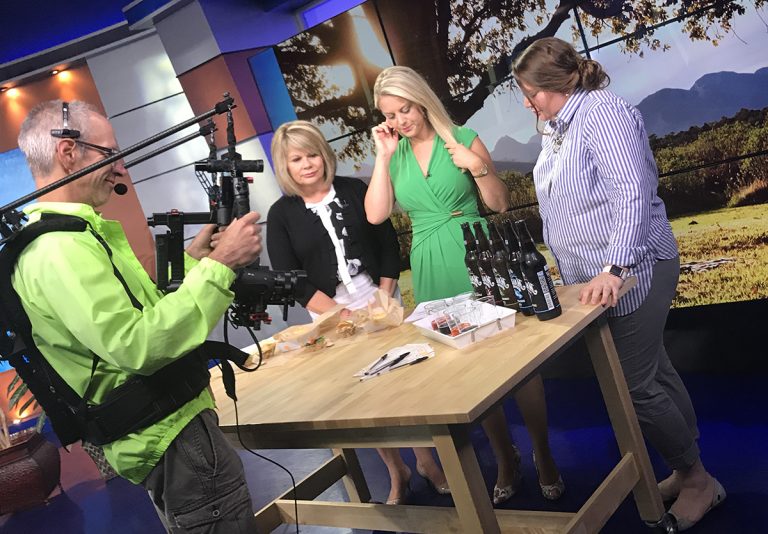
Tasting parties are so fun to do as they give guests a bunch of different choices and allows everyone…

I’ve always been the type of person that likes lots of choices. If you look in my fridge right…
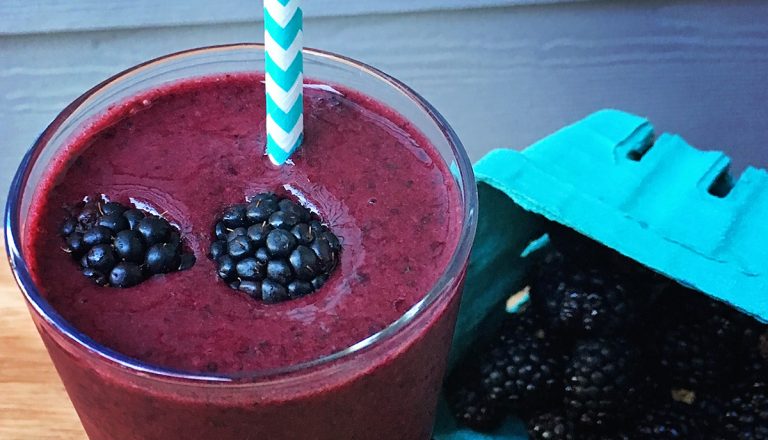
My husband and I have recently been on a bit of a smoothie kick. Our busy schedules make smoothies…
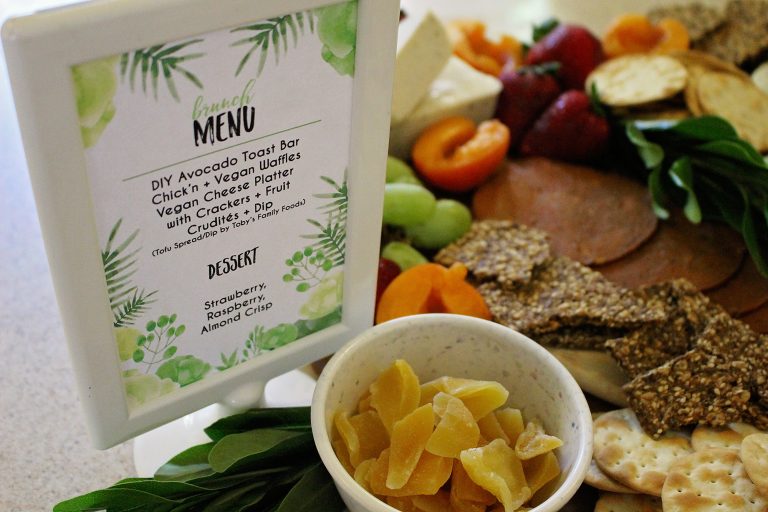
Whether baby number one, three, or five…. I whole heartedly believe in celebrating each addition to a family. When…

Ice cream anyone? I recently had the opportunity to share my tips for an ice cream party on KATU’s…