The One Where Pandemic Knocked Me Down and Out
Do you know what I couldn’t have predicted in a million years when I was thinking through the potential…

Do you know what I couldn’t have predicted in a million years when I was thinking through the potential…
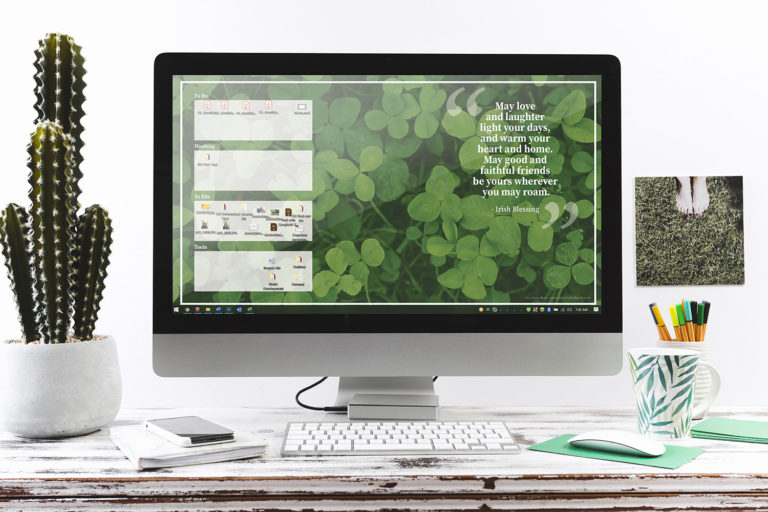
It’s St. Patrick’s Day Week! I am part Irish, though… not a large part, but for some reason that…
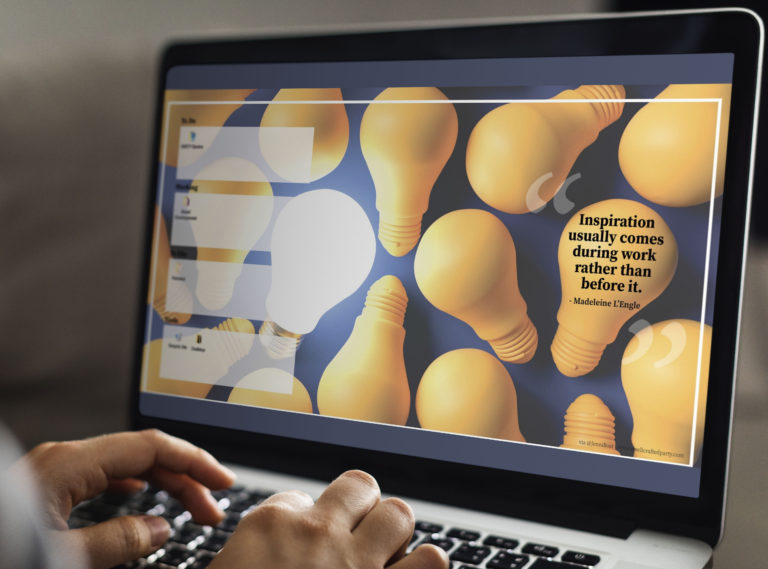
Welcome to my second Quote of the Week edition! If you are aching to get inspired then get to…

Vacations are necessary. I suck at taking them. It never fails that I work some or actually take a…
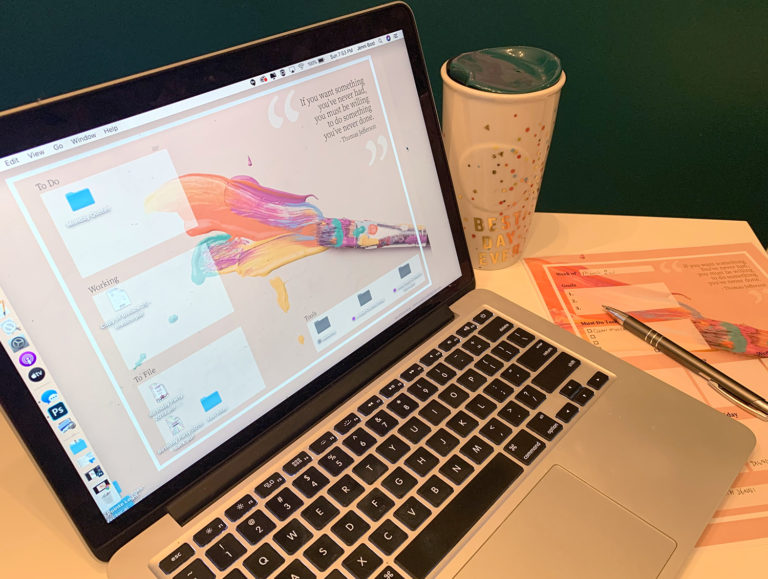
Free downloadable files of quote “If you want something you’ve never had, you must be willing to do something you’ve never done.”