Category

Adult Birthdays

Category

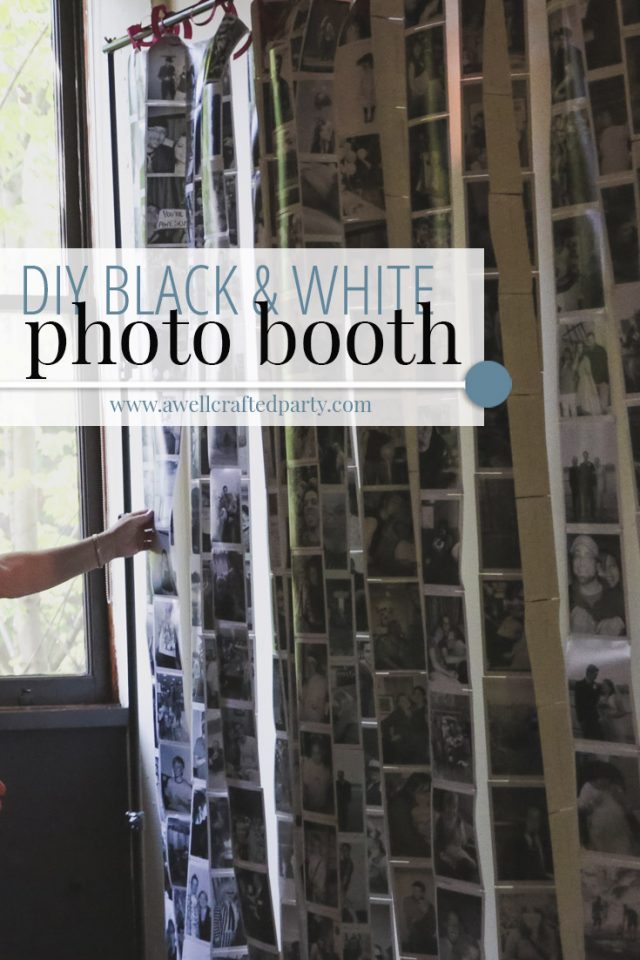
Photo booths are all the rage right now for a very good reason… they get people up and interacting, they provide great memories from the event, and well, they are just plain fun. I wanted to incorporate a photo booth in our 10th Anniversary Party and I also wanted to somehow include photos of our friends and family from over the past ten years. I contemplated a variety of different ways to do those items seperately before realizing that I should just combine the two which is how this photo memory black and white photo booth backdrop was born. Getting it put together was quite a feat and there are things that I didn’t like about the finished project which I’ll add in my tips below to avoid those issues. Overall, the photo memory backdrop and photo booth ended up being one of my favorite projects from the day. A big shoutout to Mary Boyden Photography for all of the event images.

DIY Photo Memory Black and White Photo Booth Backdrop

When designing this backdrop I knew that I would want to have a few things right off the bat:

  1. An impressive sized backdrop featuring images from over the past 10 years.
  2. Black and white images that would end up being a fun photo backdrop.

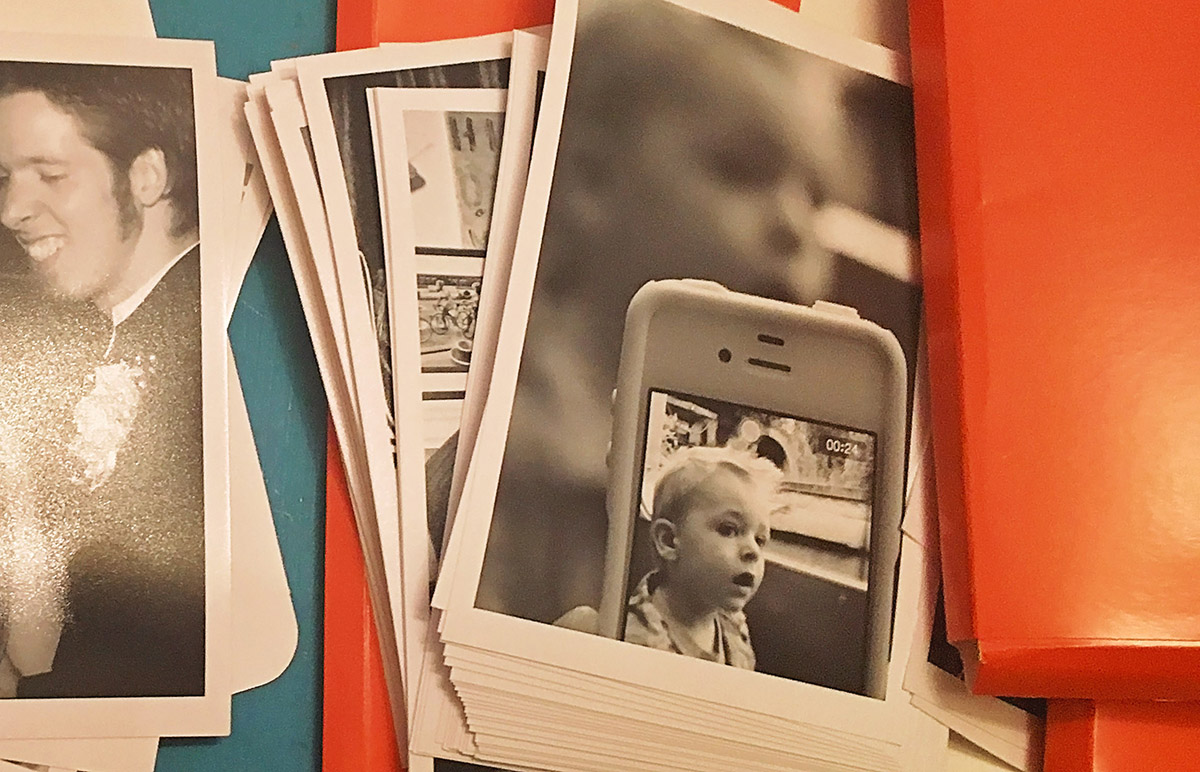
I debated a couple of different ways to create this backdrop.  My first thought was to use a few photos blown up and printed as engineering prints for a big bold backdrop. I decided against this option because I wanted to use photos of our guests and us and there were just too many to narrow it down to just a few larger images. My second thought was to use a ton of images printed as 4X6 images in black and white. Because it was going to be photographed I wanted it to not have a big shine factor so I knew I wanted matte prints. I guess I could have gotten 5X7 images or 8X10 images but the cost of that seemed to be a lot more than the 4X6 prints. Finally, I decided to put a white border around each of the prints so that there was some uniformity and white space in the backdrop.
DIY Black and White Photo Backdrop

DIY Black and White Photo Backdrop


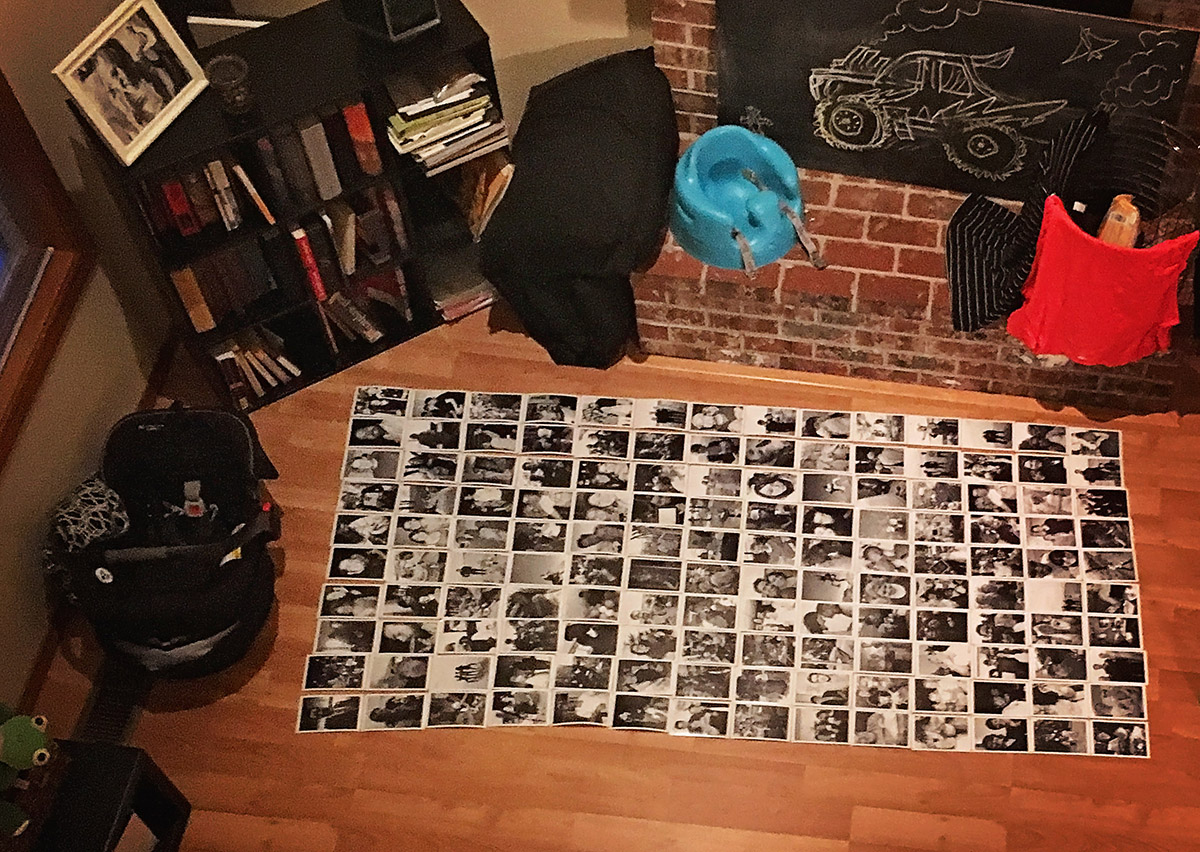
Putting the backdrop together took some time, patience, and a big open space on the floor. The backdrop was approximately 10 feet across and 7 feet tall. I did the math and found that I needed approximately 420 4X6 images to create my backdrop. I purchased the images using Shutterfly. I saved a ton of money using coupons and ended up spending approximately $35 on the whole thing. If you paid full prize at Shutterfly it would only cost around $63 (before shipping) which is amazing for a project this large. (Note: This post is not sponsored in any way… just sharing the company I used for this project.)

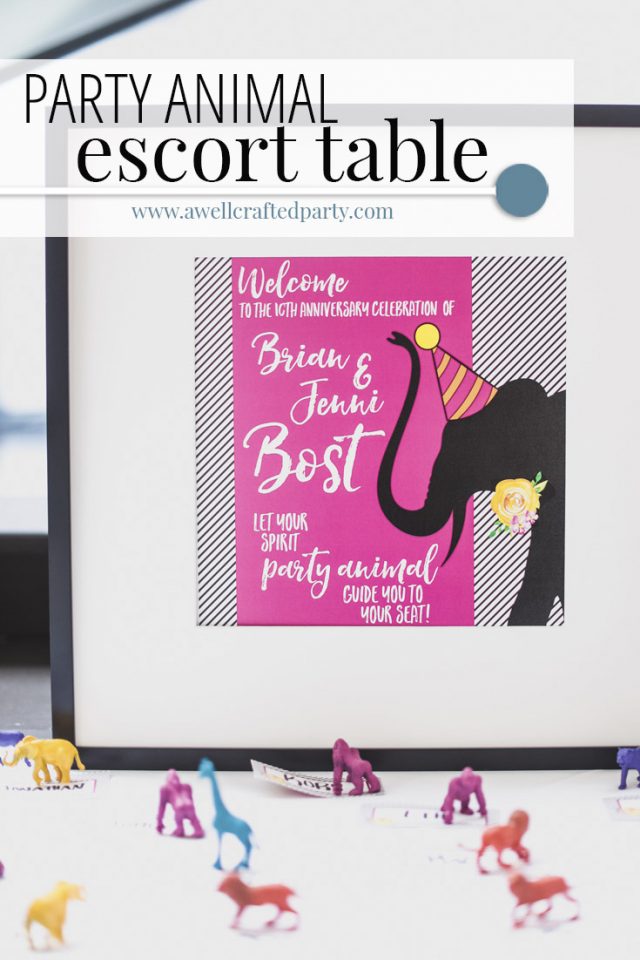
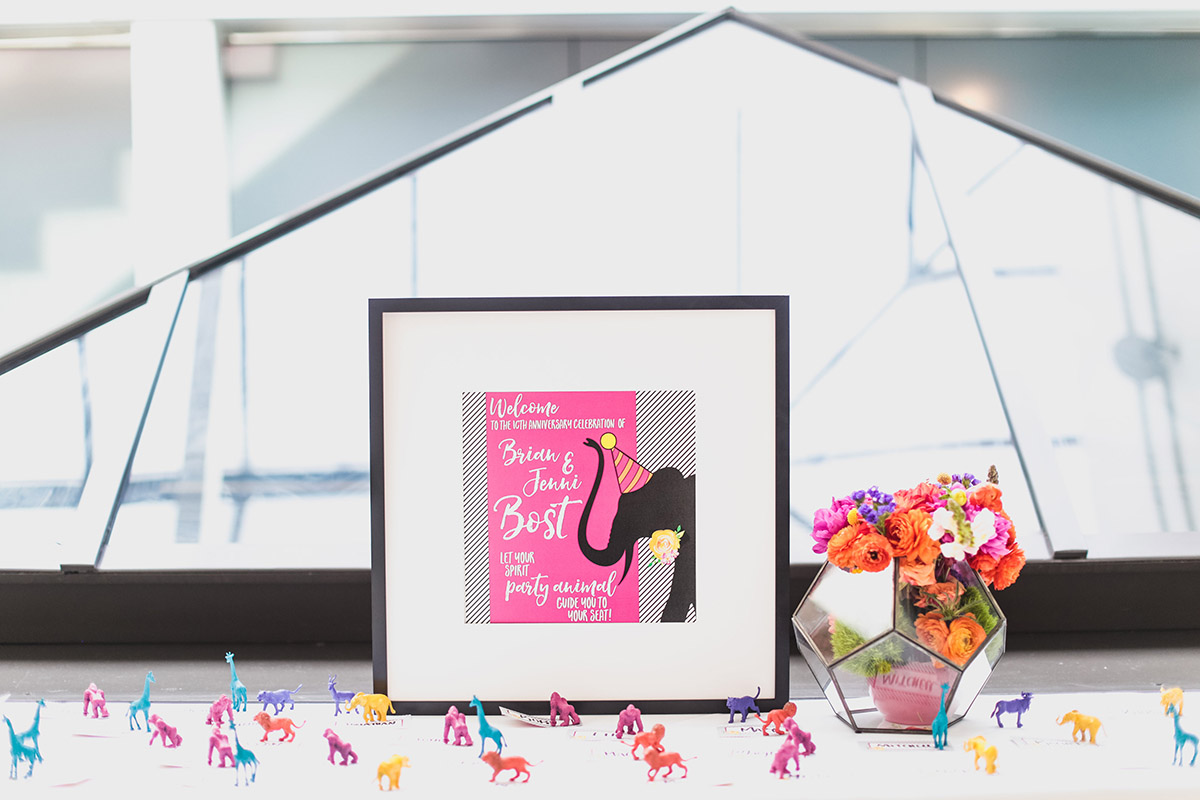
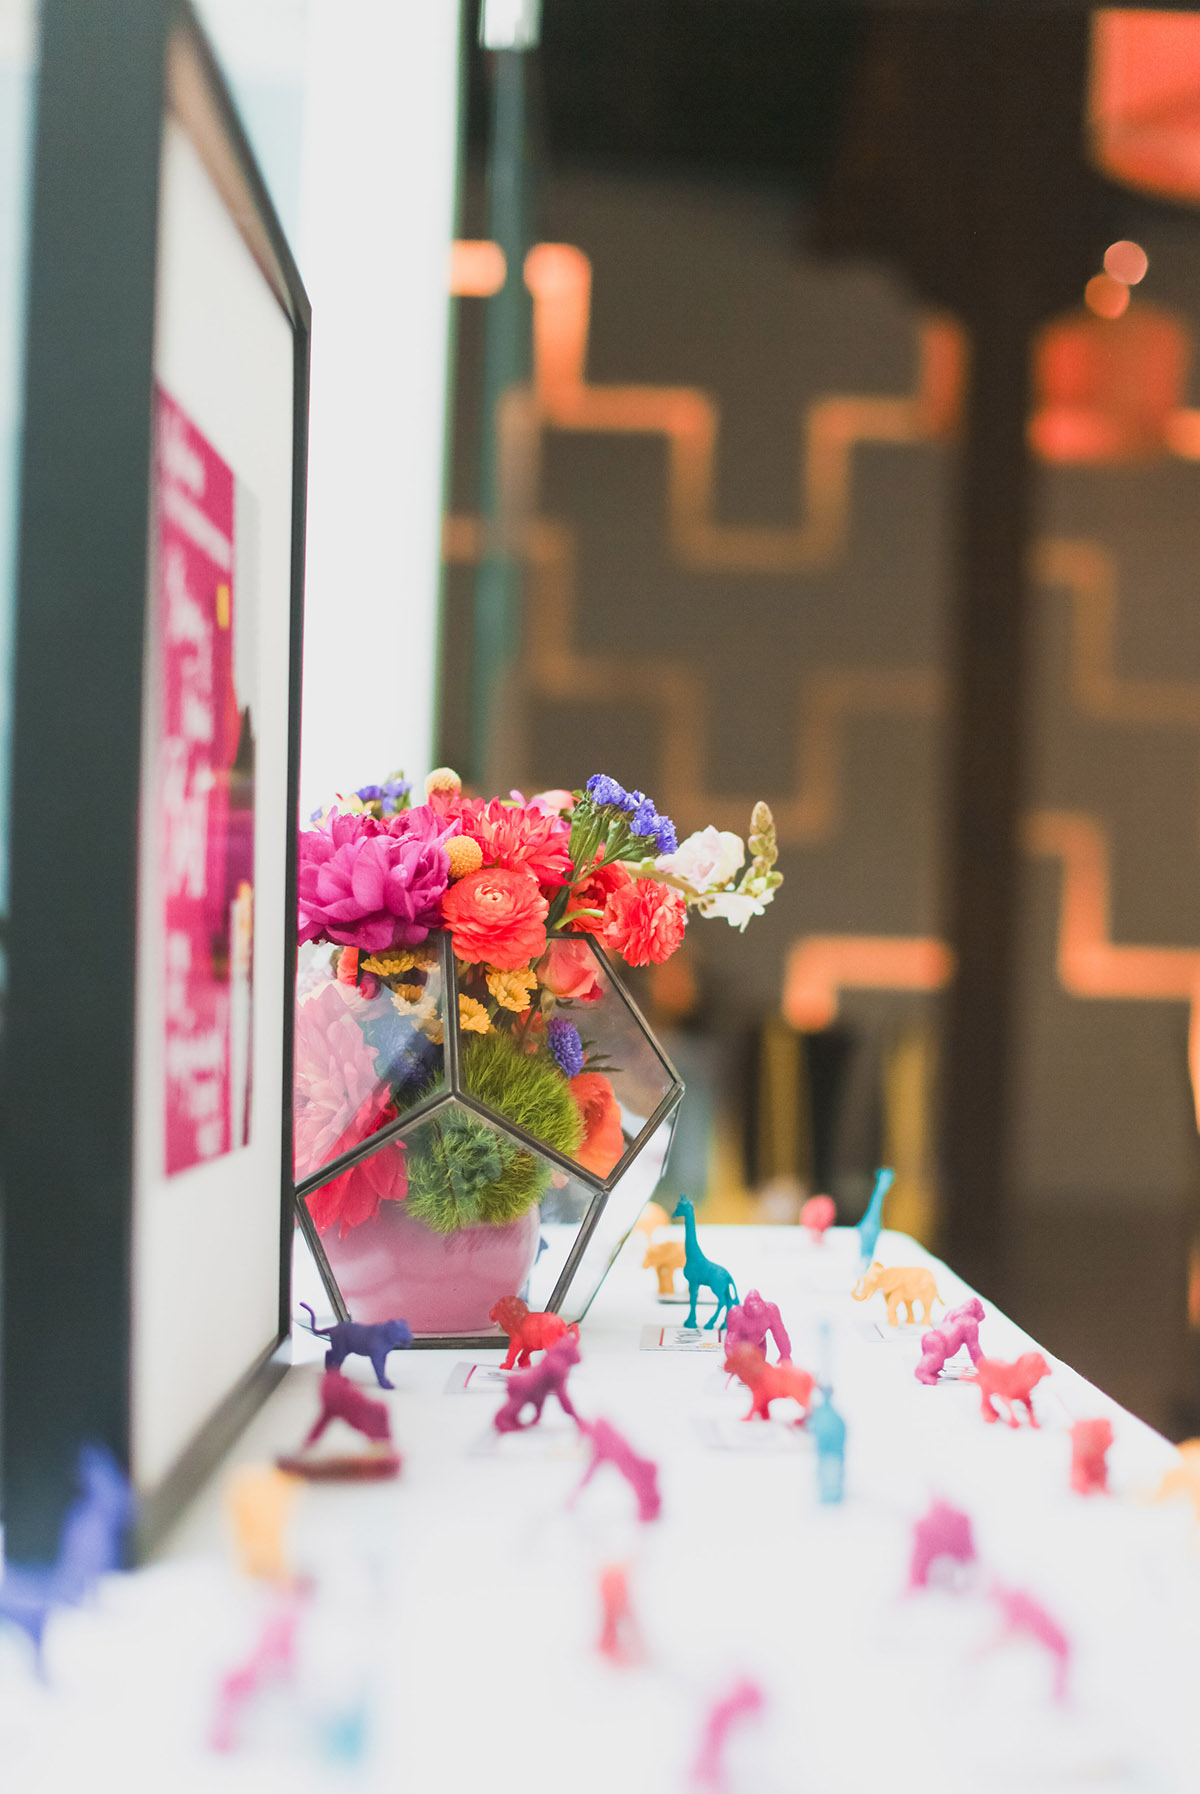
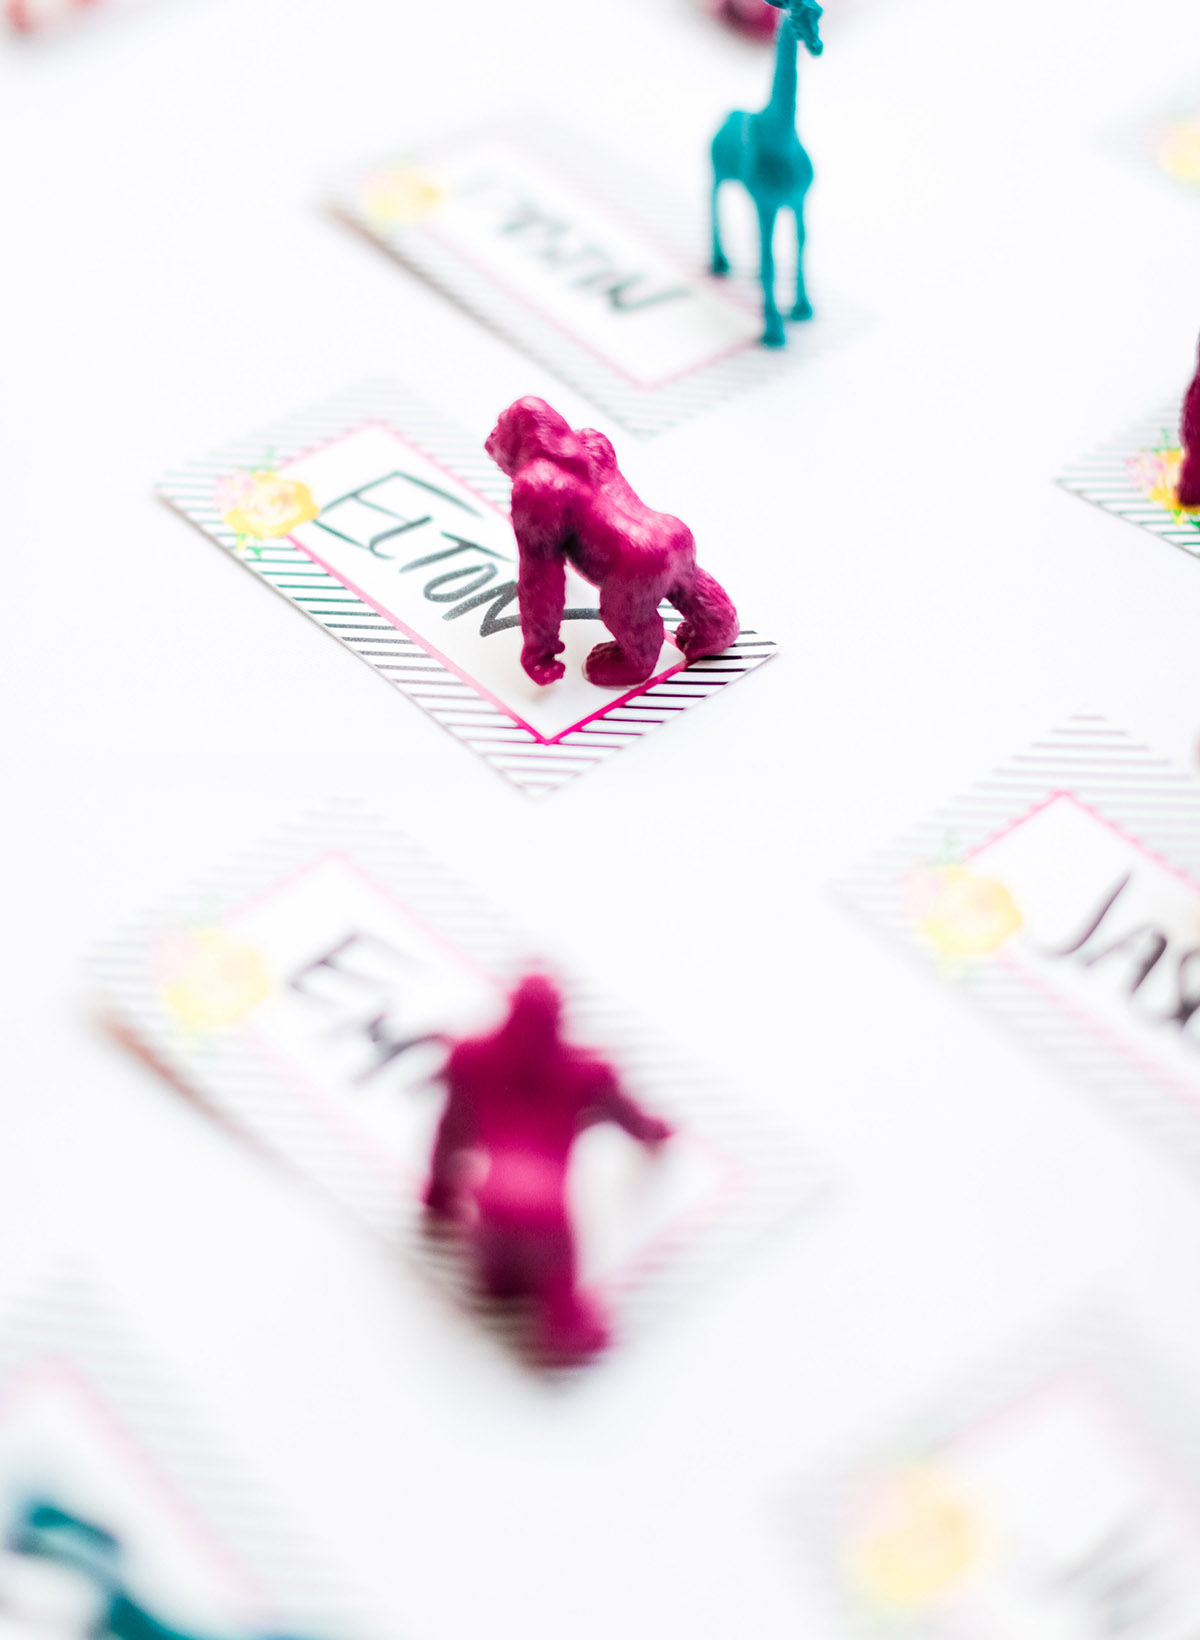
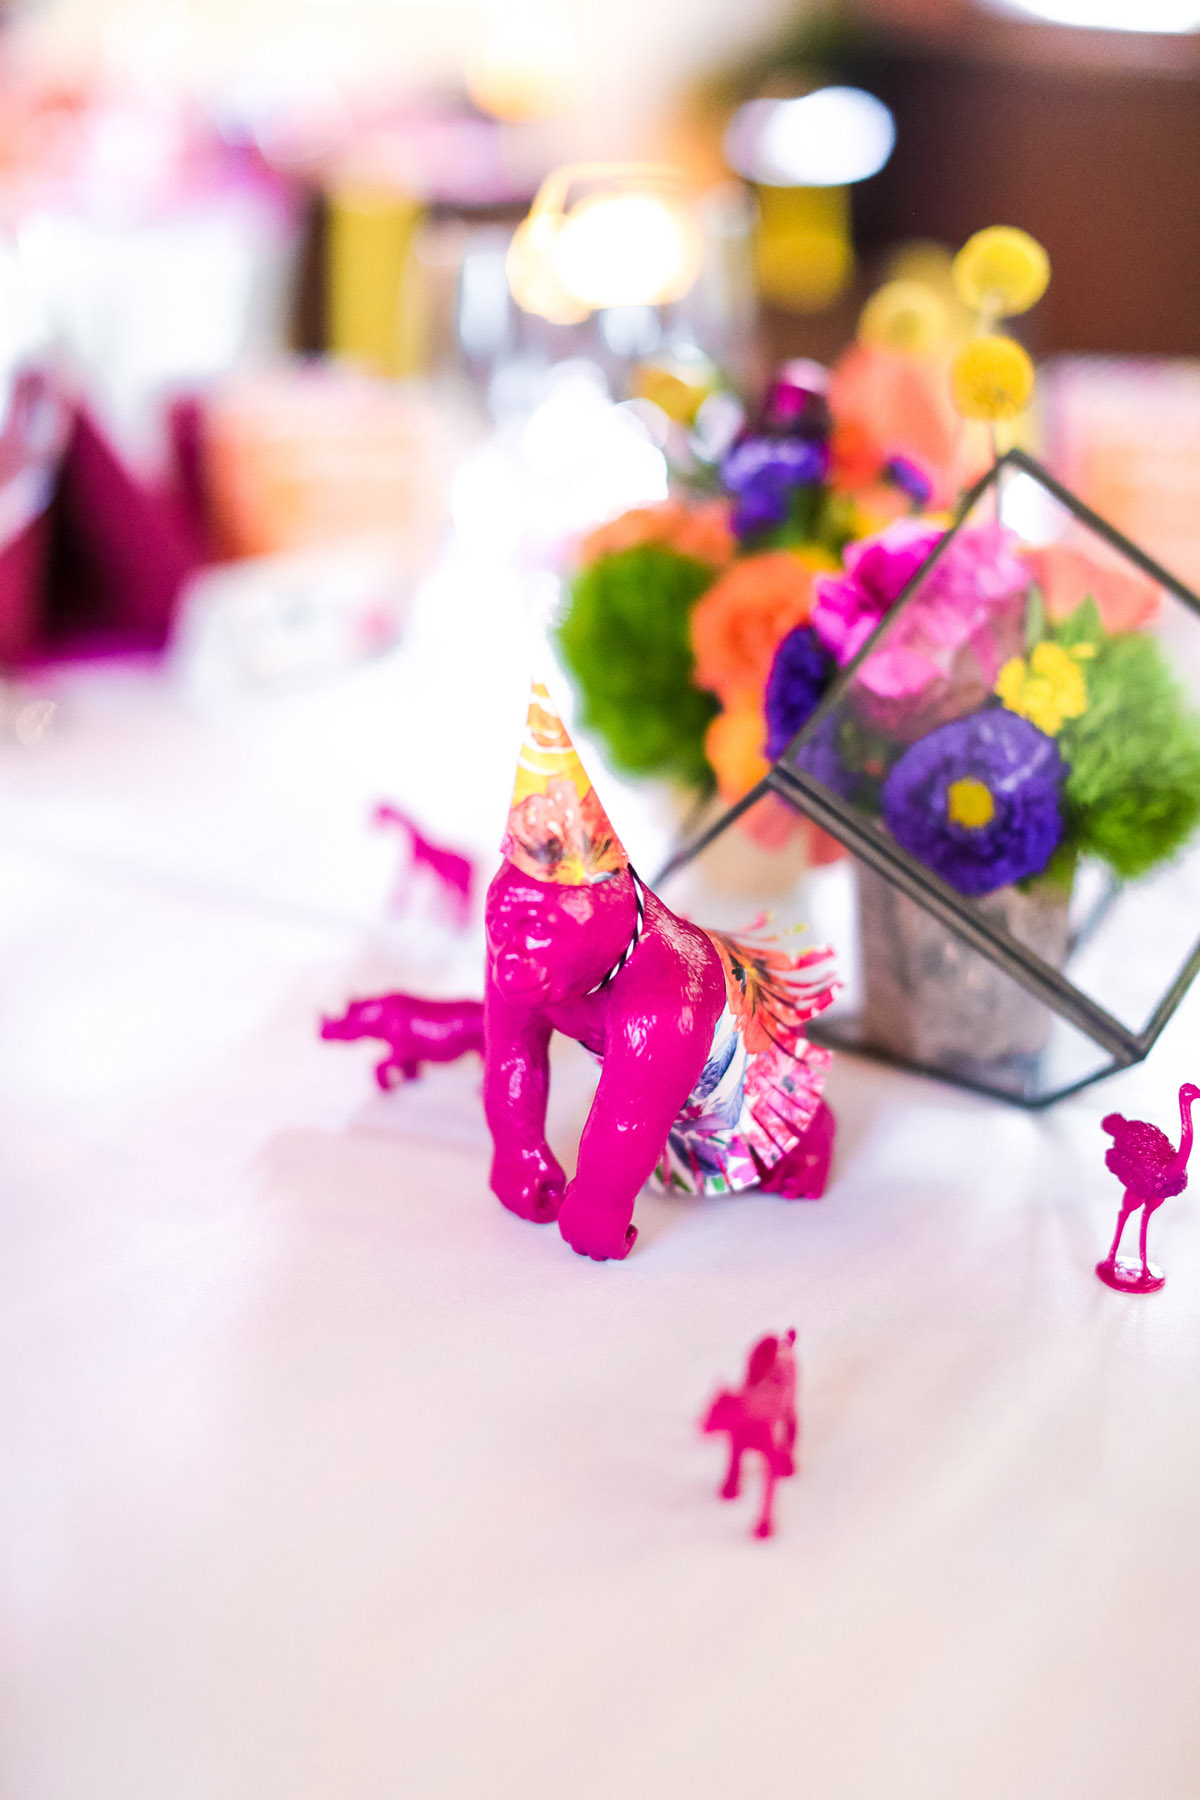
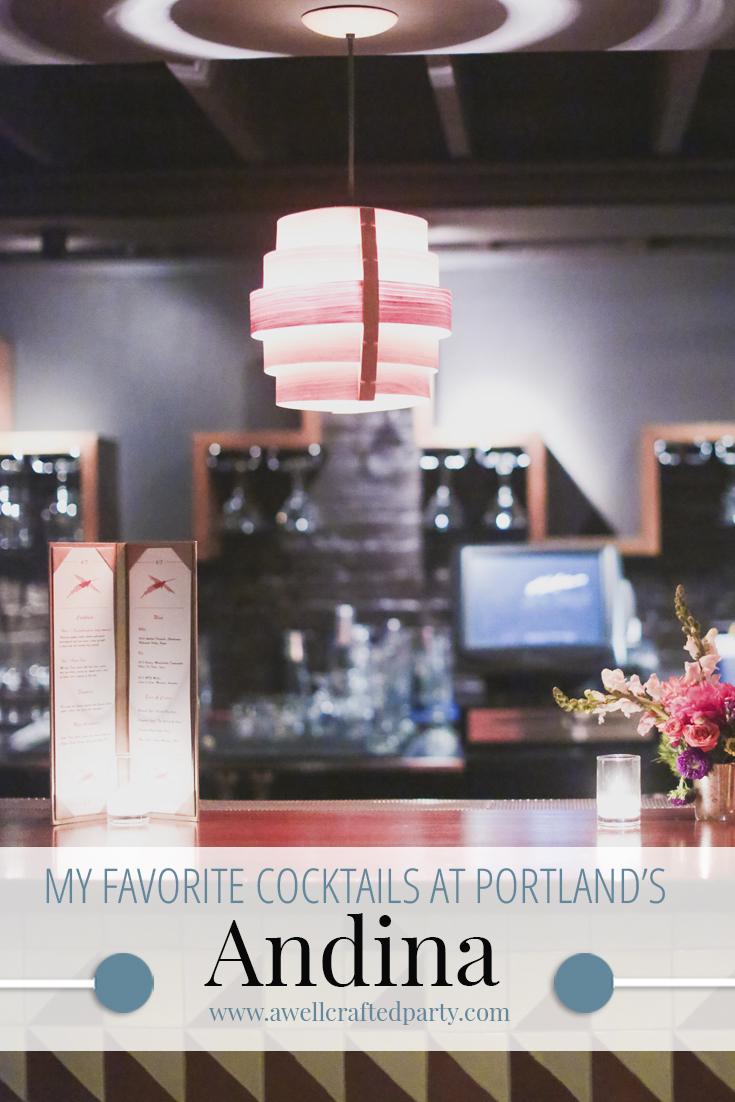
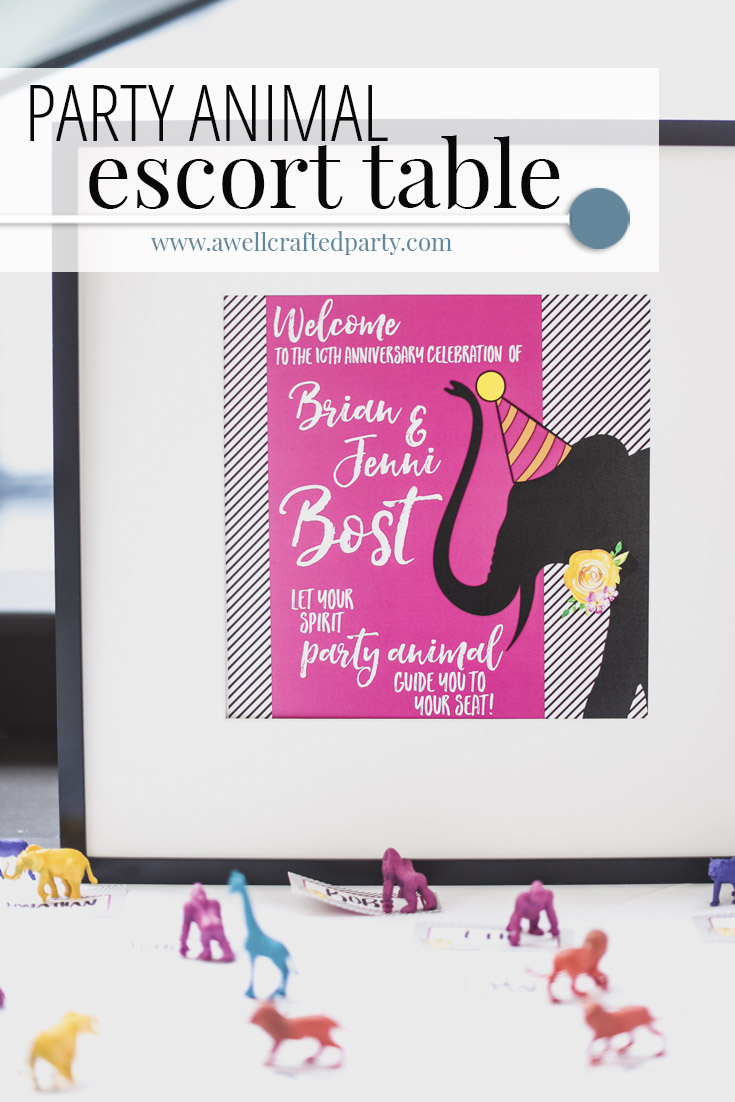
When planning my 10 Year Anniversary party at a local Peruvian restaurant I knew I wanted to decor to nod to the amazing food that Andina serves. I wanted it to be bright, bold, and a lot of fun. After selecting the color scheme I got completely stuck on what to do for the escort table. In the end, I let my spirit party animal lead the way and I created this fun Party Animal Escort Table as well as some great event table decor.

Read on to see just how I created these elements…


Party Animal Escort Table from A Well Crafted Party with photos by Mary Boyden

Party Animal Escort Table from A Well Crafted Party with photos by Mary Boyden

DIY Party Animal Escort Table

Affiliate links marked with *.

You’ll need:

  • Plain or decorative cards to write the names of your guests
  • Hot glue
  • Plastic animal figurines* – Purchased the set of 60 from the set by Jungle Resources on Amazon.
  • Large animal figurines* – Purchsed the set of Jumbo animals from Jungle Resources on Amazon.
  • Spray Paint in chosen color(s) and a clear coat of polyetherlene
  • Paper, ribbon, glue for making tiny party hats and the like


Party Animal Escort Table from A Well Crafted Party with photos by Mary Boyden


Party Animal Escort Table from A Well Crafted Party with photos by Mary Boyden


Note: I chose to do multi-colored animals matching type of animal and the color. But, you could also do these all the same color. Just make sure your small animals match the animals that you use as your table markers. For instance, everyone at the table with the gorilla got an escort card with a gorilla on it as well.

Directions: 

  1. Spray paint the figurines. I chose have the animals and colors match for each individual table. For instance, all the elephants were painted yellow. This may take several coats and should be done over the course of a few days.
  2. Spray dry figurines with the clear coat spray.
  3. While you are waiting for those to dry, write or type and print your escort cards on decorative card stock.
  4. Hot glue the little figurines to the appropriate escort card. You will need to hold the animal to the card until the glue is dry.
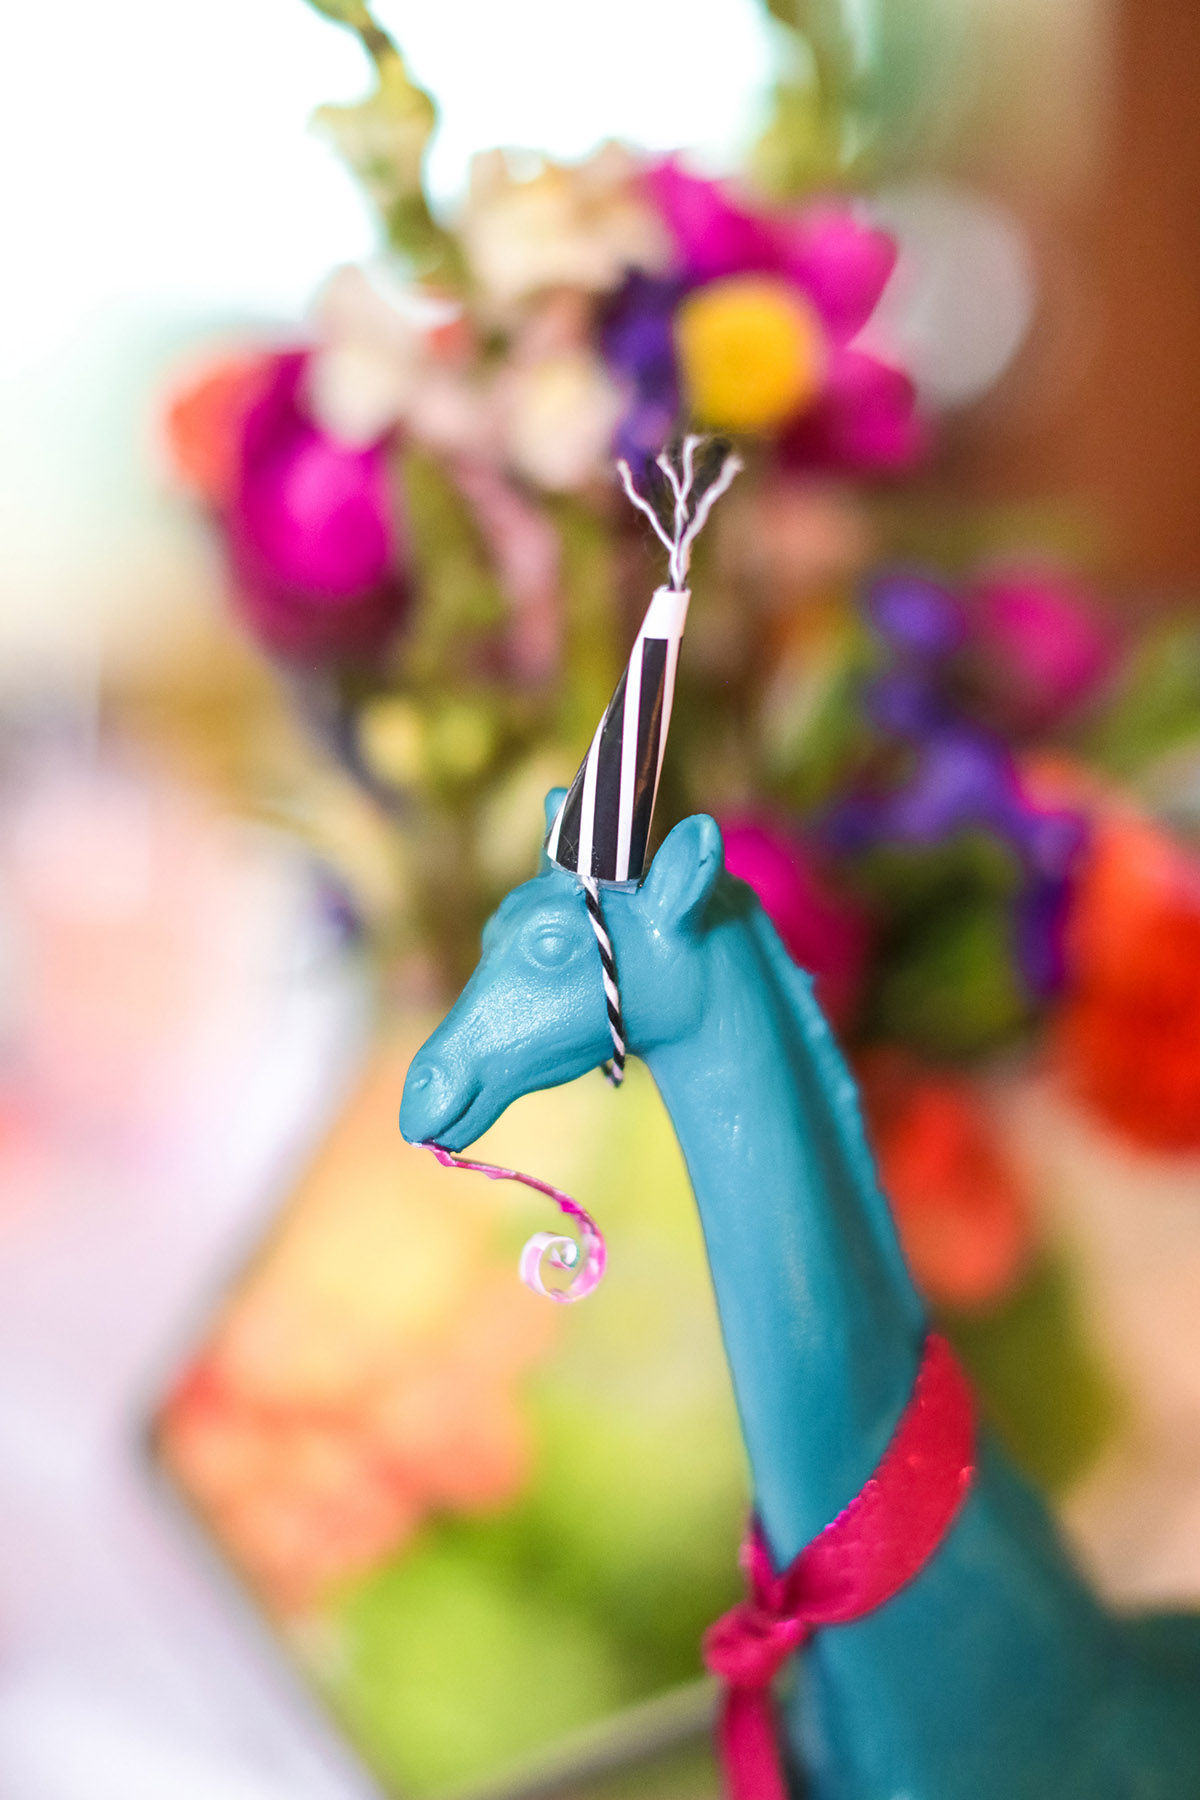
  5. Add hats, bows, and decorations to the larger animals as you see fit. Attached with hot glue. We chose a variety of cut out decorations for our animals. My sister in law created them all on her own with some paper, glue, scissors, and ribbon!


Party Animal Escort Table from A Well Crafted Party with photos by Mary Boyden


Seriously Awesome Vendors and Resources

affiliate links marked *

More Posts from this party

  • My Favorite Cocktails from Andina
    My Favorite Cocktails from Andina
  • 10 year anniversary party
    10 year anniversary party
  • Special Occasion Makeup Ideas from A Well Crafted Party
    Special Occasion Makeup Ideas from A Well Crafted Party
  • 10th Anniversary Party Invitations
    10th Anniversary Party Invitations
  • Party Animal Escort Table from A Well Crafted Party, photo by Mary Boyden
    Party Animal Escort Table

When AwesomeBox approached me telling me that they had the most awesome gift idea for those touching holidays and life-happenings such as Mother’s Day, Father’s Day, Graduations, milestone birthdays, wedding showers, anniversaries…well, you get the idea, I wasn’t completely sold. I wasn’t even sold after using the service complimentary, until I heard EVERYONE exclaim about just how AWESOME this gift was when I recently gave it to a friend for her graduation and 30th birthday. I received an AwesomeBox and shipping in exchange for sharing my experience with you, my readers. All opinions are my own. Please check out my policies for more information on A Well Crafted Party’s sponsored content. Note: Personal images/ last names have been blurred/removed. Print quality is crystal clear and beautifully done! 

“Wow, it’s really awesome,” said my husband after looking through the gift that myself and 9 other people worked together to create for a dear friend and family member’s 30th birthday and graduation party.

It wasn’t the first time that day that I heard those words strung together and I couldn’t help but think that they certainly named the “Awesome Box” well. Recently I had the opportunity to set up and order an AwesomeBox for a friend.

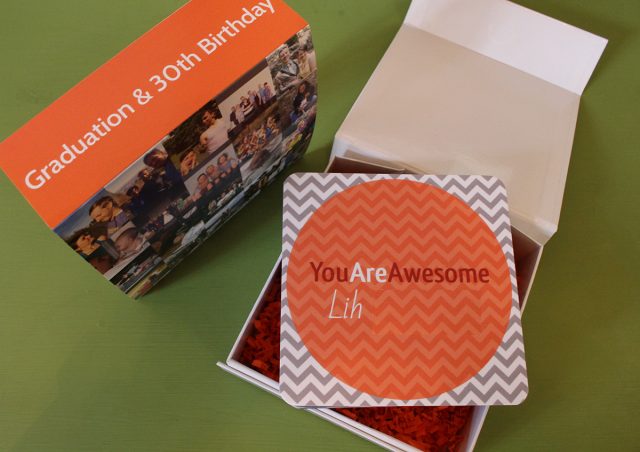
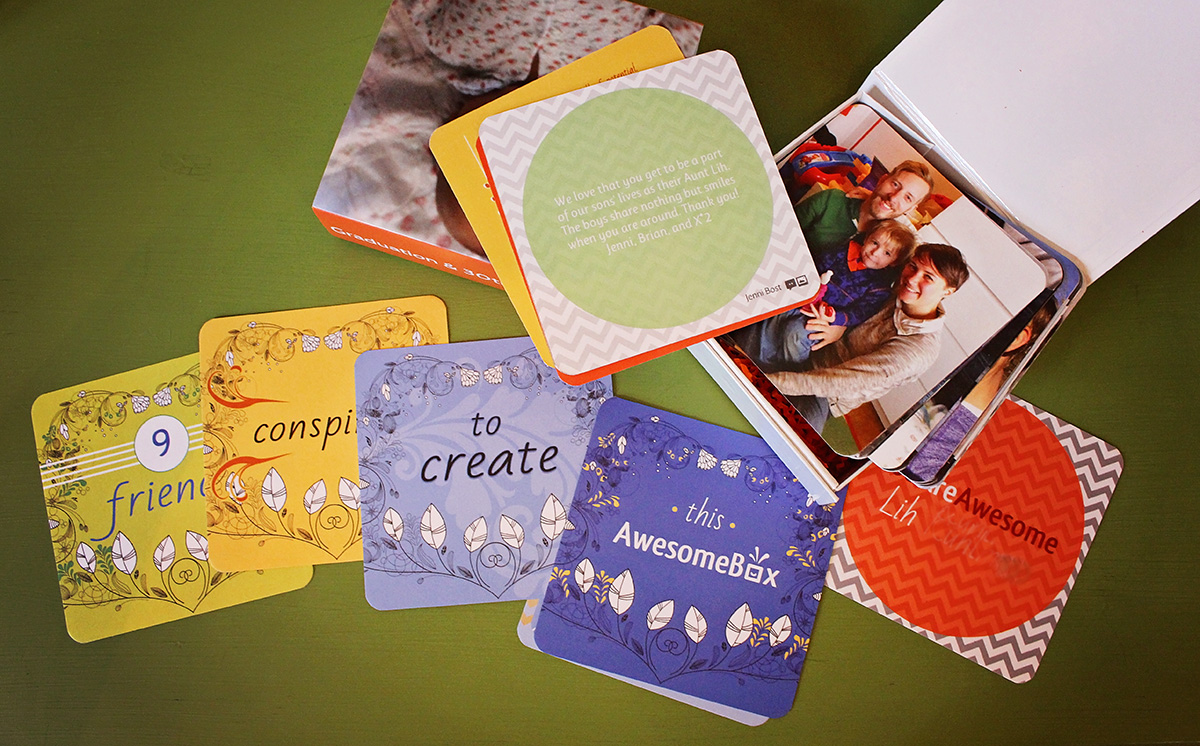
What’s an AwesomeBox? Well, it really is a box full of awesome. Okay, I’ll try to refrain from using that word for the rest of the post. This neat little gift is a collaborative box of images and quotes put together in a well-designed package. The cards are 5 1/4 inches square with rounded corners. There are cards describing how many people contributed and then cards with images on one side and quotes on the other. Collaborators each upload images and quotes to build the box.

Sponsored Post: Setting up your AwesomeBox - featured on A Well Crafted Party
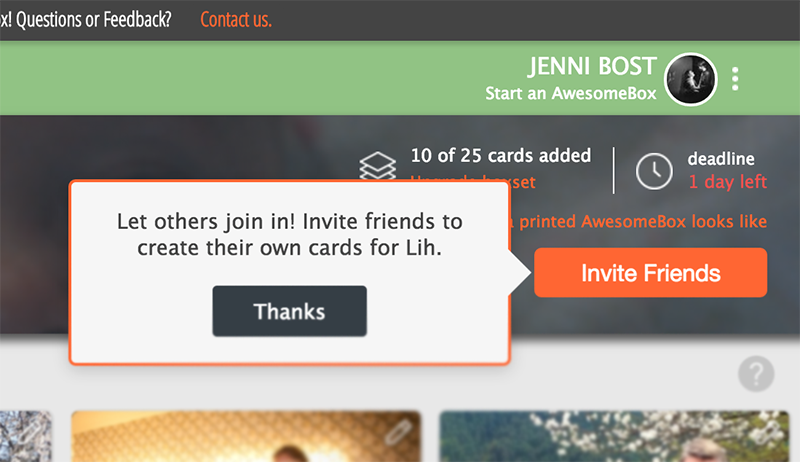
Choose to make the AwesomeBox by yourself or invite friends to join in on the creation. The real beauty of this gift is the opportunity to have many people pitch in to truly make the gift special.

How to create an AwesomeBox

Creating this easy, sentimental and fun gift is super easy. You simply visit www.AwesomeBox.com, create an account and select “Start a Box.” You can then upload images and quotes for the AwsomeBox. You will also have the opportunity to invite collaborators to upload images and quotes.

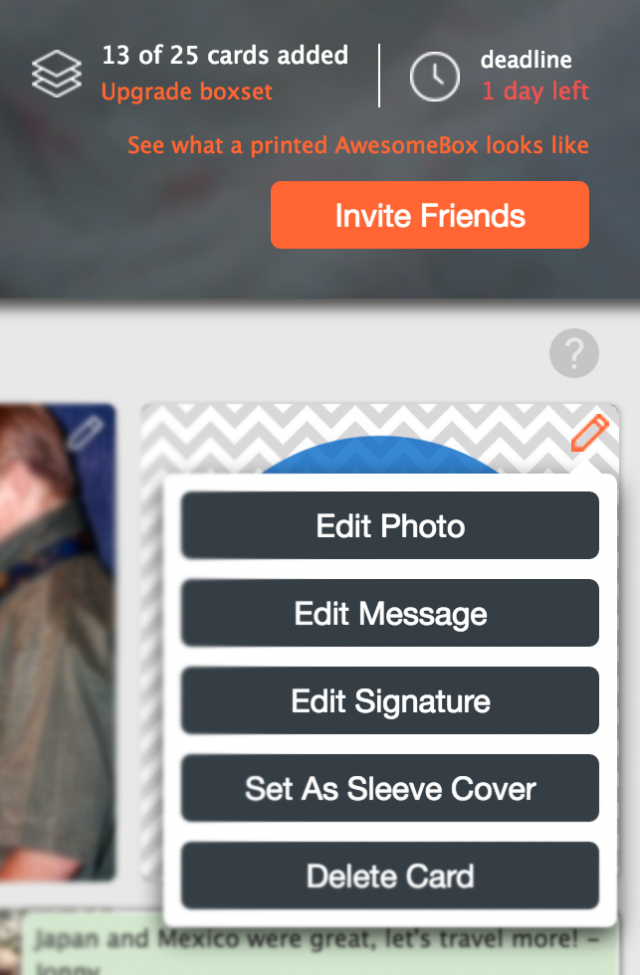
Sponsored Post: AwesomeBox Editing Options
The options for editing the AwesomeBox include photos, messages, and signature.

The one draw back to the AwesomeBox in my opinion was that I didn’t get to choose the background images that were used with the photos. I like the extra control of designing an item to look a certain way. However, to be honest, I might have never finished if I chose all the extra items. This made the whole process straightforward. And, when it arrived, I was so pleased with how the box came together and looked as a whole package that I didn’t even care that I didn’t select the backgrounds.

Reasons to Like an AwesomeBox


I liked working with AwesomeBox’s website as it was easy to understand, emailed reminders out so that the box would be delivered on time and it made it fun to collaborate with others. Once it was printed and delivered I liked it even more as the quality was really top-notch and there were added cards in the box that explained what the box was and how many people came together to create the gift.


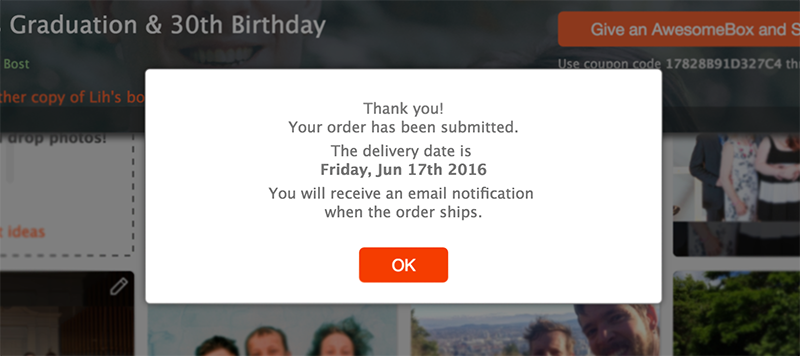
Sponsored Post: Reminders and updates on your AwesomeBox ensure you get your gift on time! Feature of an awesome gift idea on A Well Crafted Party
The AwesomeBox system will remind you when it is time to complete your AwesomeBox so that there is time to ship your gift.

Awesome Gift Idea!


I really feel like the uses for this gift idea are sort of endless. Here are some ideas I came up with:

  • Proposal Idea: How cool would this be as a proposal idea? Have friends and family upload photos and stories about your significant other into the AwesomeBox’s system. Then as the final image upload a photo of the ring or of you both as a couple and put a “Will you marry me?” message on that last card!
  • Graduation Gift: Upload photos from throughout the years with messages about what the recipient wanted to be when they grew up or perhaps stories of things achieved over the years.
  • Family Recipe Box: Have family members upload images and recipes that they love and have a beautifully curated box of family recipes printed.
  • Anniversary Box: Upload one photo for every year with a favorite memory or short paragraph of what happened that year.
  • Family Flashcards: Have a big extended family that live far away? Create family flash cards with an image of your family member of the front and some facts about the person on the back. Use the cards to help kids get to know distant family members– or hey, quiz your spouse!
  • Birthday- There are so many ideas for how to use these for birthdays. I like the idea of uploading one image for each year with a quote about what happened that year or favorite things from when the recipient was that age.
Sponsored Post: The completed AwesomeBox is beautifully packaged and thoughtfully put together.
The completed box comes with all the messages and images uploaded by those invited to the gift. It also comes with a great message explaining what the AwesomeBox is and how many people pulled together to celebrate the recipient.

What would you use your AwesomeBox for?

Thank you to AwesomeBox for letting me experience your services. Thanks to readers for supporting the companies that help make this blog happen!