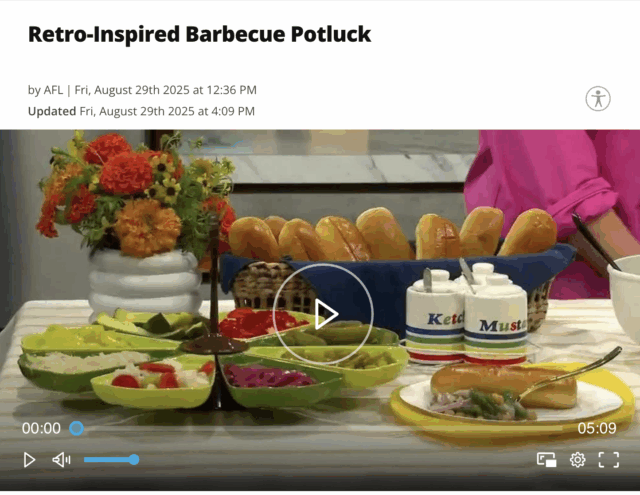
Looking for fresh ideas to make your Labor Day BBQ or summer potluck memorable? Whether hosting or attending a backyard gathering, these expert tips and my delicious four bean salad recipe—featured on KATU’s Afternoon Live—will keep your summer celebrations stress-free and unforgettable.
Where to find retro-inspired partyware:
Collecting partyware seems to be a bad habit of mine. These retro inspired party items were collected over the years and have been utilized in many different party themes! Some of my favorite places to go to find great vintage ware include:
- Estate sales – I don’t go nearly as often as I like, but when I do I’m always looking for partyware, dishware, serviceware that might fit in with items I have at home. These are often a great place to find vintage tablecloth and napkins as well!
- Thrifting or Vintage Shops- Sometimes it is a little hit and miss while thrifting, but there are occasional wins! Going to a more curated vintage shop or consignment shop may yield better results.
- Etsy– This is a treasure trove of vintage items. Be careful to read reviews. Some vintage shops I’ve purchased items from before:
What to Serve at a Retro Inspired BBQ
A classic retro potluck BBQ features an array of vintage sides and desserts that evoke the nostalgia of mid-century gatherings and backyard parties. Here’s a well-curated list to inspire your celebration.
Vintage Main Dishes for a Retro BBQ Party
- Hot Dogs: Classic split and grilled hot dogs with simple mustard and relish deliver the nostalgic flavors of 1950s backyard cookouts. Use all-beef sausages or brats for a really delicious main dish.
- Hamburgers: Old-school hamburgers made with juicy ground beef and served on buttered buns with lettuce and tomato bring timeless diner charm to any BBQ.
- BBQ Chicken: Sticky, smoky BBQ chicken marinated in maple or classic sauce and grilled to caramelized perfection is a vintage crowd favorite.
- Kabobs: Colorful vintage BBQ kabobs featuring marinated chicken, onions, and peppers on skewers offer a fun, customizable classic for retro summer grilling. Kabobs are a great solution for Vegetarians in the crowd as well. You can simply leave off the chicken and add in mushrooms! Don’t forget the pineapple for a truly retro-inspired kabob!
- Ribs: Tender, fall-off-the-bone retro BBQ ribs basted with a rich, smoky sauce take center stage at traditional potlucks and block parties.
Classic Vintage Sides
- Vintage Pea Salad: Typically made with peas, crispy bacon, cheddar, and creamy dressing for a cool, pop-of-color side.
- Quick Brown Sugar Baked Beans: Sweet and hearty baked beans are a vintage staple at any potluck table.
- Macaroni Salad: Loaded with mayo, diced veggies, and sometimes ham or cheese—this creamy salad always transports guests to bygone eras.
- Potato Salad: Made classic with hard-boiled eggs, celery, mustard, and mayonnaise; deliciously retro.
- Deviled Eggs: Tangy, creamy, and a perfect finger food that disappears fast.
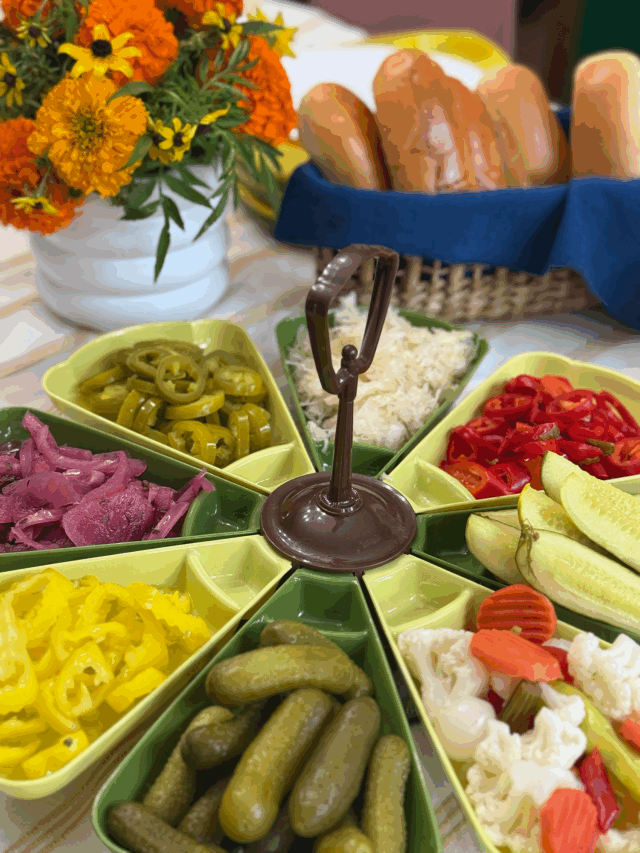
- Pickle Platter: Bring out all the pickled vegetables!
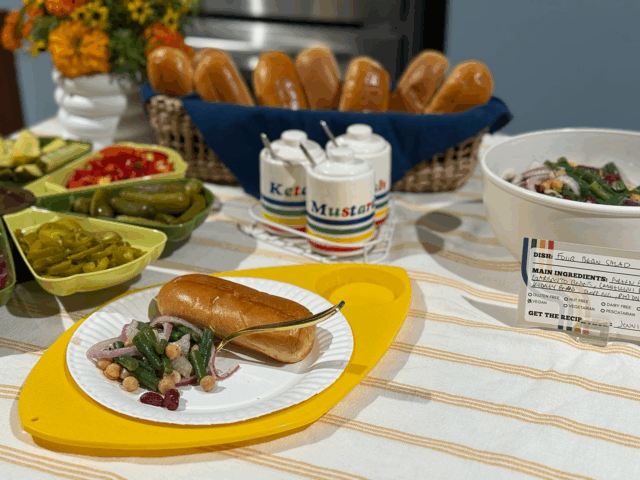
- Four Bean Salad: Beans, onions, and a bright vinegerette—easy, make-ahead, and quintessentially vintage.
- Corn on the Cob: Boiled or grilled, often served with flavored butters and salt. Or try a corn salad!
Retro Desserts
- Jell-O Mold Salad: Bright, wobbly, and loaded with fruit or marshmallows—nothing says “vintage” like a Jell-O centerpiece.
- Citrus Bundt Cake: Tangy, glazed cake using pudding mix for extra moisture—easy and popular with all ages.
- Oatmeal Raisin Cookies: Chewy and nostalgic, these homemade cookies are always a hit.
- Cherry Delight: A creamy dessert topped with canned cherry pie filling—a refrigerator classic.
- Chocolate Pie: Rich, velvety, and topped with whipped cream, best served chilled for summer.
- Strawberry Shortcake or Cobbler: Baked with golden crust and jammy strawberries, often served warm or room temperature.
- Lemon Bars: Tart filling, shortbread crust, dusted with powdered sugar—a picnic favorite.
- Cherry Fluff: , Whipped topping, condensed milk, crushed pineapple, cherry pie filling, shredded coconut, and pecans served chilled.
- Icebox Cake: Layers of cookies and whipped cream, left to set in the refrigerator—a cool, creamy treat.
Hopefully these ideas will inspire a classic and nostalgic holiday bbq potluck!
For more tips for a retro bbq potluck and free printables read: Retro Potluck: What to Bring to the BBQ and Free Printables