Category

Styled Shoots

Category
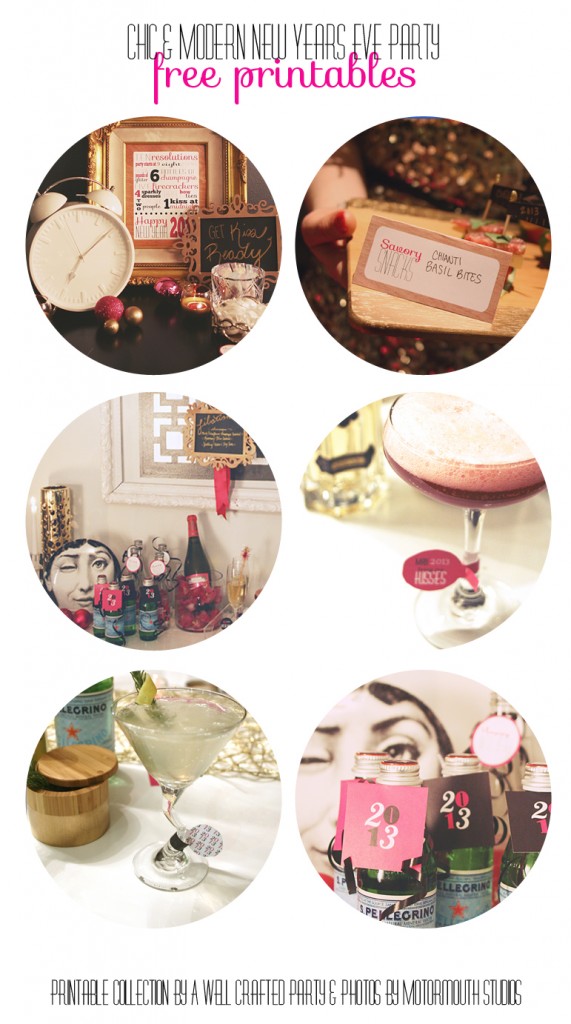
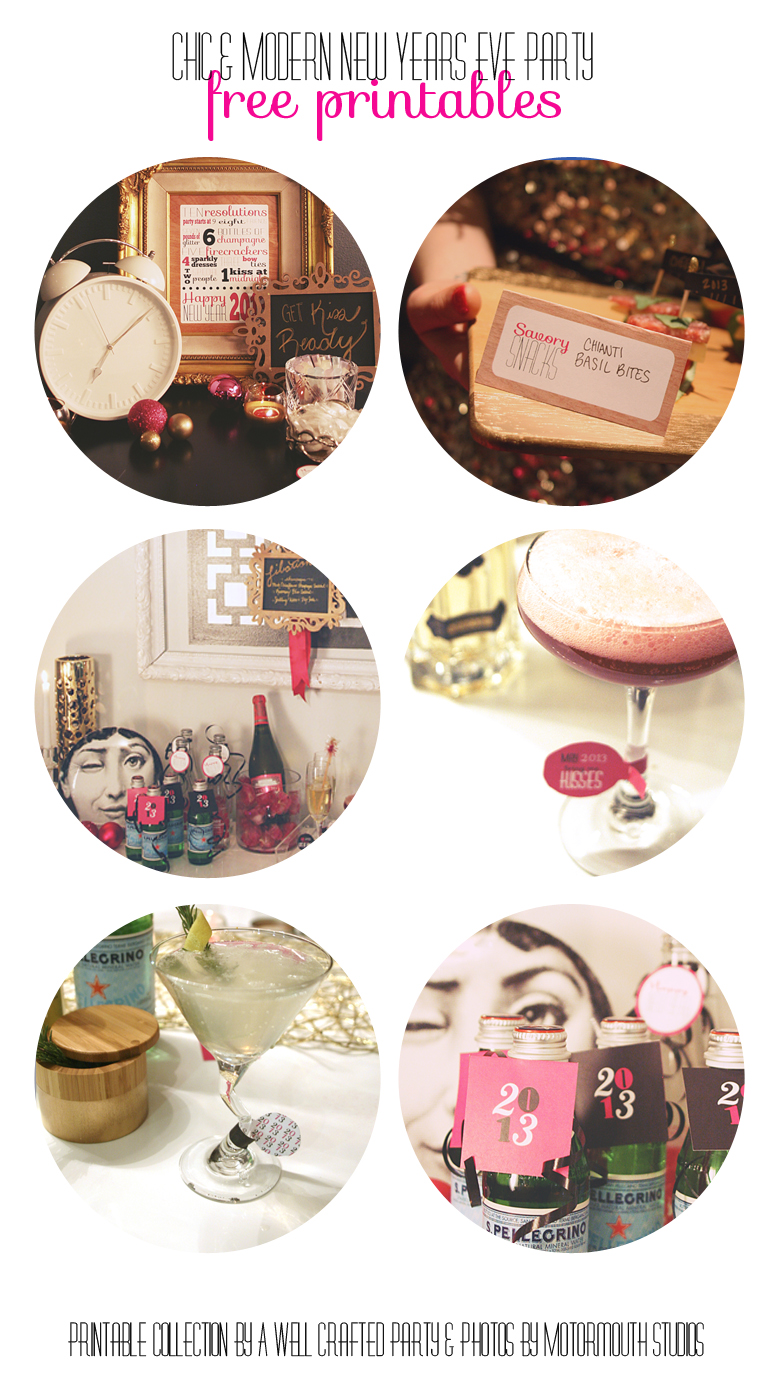
I’m excited to share the printable collection I created for the Chic & Modern New Years’ Eve party I did in collaboration with several Portland Bloggers. I wanted to bring in some fairly traditional New Years’ Eve colors (black, white bright magenta, and gold) and add in a touch of wood to make the party pop a bit. I’m pretty much in love with how these printables turned out and am so excited to share them with you!
 
Head on over to the New Year’s Eve Printables 2013 collection I’ve posted on Scribd and download your New  Years Eve printables now! 
 
  • Printable Instructions
  • NYE Party invite
  • NYE Subway Art
  • NYE Party Circles/Squares (can be used as decoration or cupcake toppers)
  • Food Labels for “Savory Snacks” and “Sinful Sweets”
  • Fortunes for the New Year Drink tags in black, pink, and wood. Also, a print for the back of the tags.

***As with all of my free printables… this collection is to be for Personal Use only. Please do not post a link directly to the downloads on your site/social network, but rather a link to this page. If you use the printables I’d LOVE to see photos of your event (not required, but really appreciated!) Thanks so much! ****

Follow along this week and next for more of this party, first featured on Pizzazzerie.com! I’ll be featuring a tasty cocktail, an appetizer recipe, a few DIY projects, and some DIY party tips for your NYE party!

A BIG thank you to my NYE party collaborators— 
Check out their blogs!
Photography: Macey of Motormouth Studios
Event Styling: ME! of A Well Crafted Party
Menu: Bee of The Spicy Bee and Kate of Fork and Vine
Venue Styling: Adi of Garden of Edlen
Model Styling: Sarah of The Confessions of a Product Junkie
Models: Sarah, Carter, Kate, Will, Adi, Matt, Kayla of Fit Life Forward and Suzannah of Adventures in Dressmaking


Loving all these free printables and want to fuel more free printable designs?

Cups of coffee are appreciated!


Sizes


I’m super excited to announce that a little New Years’ Eve Party collaboration I worked on is now live on one of the COOLEST party blogs on the block. Pizzazzerie.com is featuring the Portland Bloggers‘ NYE collaboration. Check it out and then come back this week and next for lots of fun additional posts, free printables, and DIY treats from the shoot! 

And, a BIG thank you to my NYE party collaborators!
Photography: Macey of Motormouth Studios
Event Styling: ME! of A Well Crafted Party
Menu: Bee of The Spicy Bee and Kate of Fork and Vine
Venue Styling: Adi of Garden of Edlen
Model Styling: Sarah of The Confessions of a Product Junkie
Models: Sarah, Carter, Kate, Will, Adi, Matt, Kayla of Fit Life Forward and Suzannah of Adventures in Dressmaking

If you are a fan of the Love in Blossom photoshoot that I featured a while back…
 (and that was featured on Hostess with the Mostess)
then you were possibly waiting for these DIY posts!
**By the way, if you use any of these DIY projects I’d LOVE to see pictures!**
Well…with no further hullabaloo…
 ~*~
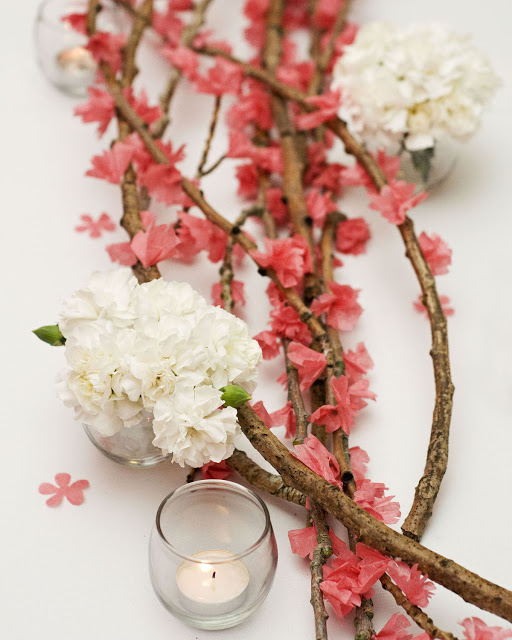
DIY Cherry Blossom Branches
 Cherry Blossom BranchesSupplies:
Branches
Pink Tissue Paper cut into 1 inch squares
Pen or Pencil
Hot Glue

Step One:
The project works best if the tissue paper is cut several sheets of paper at a time and not as a single sheet— 5 layers of tissue paper work best. 

 
Fold tissue paper squares on the diagonal. And then fold again similar to making a paper snowflake. 
Round the straight side of the now triangle piece of tissue paper. 
Put a notch in the center of the of rounded edge. 
 Step Two:


Separate the tissue layers and twist around the end of a pen or pencil.
Step Three:

Placing a dab of hot glue on the branch attach the tissue paper to the branch using the pen or pencil.

 Continue placing the tissue paper on the branches twisting the blossoms around the branch.

Notes:
Branches can be purchased on-line or found in your own backyard. 
***There are similar projects featured on both the Martha Stewart and Good House Keeping websites. I certainly wasn’t the first person to think of this, but I do like how my project turned out.**Sources:
Blossom Tissue Paper: from www.paper-source.com

BIG THANK YOU

to Hostess With the Mostess for featuring this DIY
and to Capturing Grace Photography for taking such beautiful photos!