Category

Party Tips

Category

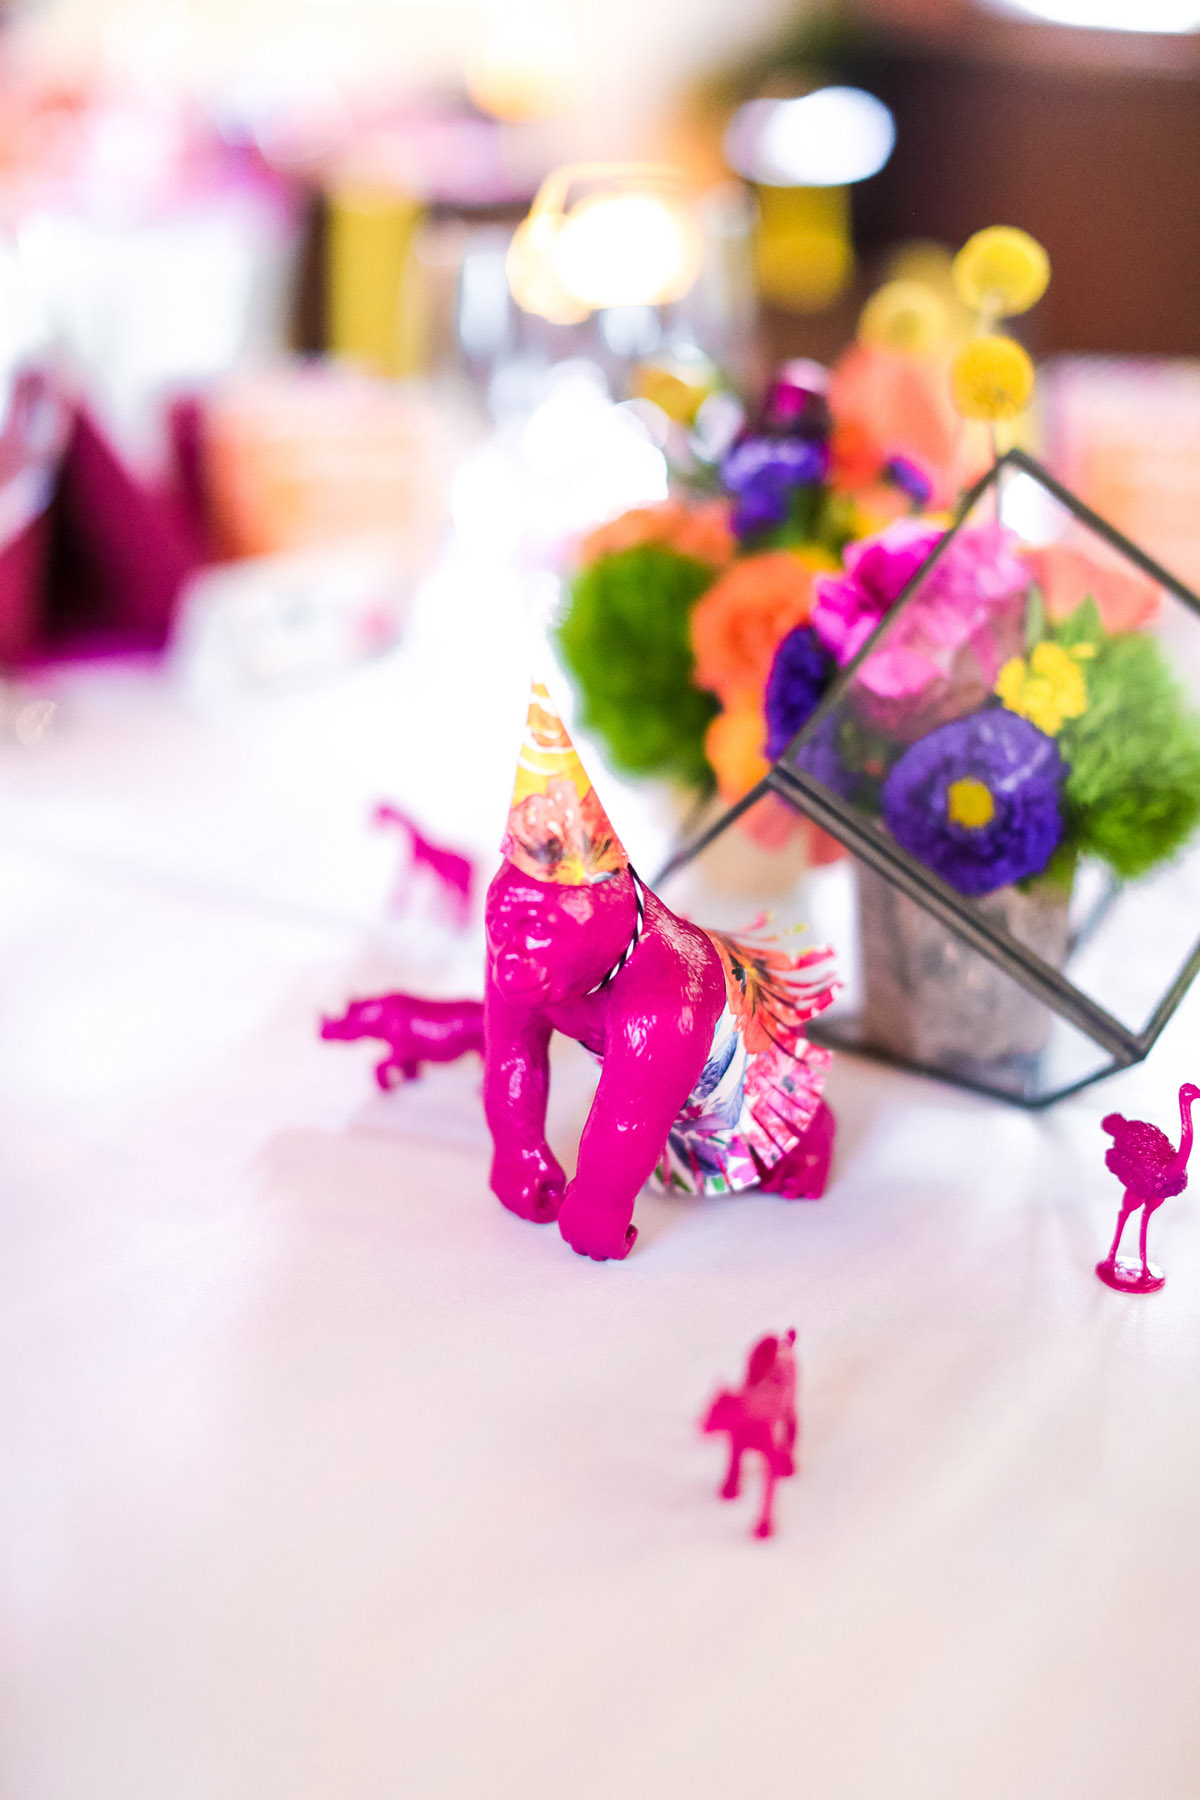
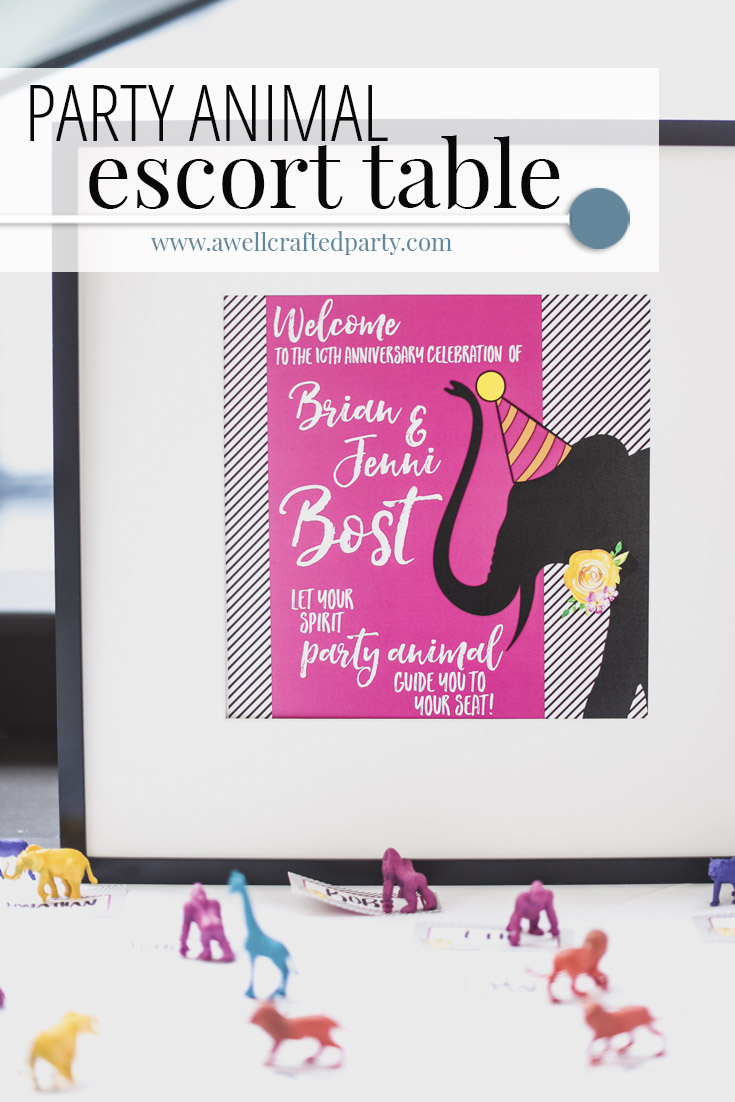
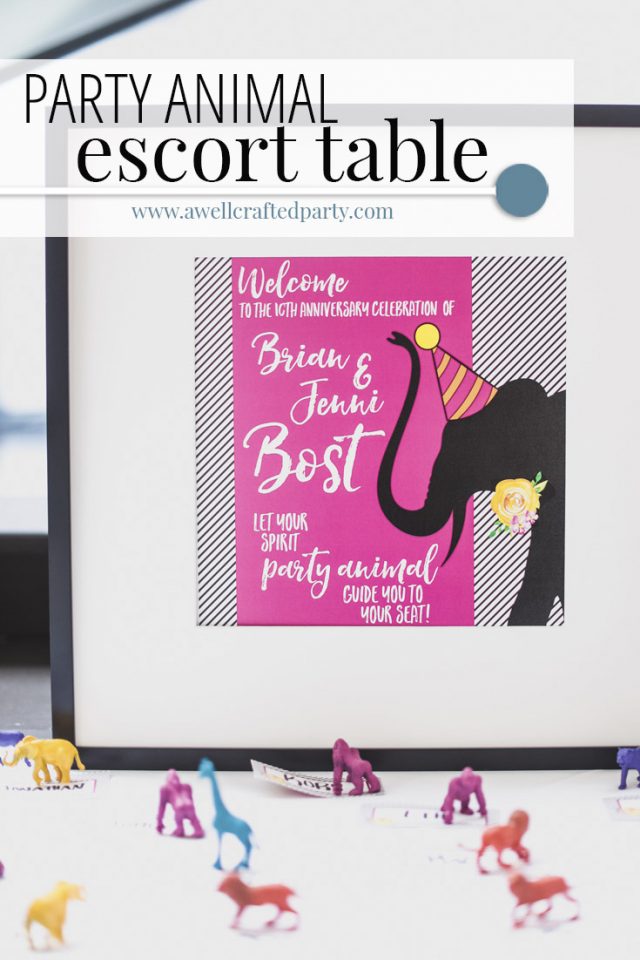
When planning my 10 Year Anniversary party at a local Peruvian restaurant I knew I wanted to decor to nod to the amazing food that Andina serves. I wanted it to be bright, bold, and a lot of fun. After selecting the color scheme I got completely stuck on what to do for the escort table. In the end, I let my spirit party animal lead the way and I created this fun Party Animal Escort Table as well as some great event table decor.

Read on to see just how I created these elements…
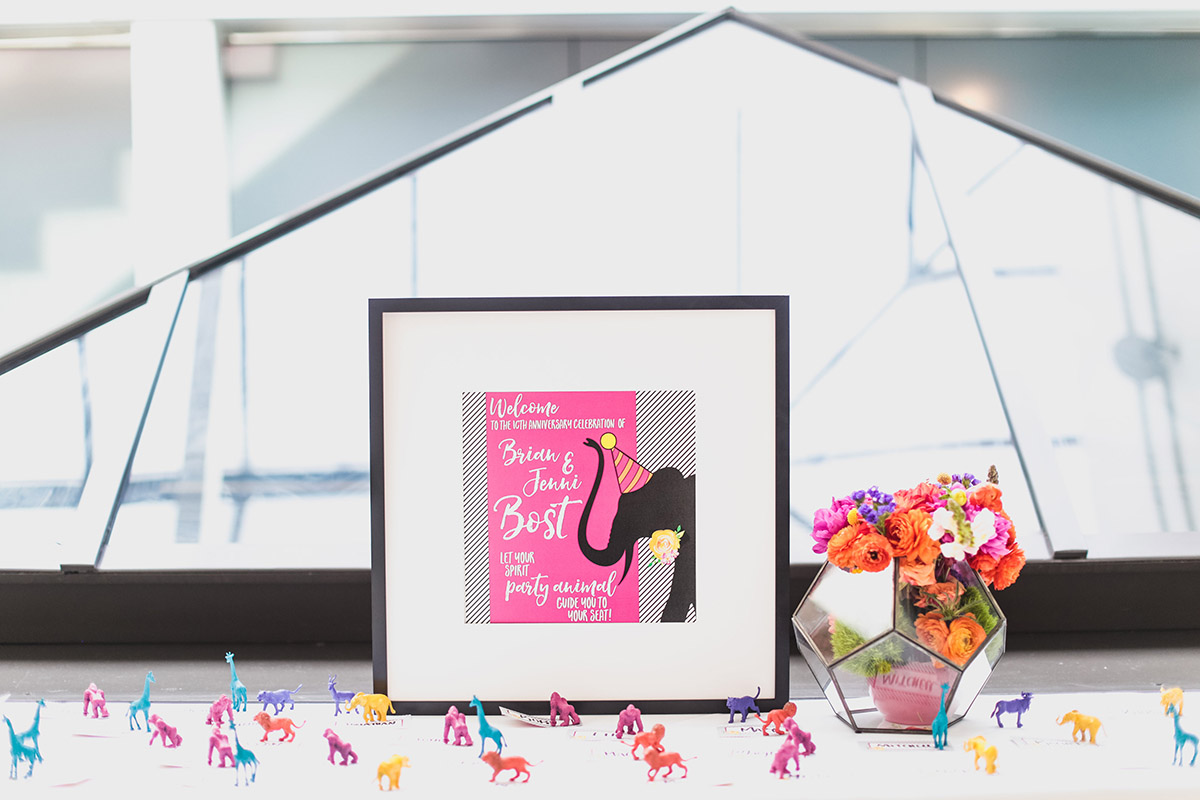
 

Party Animal Escort Table from A Well Crafted Party with photos by Mary Boyden

Party Animal Escort Table from A Well Crafted Party with photos by Mary Boyden

DIY Party Animal Escort Table

Affiliate links marked with *.

You’ll need:

  • Plain or decorative cards to write the names of your guests
  • Hot glue
  • Plastic animal figurines* – Purchased the set of 60 from the set by Jungle Resources on Amazon.
  • Large animal figurines* – Purchsed the set of Jumbo animals from Jungle Resources on Amazon.
  • Spray Paint in chosen color(s) and a clear coat of polyetherlene
  • Paper, ribbon, glue for making tiny party hats and the like


Party Animal Escort Table from A Well Crafted Party with photos by Mary Boyden


Party Animal Escort Table from A Well Crafted Party with photos by Mary Boyden


Note: I chose to do multi-colored animals matching type of animal and the color. But, you could also do these all the same color. Just make sure your small animals match the animals that you use as your table markers. For instance, everyone at the table with the gorilla got an escort card with a gorilla on it as well.

Directions: 

  1. Spray paint the figurines. I chose have the animals and colors match for each individual table. For instance, all the elephants were painted yellow. This may take several coats and should be done over the course of a few days.
  2. Spray dry figurines with the clear coat spray.
  3. While you are waiting for those to dry, write or type and print your escort cards on decorative card stock.
  4. Hot glue the little figurines to the appropriate escort card. You will need to hold the animal to the card until the glue is dry.
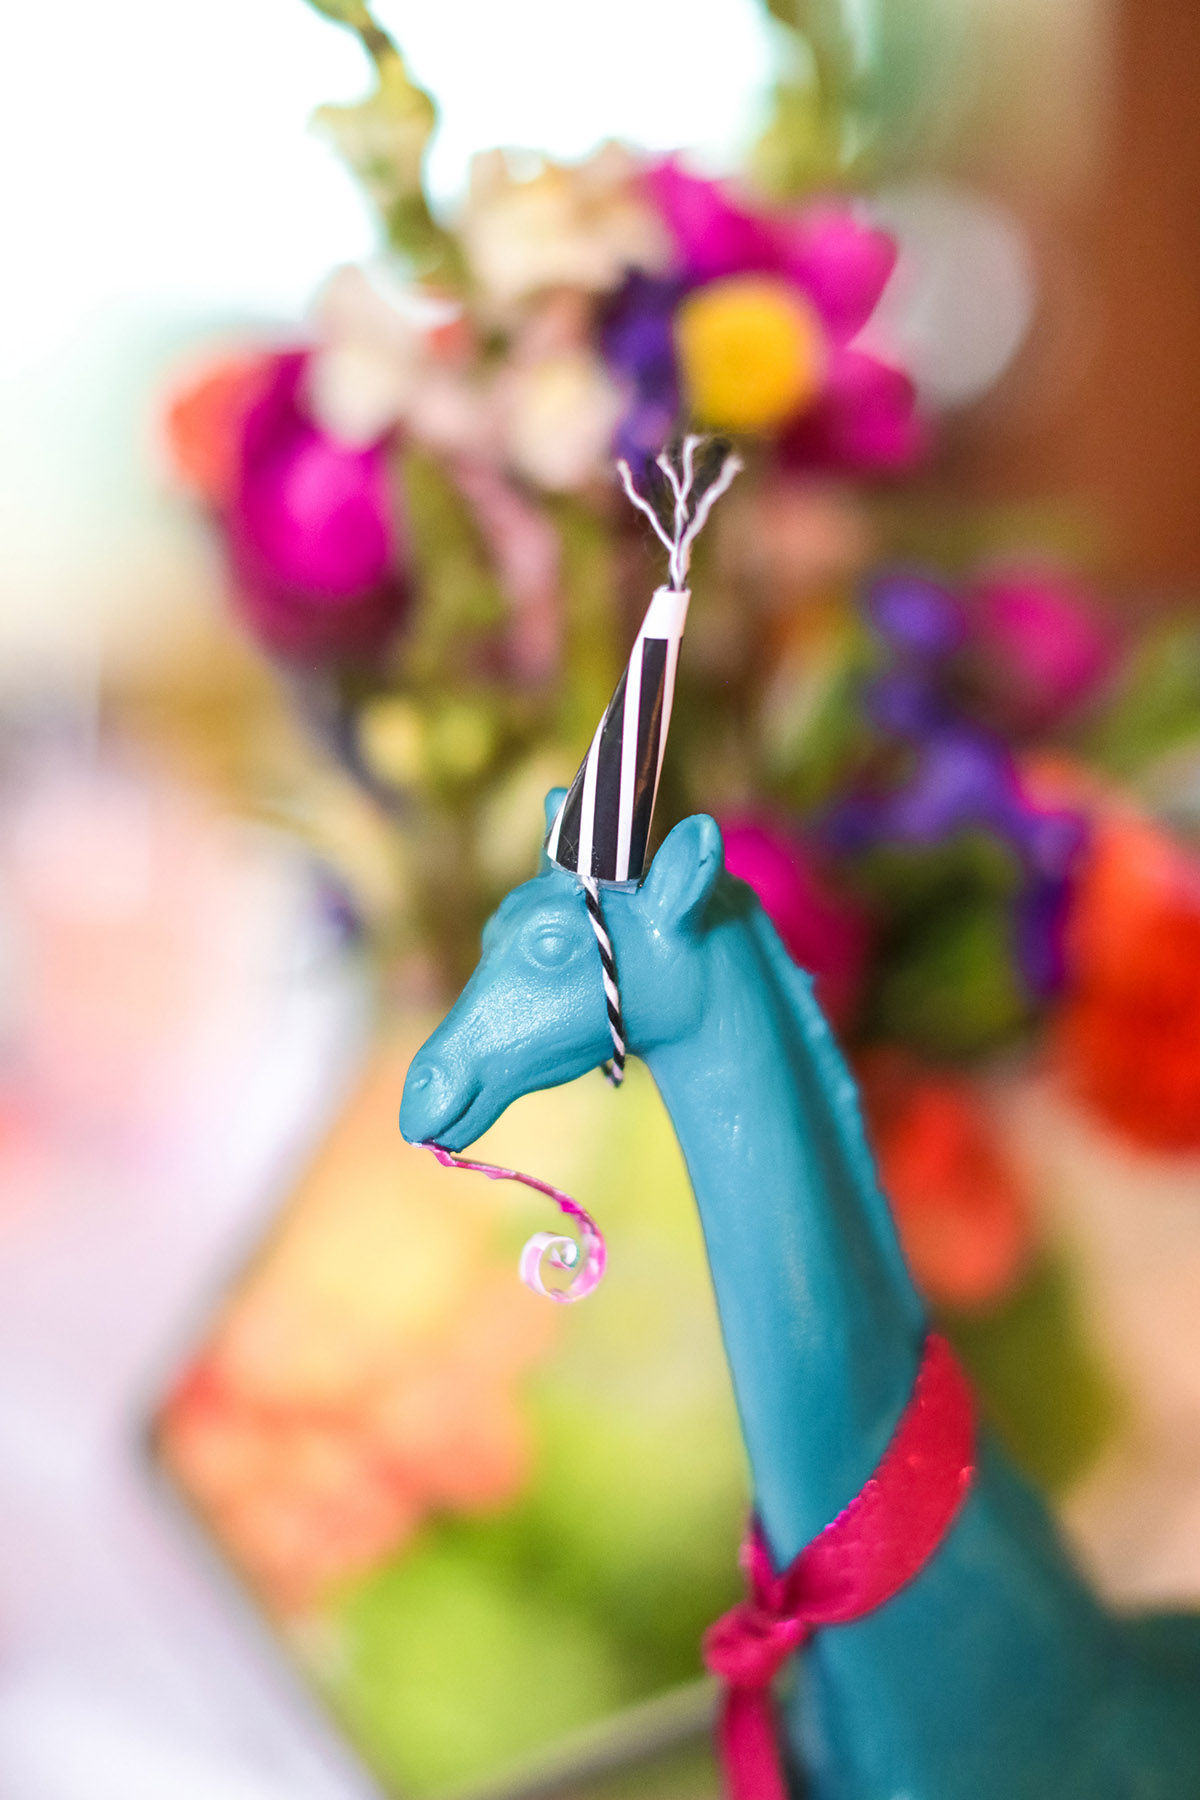
  5. Add hats, bows, and decorations to the larger animals as you see fit. Attached with hot glue. We chose a variety of cut out decorations for our animals. My sister in law created them all on her own with some paper, glue, scissors, and ribbon!
 

Party Animal Escort Table from A Well Crafted Party with photos by Mary Boyden


Seriously Awesome Vendors and Resources

affiliate links marked *

More Posts from this party

  • My Favorite Cocktails from Andina
    My Favorite Cocktails from Andina
  • 10 year anniversary party
    10 year anniversary party
  • Special Occasion Makeup Ideas from A Well Crafted Party
    Special Occasion Makeup Ideas from A Well Crafted Party
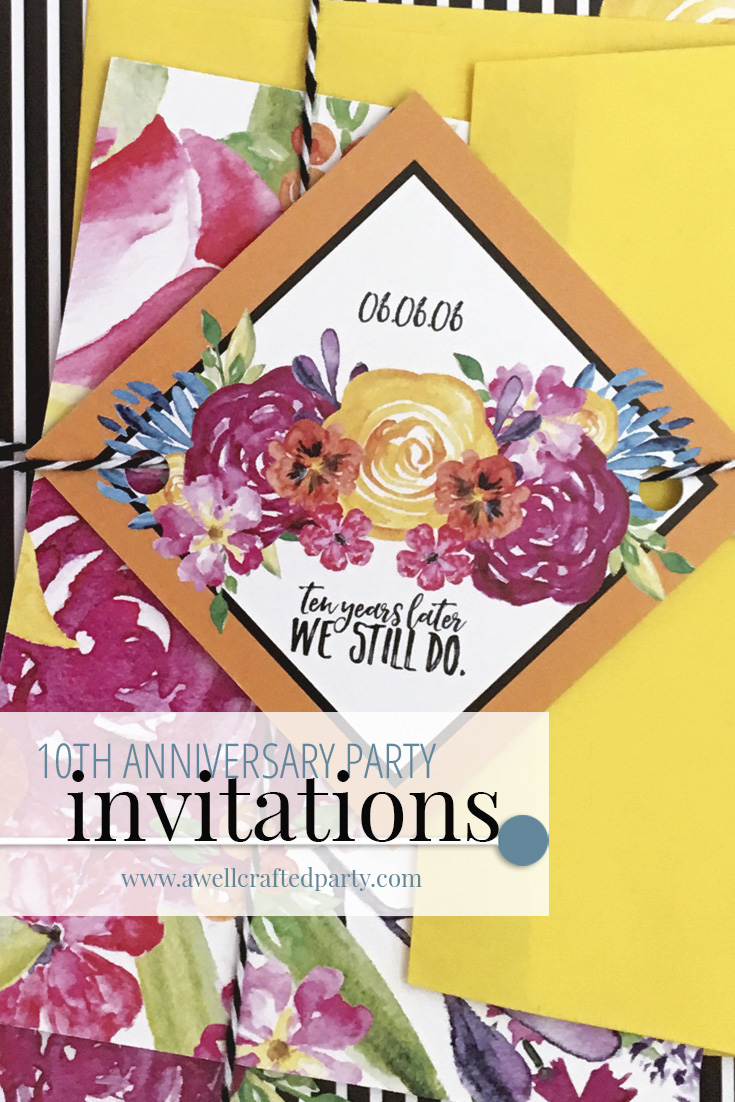
  • 10th Anniversary Party Invitations
    10th Anniversary Party Invitations
  • Party Animal Escort Table from A Well Crafted Party, photo by Mary Boyden
    Party Animal Escort Table

Mother’s Day is around the corner! Writing about all of these amazing working mothers has certainly got me thinking about Mother’s Day a little more than I normally would. It has made me want to tell my mother and mother-in-law just how much I appreciate them. Makes me want to snuggle up with the two boys who made me a momma. These DIY Mother’s Day Flower Arrangement tips make giving flowers easy and inexpensive.

Flowers are such a beautiful way to say that you are thinking about someone. But, with prices starting at $50 for a nice small Mother’s Day flower arrangement it is fairly cost prohibitive to many. I typically love giving flowers in addition to a small item that will last for some time or be a sweet treat for that person. Often spending $50 or more on flowers is just out of my budget. Thankfully, I know a few tricks to make a DIY Mother’s Day flower arrangement look like a million bucks.

Tips for DIY Mother’s Day Flowers:

Simple Flower Arrangement

Keep it simple!

Use one flower (or one color scheme) in a low vase to make a simple, but beautiful, flower arrangement. It doesn’t take much time to  make an incredibly easy flower arrangement. Your mom will love it, I promise!


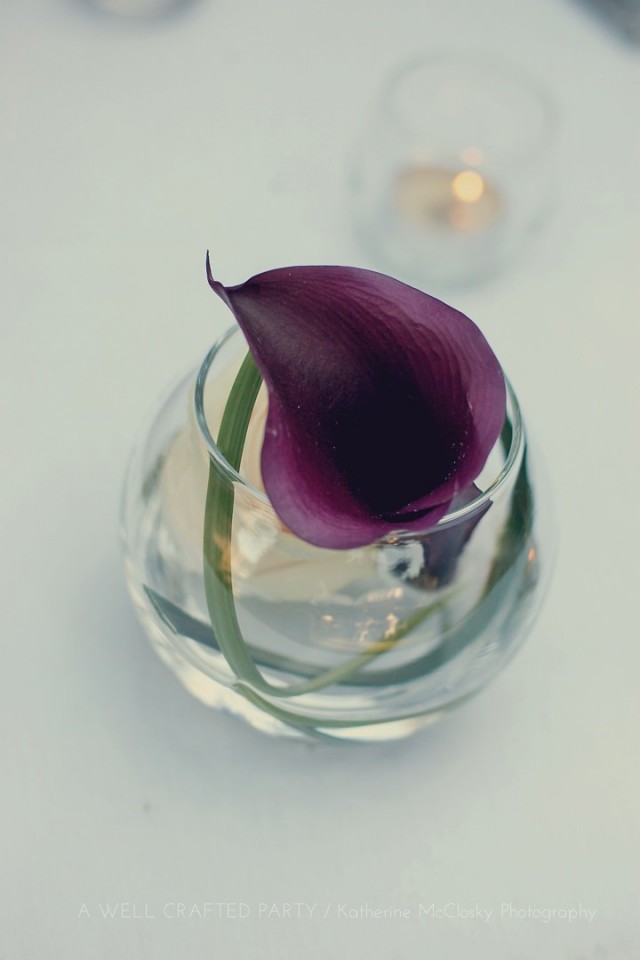
Floating Flowers make great impact in an easy DIY flower arrangement - A Well Crafted Party
Photo by Katherine McLoskey Photography

Float your flowers for high impact and low cost.

Floating one or two stems or buds of flowers in water is a cost effective way to make a statement. These don’t last as long as some flower arrangements, but they are beautiful! The photo above shows a beautiful black lily floating with the bud of a white rose and some lily grass. If you would like some sparkle, try putting some sequins in your vase as well!


Use Unexpected Vessels in Creating Fun DIY Floral Centerpieces - A Well Crafted Party
Photo by West Impressions


Use unexpected vessels for your DIY flower arrangement instead of vases.


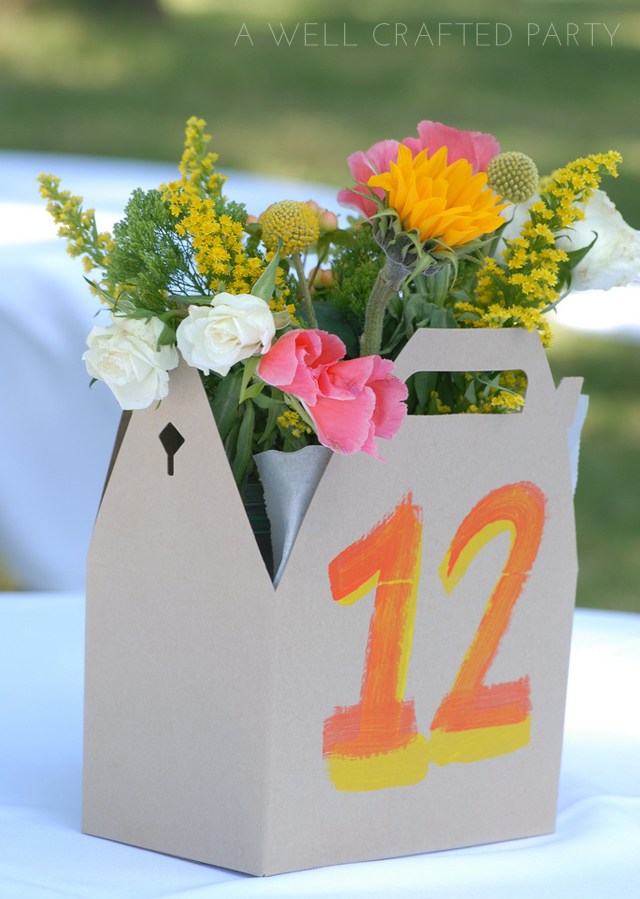
I love using unexpected vessels for flowers. Use bottles, cans, baskets, or boxes to house your arrangement. (You may need to put a small vase or jar in to hold the flowers with water, but the outer vessel can be anything really!) Get a beautiful serving bowl for a gift and put the flowers in it! Two gifts in one. We used picnic boxes for flowers on the tables at my sister’s cheery Summer Wedding. Guests received their lunches in the same boxes so it was a lot of fun seeing them all together.


Sprinkle your tea table with flower buds - A Well Crafted Party


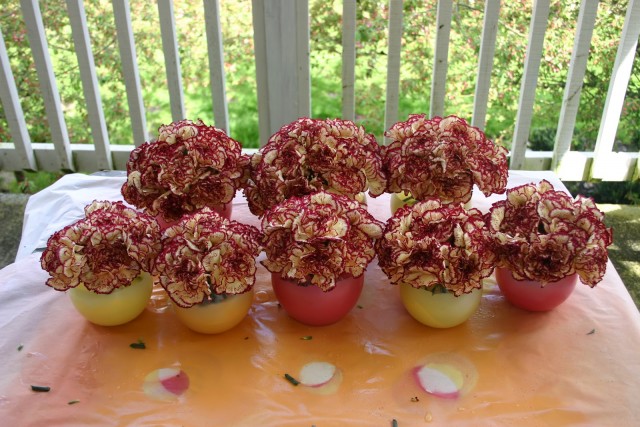
Sprinkle your table with flower buds!


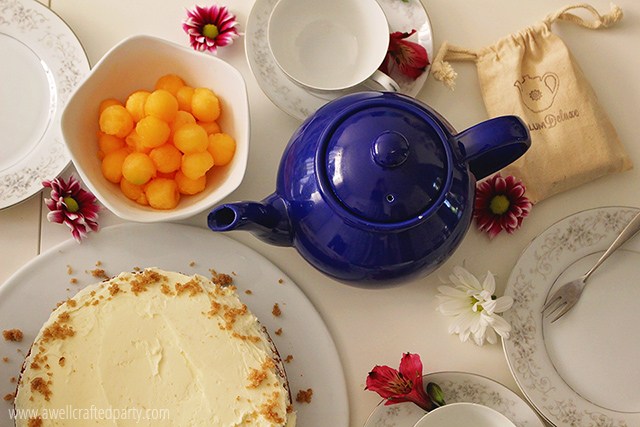
Last year we had a little Mother’s Day tea on the coffee tables in our living room. I simply sprinkled the tables with the buds from a few flowers that I picked up at the store and snipped out of my yard. The table looked festive throughout the entire tea party. The buds do get a bit wilted over a long period of time. But, this was a short tea party so I was able to make a small, low arrangement in a jam jar after the party that I was able to enjoy for a few more days.


Want to make some flowers that will last a little longer? Check out the posts below:


DIY Cherry Blossom Branches - A Well Crafted Party
Photo by Aubrie Legault – First featured on Hostess with the Mostess

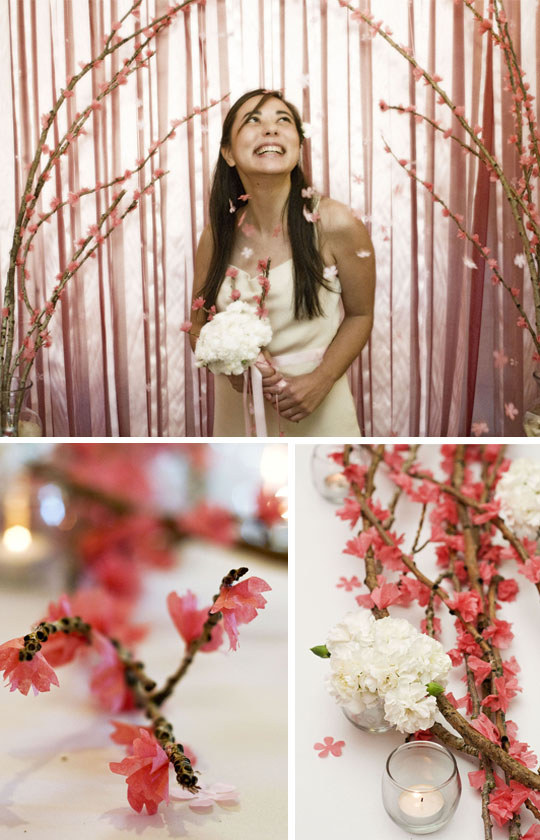
DIY Cherry Blossom Branches

These DIY Cherry Blossom Branches will last for years and are so pretty to look at! A large vase with these sticking out would be a stunning gift.

Mix up your Mother's Day Flower Arrangement by adding in some paper flowers and leaves with real, inexpensive blooms. - A Well Crafted Party

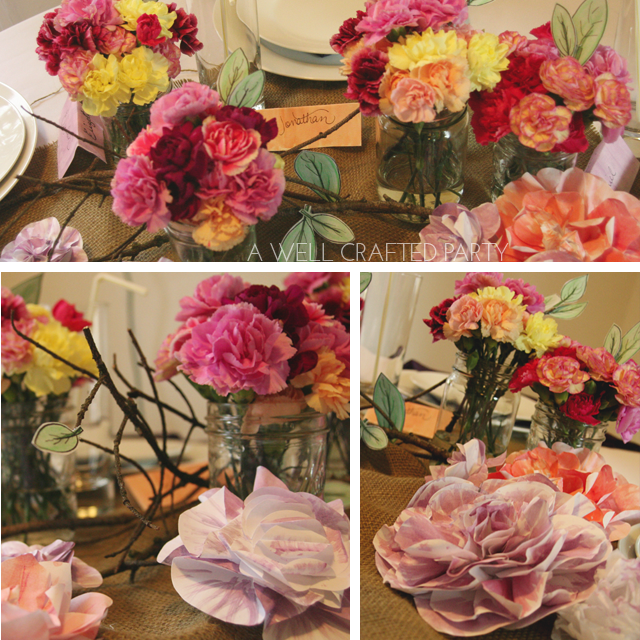
Use Paper Leaves and Flowers to Fill in Real Blooms

I love real flowers. Sometimes when wanting to create a fun, whimsical look and to save money I’ll combine paper flowers and leaves along with inexpensive real blooms.

Make Mom a Tissue Paper Flower Arrangement - A Well Crafted Party


Make a Tissue Paper Flower Arrangement for Mom


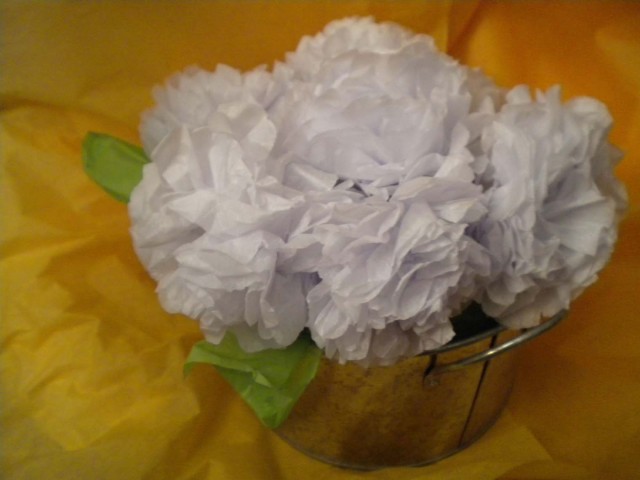
Tissue paper flowers are easy to make, inexpensive and a lot of fun. Plus, they don’t die!


What do you like giving mom for Mother’s Day?


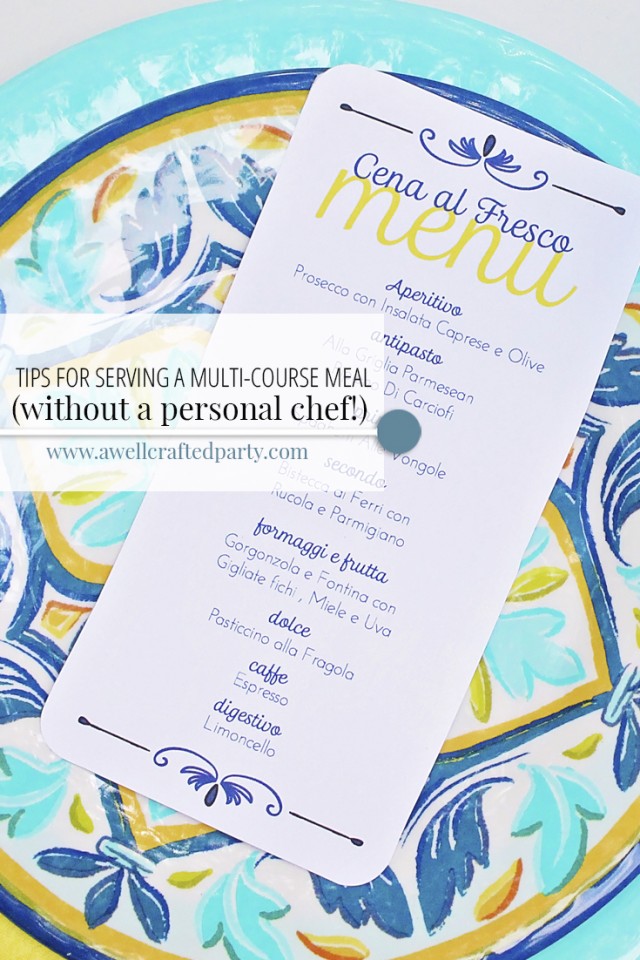
Someday I will hire a personal chef to cater a party for me. Actually, someday, I absolutely will hire this personal chef team and sit back and enjoy being served throughout an entire party. That will be a treat in itself, however, I also really love to cook and serve for my parties. I enjoy the whole process of planning, executing and serving dishes to my guests. Many of my parties are fairly simple with serve yourself or buffet style dishes of foods. Occasionally, I like to serve multi-course meals (either plated or family style) and when I do, I like to use the following tips/tricks/hacks to make the dinner more enjoyable for everyone involved. 

Tips for Serving a Multi Course Meal (without a personal chef)

I am the first person out there that will recommend hiring out (or purchasing out and bringing in) for large parties and life events. I value the talents of others and their ability to make my life easier more than I can say. These tips will work for just about any type of party, big or small, but they still require the work be put in. Hiring a chef, ordering catered items, renting dinner ware, hiring a cleaner or hiring a server are absolutely time and sanity saving options for important events. This list is for someone who really wants to do it themselves, whether because of circumstances or because they enjoy it.

These tips will also help for those trying to save money in their party budget for other area. I do stress that you know your limitations however because saving a few dollars here or there and being disappointed in the end will only make it feel like you wasted the money you did spend. I enjoy throwing parties, preparing dishes, and cooking foods. I’m pretty good about timing things out as well. I am terrible at getting the house spick and span before a party. I often hire that portion out and do the entertaining part of it all myself. Know your talents, your limitations and your resources and have a fantastic party!

1. Prep what you can before the party day.

This seems easy, right? Prep anything and everything you can for your party before the big day hits. It is trickier than it seems however because some items don’t keep as well as other items. Anything that you can prep without compromising the quality should be prepped as far in advance as possible. When creating my menu, I often try to get at least one or two items that can be prepped prior to the big day on the menu. Some menu items that can be prepped early include soups, sauces, vegetable cutting prep and many dessert and drink items. Need a simple syrup for your speciality cocktail? Whip one up nearly a week in advance and store in your fridge. Want to serve a dessert of cookies under ice cream? Prep the cookie dough up to a couple of months in advance and store in your freezer. This works great for home made crackers as well!

2. Pre-plate what you can before the party begins!

A lot of my multi-course parties combine a mix of serving dishes family style and plated. Family style is easier on the chef (and whoever does the dishes afterwards) and the plated style of serving is often easier on guests. I tend to serve the dishes that have to be made or finished during the party as family style and pre-plate (or even pre-dish for an all family style meal) what I can. Salads can often prepped an hour or so before the party, wrapped in cling wrap, and stored in the fridge. If you are serving an individual cheese course or a cheese platter you can also prep these early and put in fridge, just make sure you get it out with enough time to get it to room temperature before serving.

3. Include Entertainment at the Party

Include some form of entertainment at your party so that time between courses goes unnoticed. A little time between courses is actually great because it gives your guests time to really savor the course before it. Too much time can be a drag, but with the rest of these tips and a little entertainment no one will notice a time slag. I often do a photo booth, music, questions at the table or even drink pairings that guests can talk about in between courses.

4. Serve a menu that doesn’t all need to be served HOT.

Planning your menu carefully is very important when you are doing it all and wanting to actually sit down and enjoy your meal with your guests. I try to serve at least a couple of items that can be serve chilled or at room temperature. Salads, appetizers, cheese plates and desserts are easy places to put in items that do not have to stay hot before serving.

5. Utilize warming and cooling appliances.

Take advantage of any and all warming and cooling appliances that you have in your home. I clean out my fridge as much as possible before a coursed meal so that I can pile in pre-prepped plates of items or pre-cut elements that will come together for a portion of the meal. My oven, if not in use, is set to warm and all hot dishes are carefully stored in the warmer so that they can still be served. (Be careful to not let hot food dry out in your warmer. Cover with foil and try not to put in to stay warm for too long.) My crock pot is typically in use for sauces or soups that are prepped in advanced, but need to be served hot.

What tips do you use when serving a multi-course dinner to friends or family? Comment below!

Posts with Multi-Course Menu Ideas: