Category

A Well Crafted Home

Category

12 Days of Christmas DIYs // A Well Crafted Party

This post is the forth in my series of the 12 Days of Christmas DIYs for A Well Crafted Party. Check in each day for the next 12 Days for new DIY posts. There will be LOTS of free printables to boot! (Check out yesterday’s post: “DIY Wood Chargers“)


DIY Holiday Card Display // A Well Crafted Party

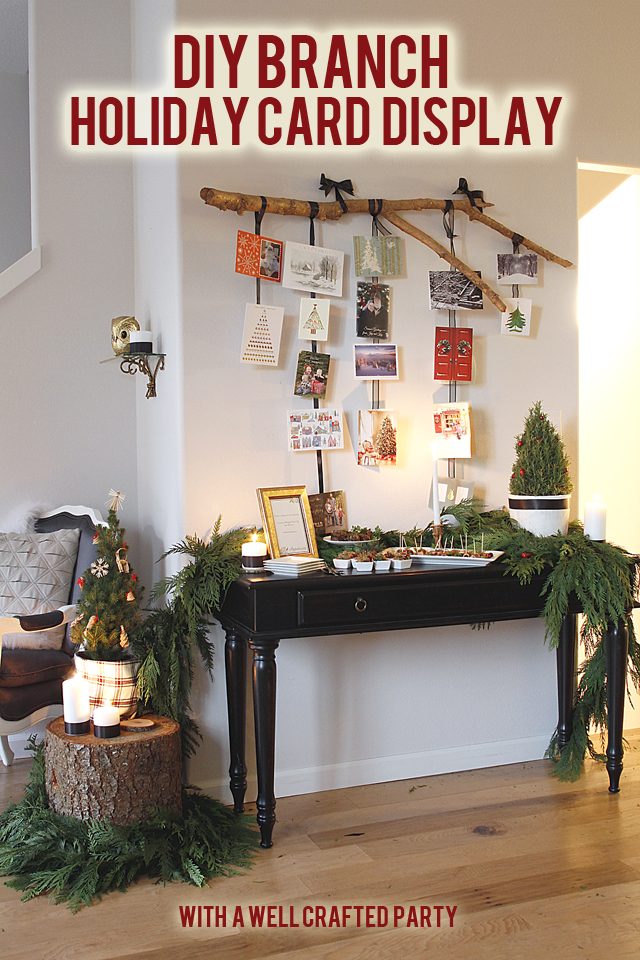
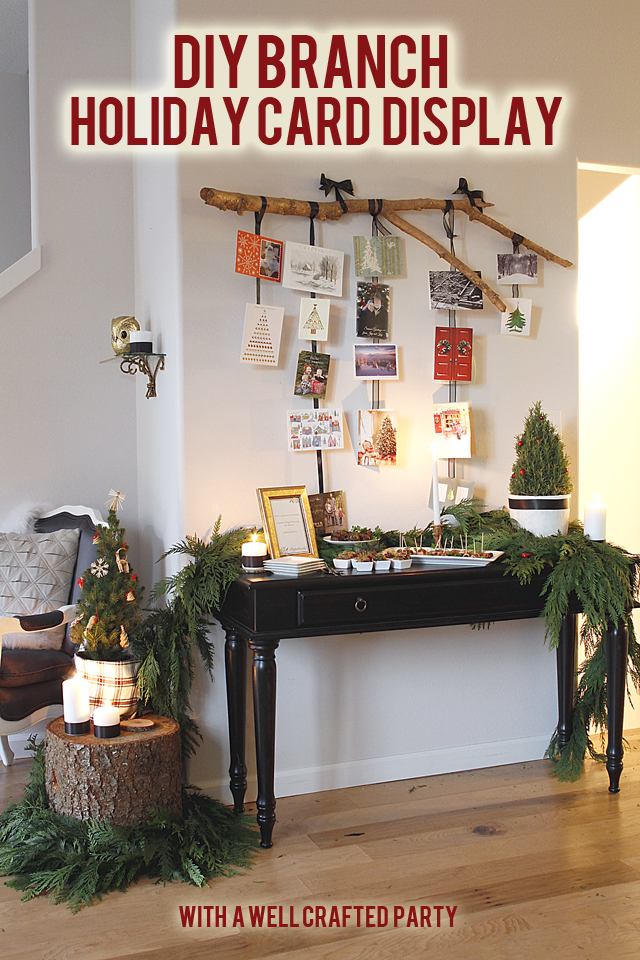
I love receiving (and sending) holiday cards. The problem is figuring out where to put said cards each year. Sometimes I display them on a cabinet. Other times of fridge gest covered. This year, I’m displaying them more promenitely… giving them the attention they deserve! This do-it-yourself project is super simple… the hardest part involves finding a branch!

DIY Branch Holiday Photo Holder Supplies:

(Affiliate Links Below)

How to Make a Branch Holiday Card Display // A Well Crafted Party

How to make a Gilded Branch Holiday Photo Display:

1. Find a branch! This might be the hardest and easiest part of this whole ordeal. Before I lived in my house with a gigantic tree out in the yard I wouldn’t have been able to tell you where to find a branch. This branch literally fell into our yard after a big wind storm. Other ways to find a branch besides waiting on mother nature include trimming a tree or finding tree pieces ready to go out with the garbage. Please note that you should either be doing these things with your own trees or asking first… otherwise it might be a little difficult to explain to future employers that you got arrested for trying to make a holiday card display.

2. Trim off small branches and foliage. Our branch fell from a very large and old evergreen tree. It was covered in pine needles. My husband so graciously took the time to take off the offshoots for me, leaving me with a bare branch. (It is completely easy enough to do yourself, I just happen to be allergic!)

3. Sand down stumpy parts and dangerous edges. Don’t want to get splinters when putting up your holiday cards!

4. Spray paint! This is the fun part. You can totally leave your branch bare if you’d like… you can even take the bark off and sand down the branch for a beautiful bare branch look. I wanted my card holder to be gilded though! So, I sprayed the branch with the Copper Metallic spray paint until it had a pretty sheen. After drying I did a layer of clear sealer to try to prevent the paint scuffing off. (I should have probably done two layers as some of the paint scuffed up my friend’s walls during this photoshoot. EEK.)

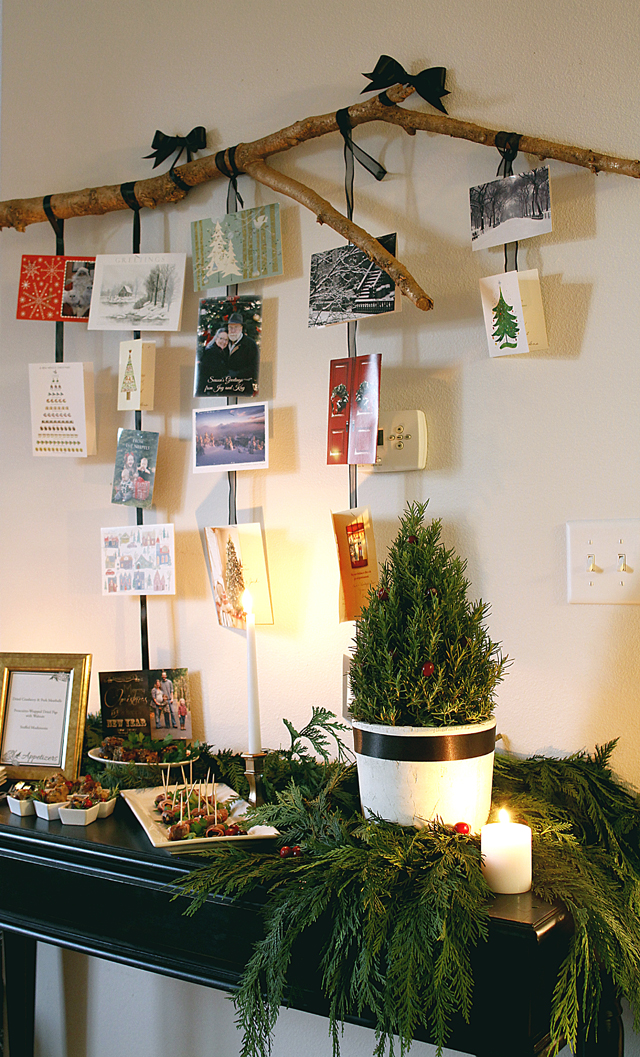
5. Mount your branch. For this photoshoot we actaully just tied ribbons around the branch and nailed the ribbon to the wall. This is not the most sturdy solution. For day to day use I’d actually suggest mounting curtain brackets and placing the branch in those. You’d have to find brackets large enough to fit your branch, and then secure the branch by tighting the brackets around it. I like using the Ikea brackets on my wall throughout the year and changing out wall hangings for parties!

6. Hang ribbons on the branch to attach your holiday cards. Use a slip knot to tie on your ribbon. That way, at the end of the holiday you can easily pack away your branch. (Check out my ribbon backdrop wall for pictures of ribbons with slipknots!)

7. Hang your cards! As you receive your holiday cards and photos secure them to the backdrop using a paperclip, staple or glue dot!

 More Holiday Goodies:

Do you want to see more from this Holiday Styled Shoot?

Photos from this project was from a recent Holiday Styled Shoot collaboration between myself and Suzannah of Create/Enjoy and Macey from Motormouth Studio. Check out my main post with links to DIY projects & recipes: “Natural Green and White Holiday Party + Free Printables” A big thank you to Orchard Supply Hardware for providing a couple of the supplies to make this DIY happen!

Wifi Sign and House Guest Welcome Free Printables // A Well Crafted Party

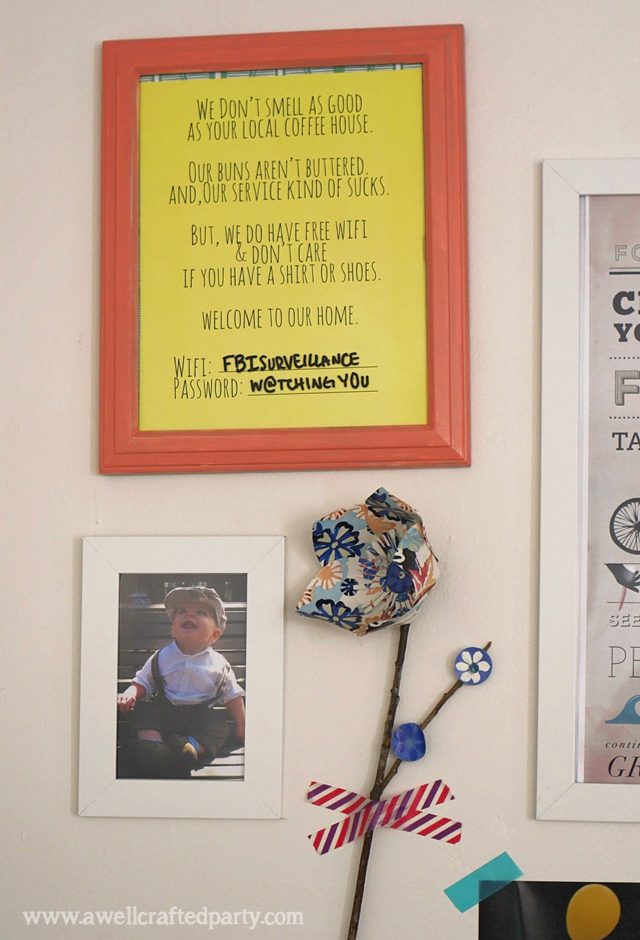
I’ve been very happy to have my house taken over by guests most of the Summer. I’ve had so much fun visiting with family and friends that now that everyone is gone the house is WAY too quiet. I always want to make my house guests feel as welcome as possible. For some that means having certain foods in the house, and for others it is having the wifi password accessible and a few midnight snacks available.

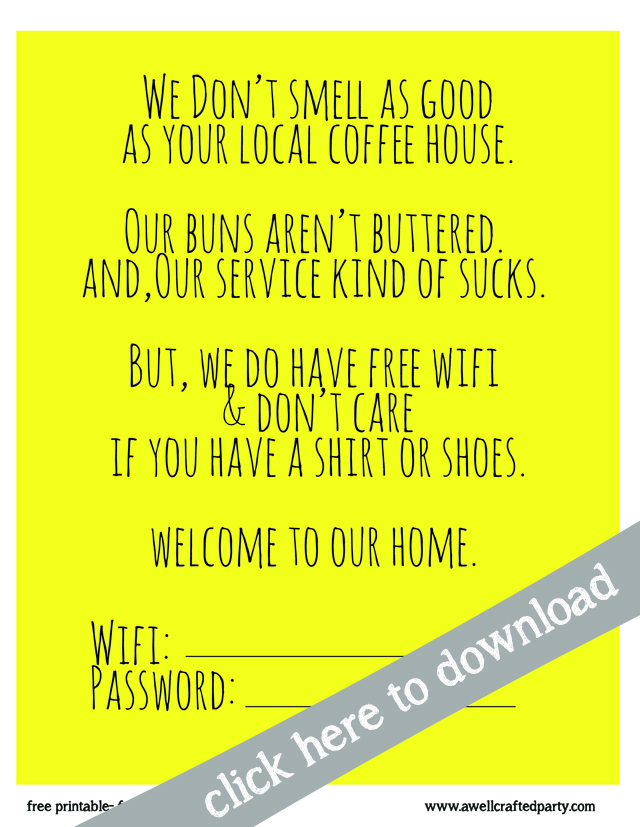
My sister and her husband stopped by a few weekends ago for a quick visit from Oklahoma. They visited with the cutest nephew on the planet (sorry to all the other aunts out there, but seriously, he is the cutest) and I wanted them to feel like they were going on a mini vacation amidst the toddler, infant, and busy schedule. So, I created these fun, tongue-in-cheek printables to decorate items in our home and small guest gifts for them. I think they were a hit!

Get your free printables by clicking the link at the bottom of this post. And, if you like them… I’d appreciate it if you Pinned, Tweeted, Instagrammed, or Facebooked them! (Share them easily by clicking on the social network you like to use up on the left of this post!) It really makes my day.

House Guest Welcome Free Printables // A Well Crafted Party Guest Snacks and House Guest Welcome Free Printables // A Well Crafted Party Night Cap and House Guest Welcome Free Printables // A Well Crafted Party House Guest Welcome Free Printables // A Well Crafted Party

Free Printable Guest Welcome Door Hangers  // A Well Crafted Party Free Printable Guest Welcome Signs  // A Well Crafted Party Guest Welcome Wifi Sign // A Well Crafted Party

Free House Guest Welcome Printables

Included:

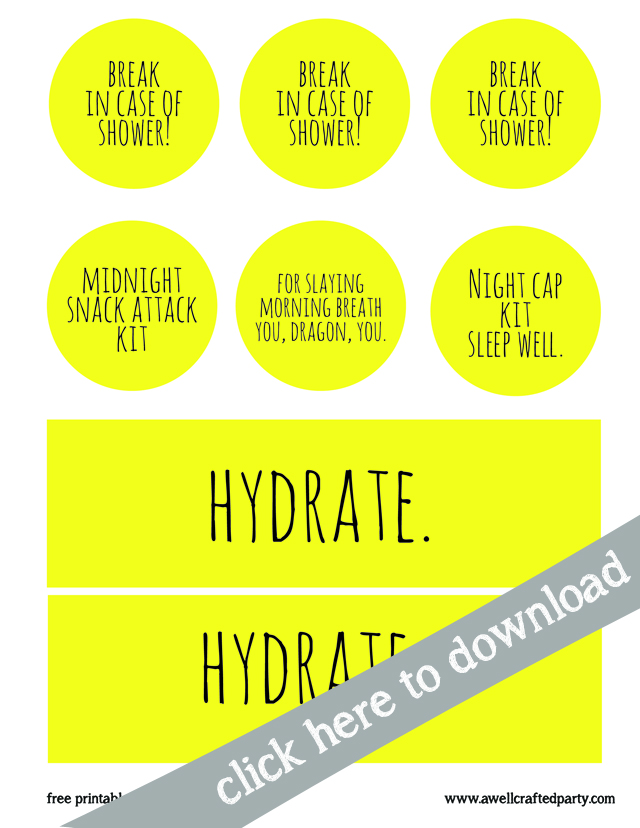
  • 1 set of Hydrate Printables & 1 set of circles including “Night Cap Kit,” “Midnight Snack Attack Kit,” “Dragon Breath,” and “Break in Case of Shower.”
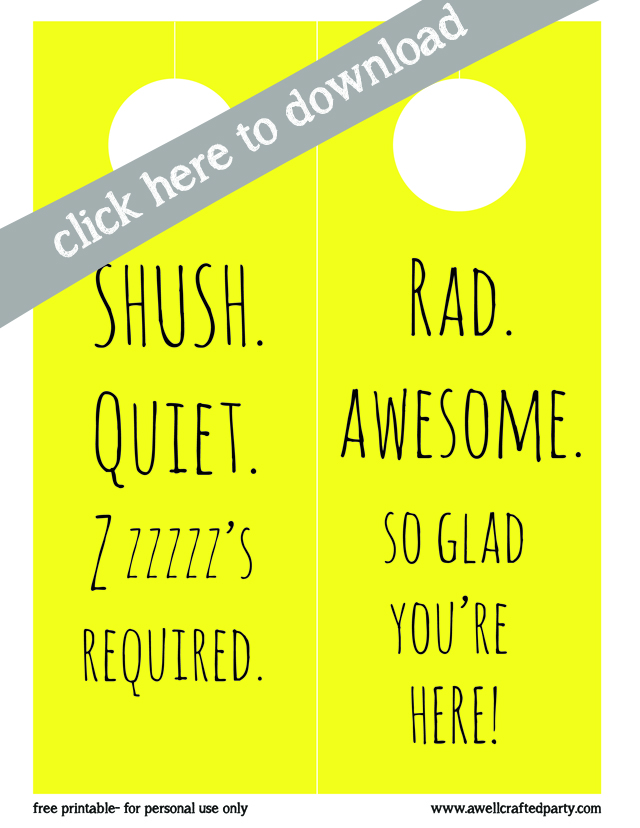
  • Door Hangers
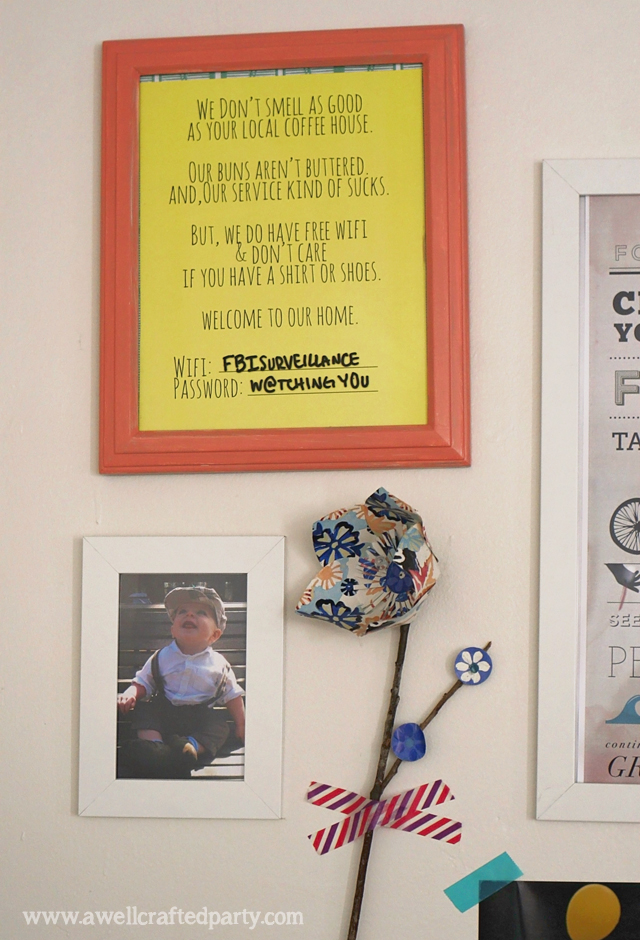
  • Wifi Name and Password 8X10 Print

Directions:

  1. Click the image above to select your downloads.
  2. Print your selections on cardstock and cut out. I use a 2 inch hole punch for the circles and scissors for the rest. Attach items with ribbon & hole punches, glue dots, tape, or hot glue!

How I used them:

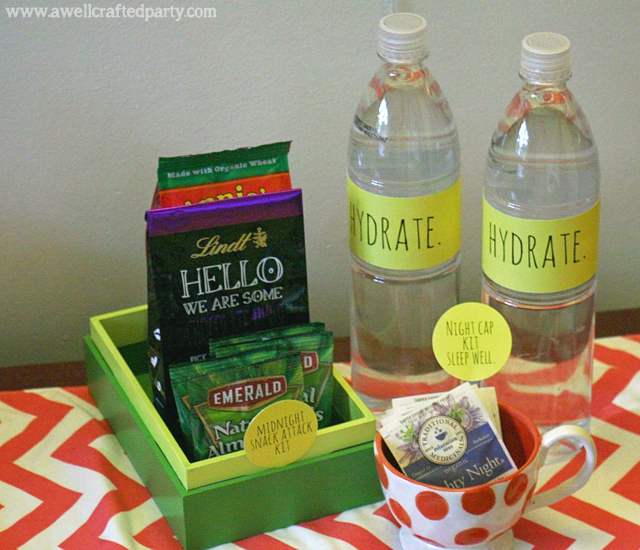
  • Hydrate Printables: I used them as water bottle labels. I attached these with some glue dots. You could also use some double sided tape or cut these into little tags.
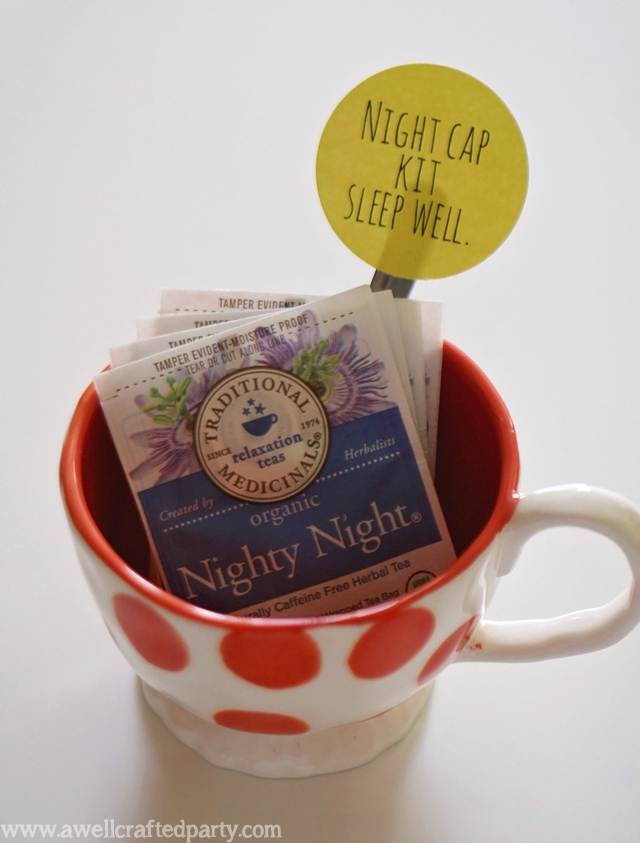
  • Night Cap Kit: I used these with some calming hot teas by gluing the circle to a spoon and arranging them in a cup. This would also be a great addition to a small travel bottle of liquor!
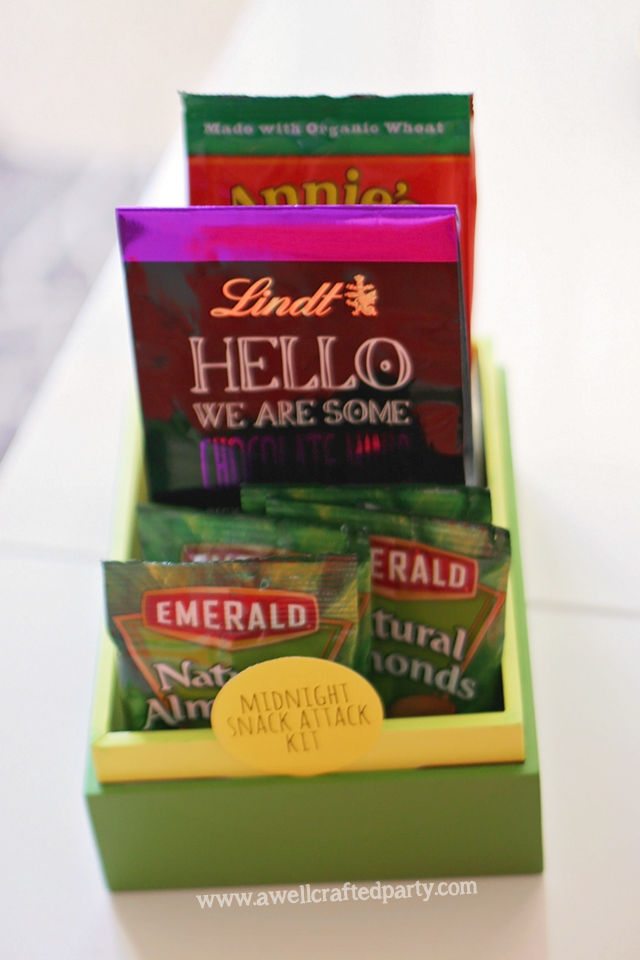
  • Midnight Snack Kit: I attached the circle to a box of snack-tastic goodies.
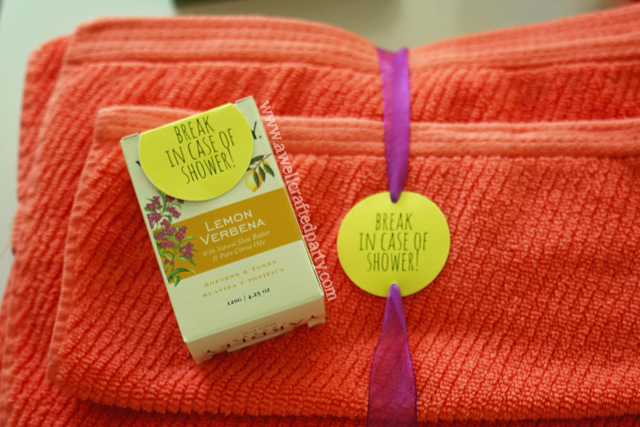
  • Break in Case of Shower: These are fun for your towels, washcloths, or soap!
  • Dragon Breath Printable: I attached this circle to a glass holding new toothbrushes and tooth paste.
  • Door Hangers: Cut out both of the door hangers around the outside, do not cut the center line. Cut out the two door holes and the small line that allows you to widen the opening and put around door handle. Fold the two hangers in half using the thin line as your guide. Use double sided tape or glue dots to secure the fold. Hang on your guest bedroom door!

I hope you like the printables. I’ll be creating a few more sets with different colors and fonts… I’d love to hear requests in the comments!

And remember, please SHARE if you enjoyed these printables!

Disclaimer: This post, while something I am completely and genuinely excited about, came through to me as an opportunity for a affiliate program. The link below is an affiliate link—a small portion of the purchases made from registries created with the below link will help support this blog. Creating a registry is no cost to you! So, you can register away and still  help me support fresh content on this blog. Thank you for your support!


Ikea Portland has a registry! // More info on A Well Crafted Party

I’m a huge fan of Ikea. Nearly my entire house is decorated with Ikea products from their Lack side tables all the way to the frames on my wall. I’m a bit addicted. I can’t tell you how awesome it would have been to be able to register at Ikea for my wedding or for the birth of my son, but I’ll try…

IKEA PORTLAND NOW HAS A REGISTRY OPTION!!!!

See!? I’m excited.

Okay, but seriously, how cool would it be to register for the home goods that you know your friends and family can afford, that you’ll like, and already work with your existing home goods?

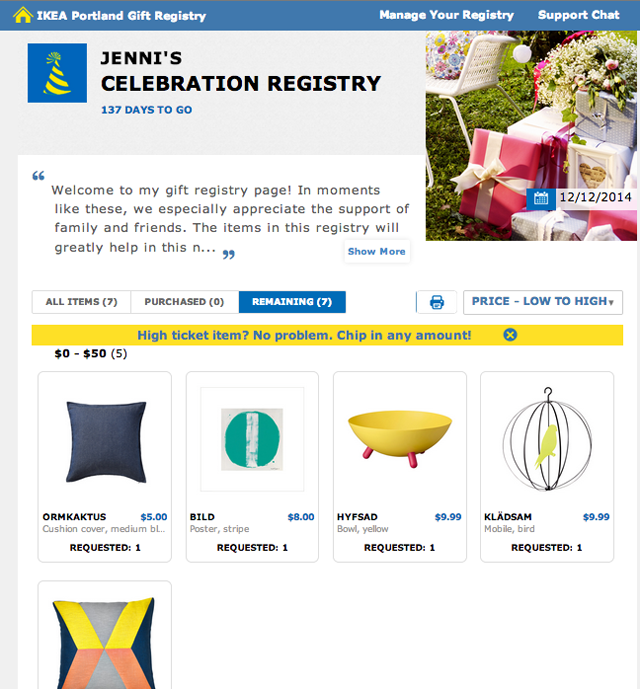
Ikea Registry for Jenni Bost

Ikea Portland Registry Facts:

  1. This registry option is currently only available in the Ikea in Portland.
  2. Managing your registry is EASY. They’ve made it as convenient as possible to manage the registry so everything can be done in store, through the app or on a computer. Items can be added to the registry in the following ways by scanning the barcode in the store, by typing in the article number using the app or by browsing the entire IKEA catalog in the registry app and/ or on a desktop. (If you’d like to use the affiliate link and support my blog while getting your registry on then please sign up and register on your desktop/laptop computer.)
  3. You can set up the registry for any upcoming event… not just weddings or baby showers! (How awesome would it have been to register for Ikea furniture for your graduation!? Perfect for college dorms!)
  4. Creating a profile is as easy as hooking up your Facebook account OR just entering in your email address and name. I love the Facebook option because it is so much easier for me than remembering a new password… though, I understand why some people prefer to not have Facebook hooked up to everything.
  5. One of the most unique and popular features is the ‘chip-in’ feature. This is beneficial to all sides! Guests can chip in together to split the cost of larger items and couples don’t have to feel limited in terms of which items they can place on their registry.You can even add an entire kitchen to your list! As people chip in the couple is notified and updated so that you can see the progress as it reaches a full purchase.
  6. Once the gifts are purchased the registrant issues a voucher via the registry app. You can pick up your items in the store and check out right away simply by showing their phone. You have full flexibility at that point to change any item for anything else before you redeem your gifts. This is also unique because if for some reason you change your mind about a product you are free to change their minds when they go to pick up your gifts. 
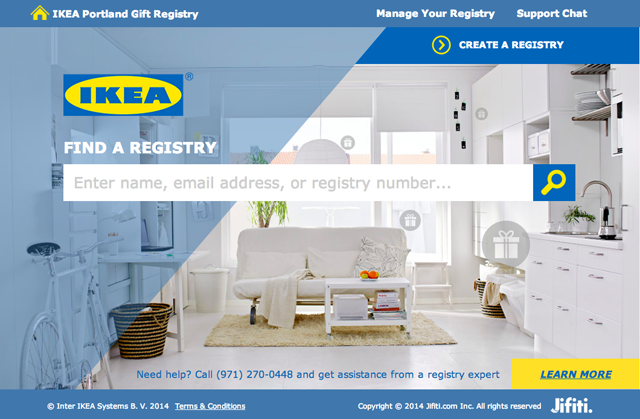
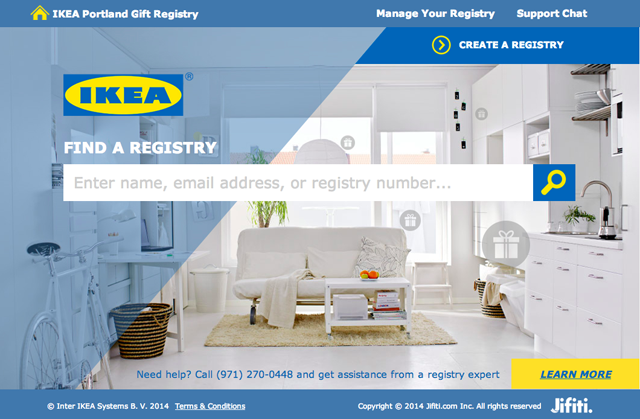
  7. Guests can search for a registry by going to portland.gift-registry.us and search by name, email address, or registry number.

The photos above are Ikea items that are now sitting on my registry!

Click on over and start your registry today! I’d love to know if you’ve set one up and what you’re excited about!

A Well Crafted Party
Privacy Overview

This website uses cookies so that we can provide you with the best user experience possible. Cookie information is stored in your browser and performs functions such as recognizing you when you return to our website and helping our team to understand which sections of the website you find most interesting and useful.

You can adjust all of your cookie settings by navigating the tabs on the left-hand side.

View our entire privacy policy.