Necessity breeds creativity. The need for movement for the whole family created a variety of creative solutions. Our favorite, and prettiest solution of the bunch was the creation of a home gym in our home’s mudroom space. This DIY home gym included a change of flooring, paint, and a space styled with the goal of inspiring movement.
When the long-lasting reality of the pandemic began to dawn on our family we ended our monthly gym membership and decided to focus those funds elsewhere. In the beginning we were spending plenty of time outdoors and getting our exercise by working in the yard or going on hikes. We even purchased an above-ground pool that we used as much as possible in the short Spokane Summer season.
Then winter hit…and, boy, did it hit hard! We quickly realized that we really needed a more complete space to complete our daily workouts. Our under-organized and over-stuffed gym/mudroom/office/laundry space just wasn’t cutting it. So, after some hemming and hawing from the husband, we started in on our first time doing flooring along with some other DIY efforts to make this multi-purpose space into a true home gym.
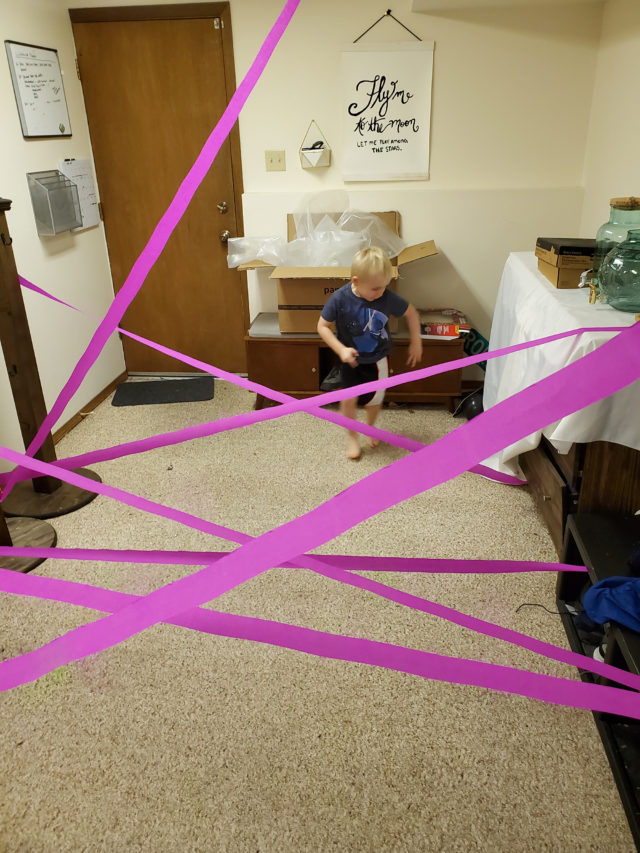
The Before: An Actual Dumping Ground
The gym still serves as a second home office, laundry room, and mudroom. It just looks a lot better doing it all. Read on for the makeover highlights and supply list.
I only have a few photos of the before of this room, but check out my Instagram for a video of the whole transformation! (Follow me @JenniBost)
Our mudroom houses a laundry room area that is unfinished. We did not tackle that space in this makeover, but have plans for the future! The rest of the space is actually quite large at 16’X9′. We have used this space in the past as an extra guest room, a storage room, an indoor bike space, and an extra home office.
The Needs for Our Refresh:
In future posts I’ll go into the flooring and some of my DIY artwork in more detail, but for now, here are the basics for what our refresh required:
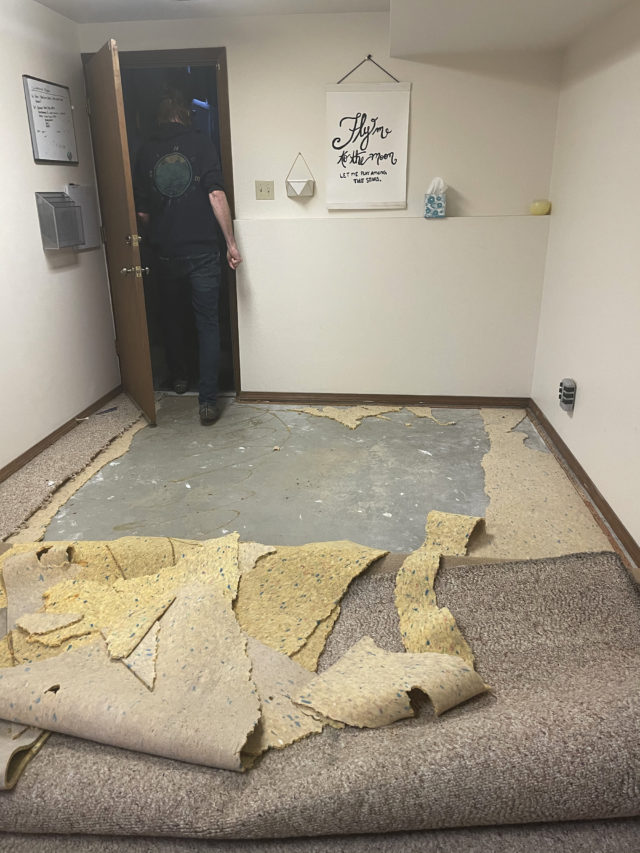
- Flooring: The flooring was the biggest eye-sore in this space as it was a cheap cream carpet that got some good wear-and-tear from the traffic coming in from the backyard and garage. Eventually, we would like to redo the flooring in the entire house, so this was a good opportunity to learn a new DIY skill.
- Paint: Much of our house was painted a version of white that had a cream base. I like a brighter, cooler white. So, paint needed to happen. As much as I love color, I chose white to help keep this space feeling relaxing.
- Storage: The space previously had hap-hazard storage that was filled to the brim with anything that didn’t really have a home. We needed to create homes for those items and make sure we had space to store our every-day home gym equipment.
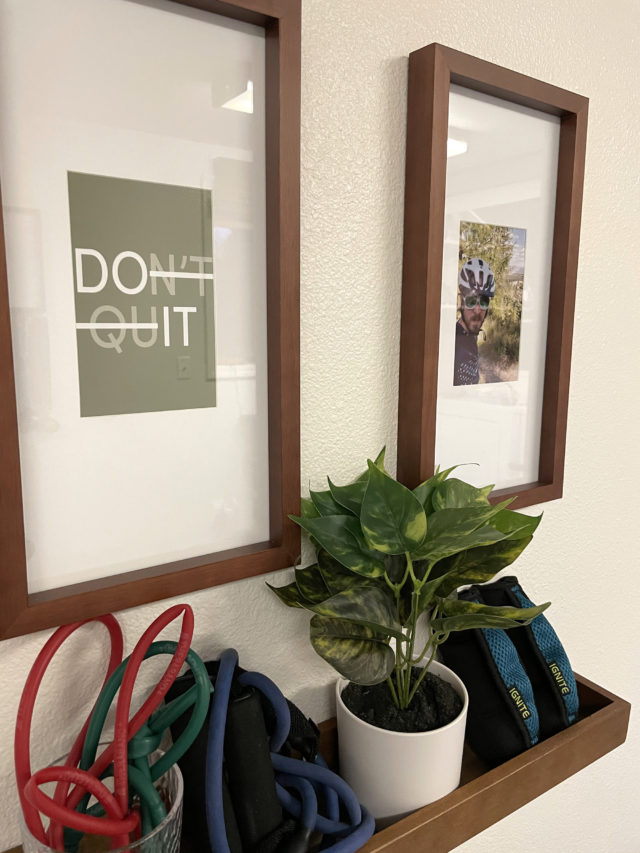
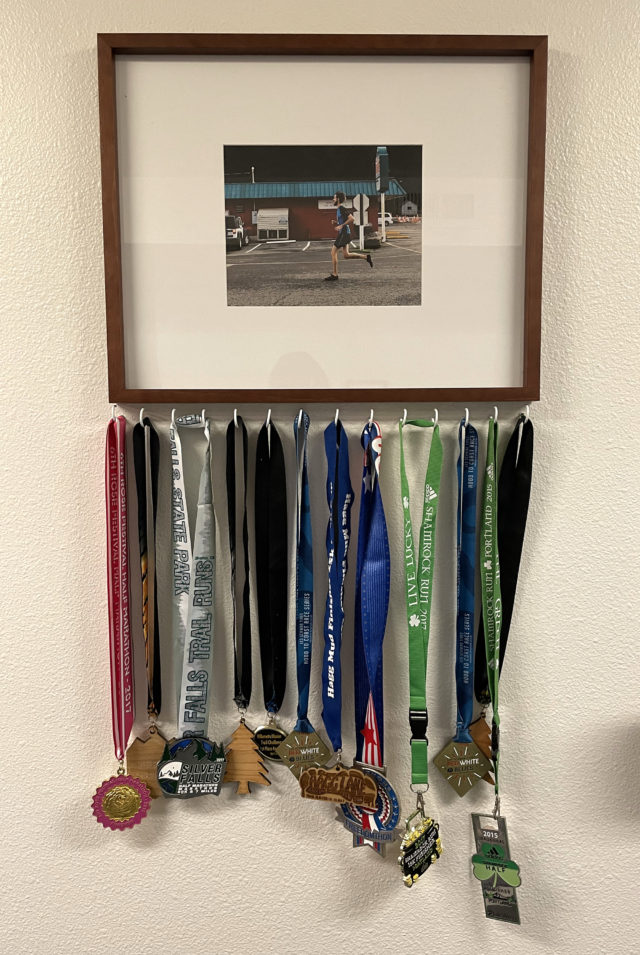
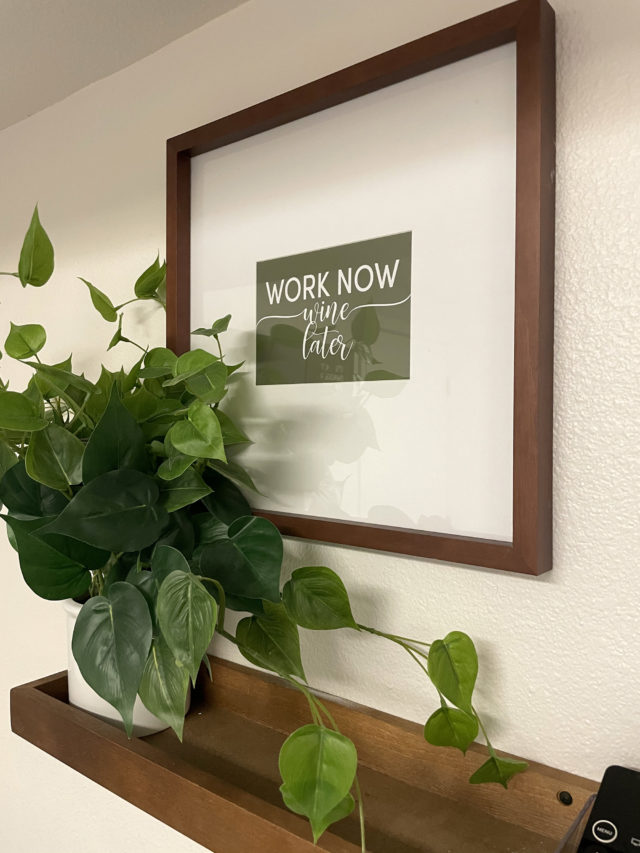
- Decor: Gotta have something on the walls to help inspire us!
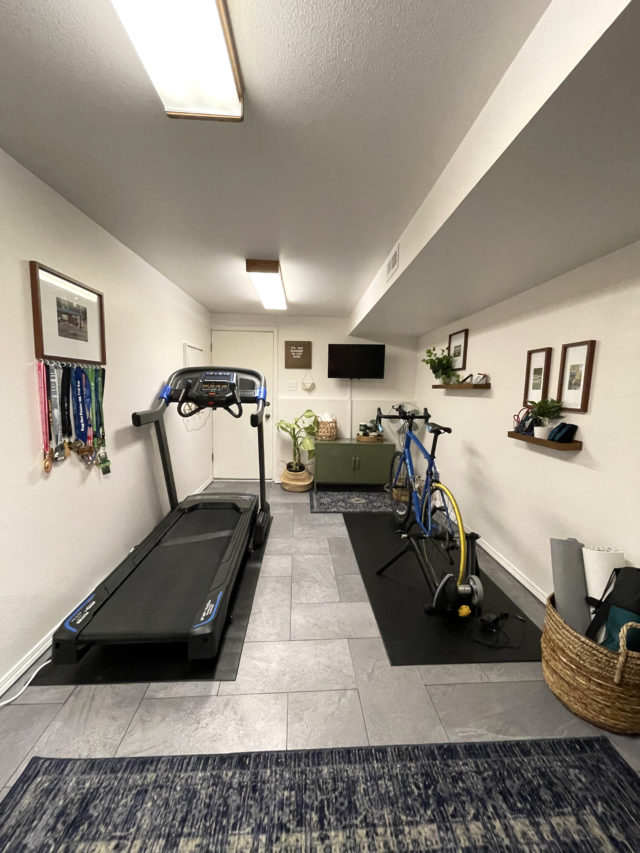
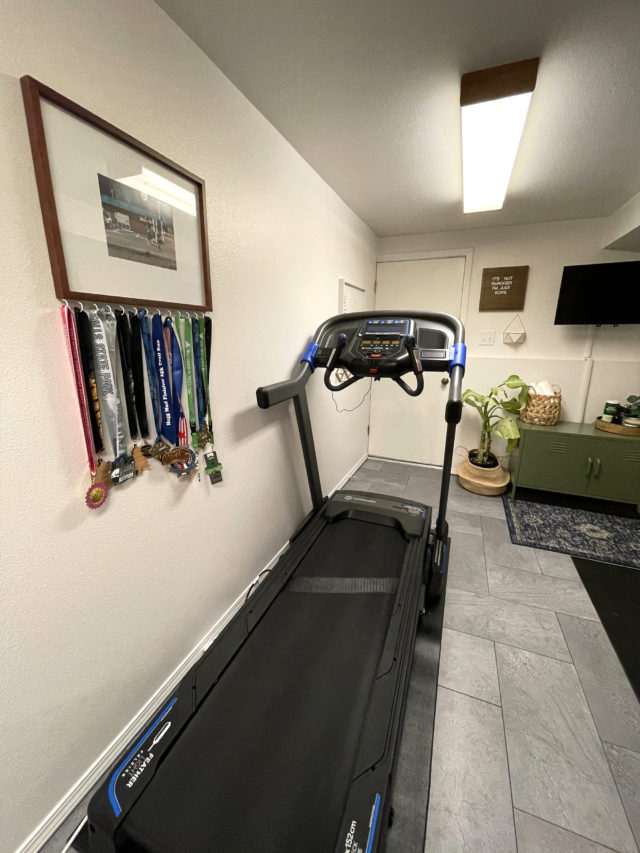
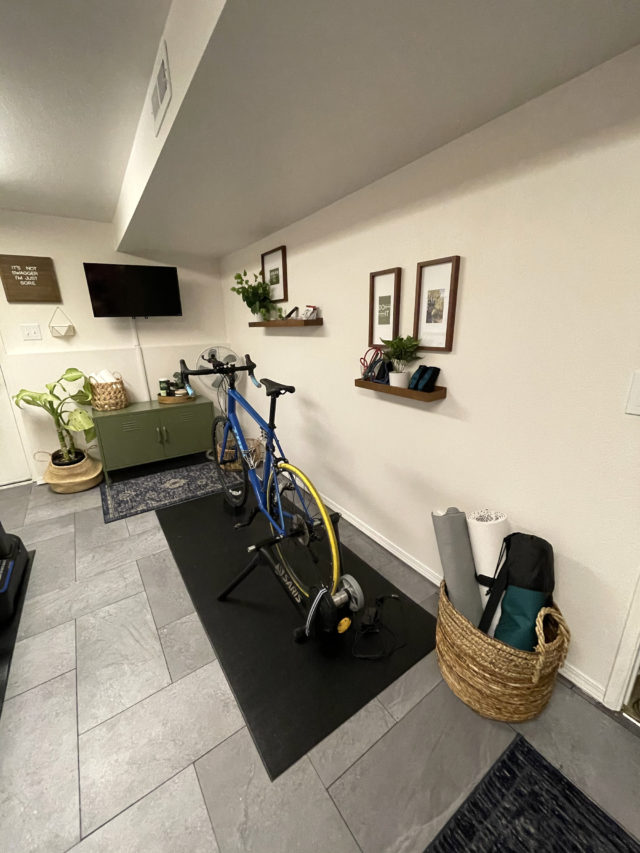
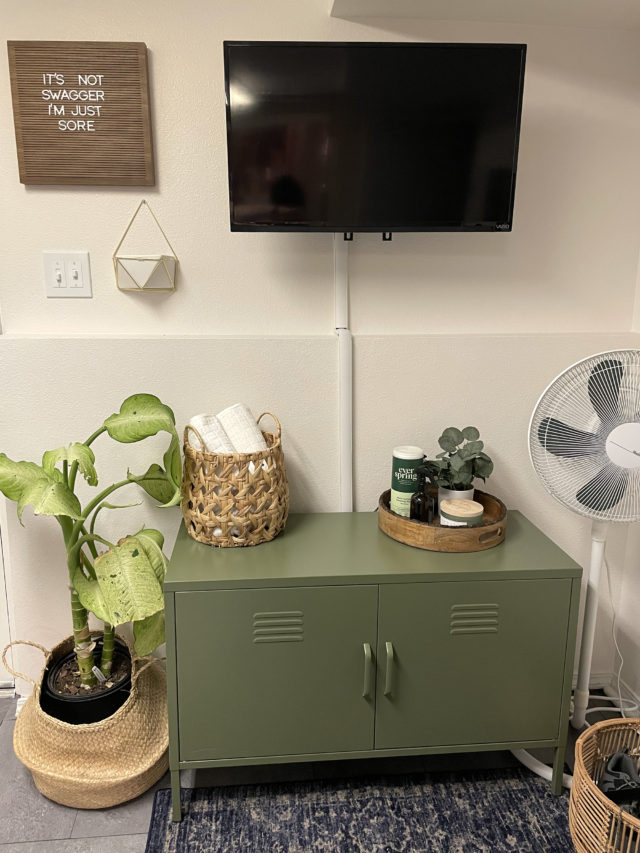
The After: Our Very Own Home Gym
The best part of any DIY is the before and after photos, right? I’m really proud of this little room.
The flooring isn’t perfect. I’m sure that if someone looked closely they would see our mistakes in getting things spaced just right. However, it is 1000% better than what was there before and it was our first try at flooring. I’m trying to rest in that instead of being frustrated that it isn’t pro-quality.
It has been so nice to go in and get in a good sweat session. We, unfortunately, did not have room for my indoor bike, so that resides in my office still. However, we were able to mount a TV for things like Yoga– we have a large space that is completely empty aside from a rug for us to do non-machine workouts. We were able to get in our treadmill and my husband’s indoor bike.
Scroll down to see the photos and then the list of supplies!
Indoor gym supplies
Boy oh boy do we have a big list of supplies. I’m not going to get into all the nitty gritty about the flooring in this post, but promise to share those supplies soon.
Disclosure: Any of the links below marked with an asterisk (*) is an affiliate link meaning that I will receive a portion of the sale, at no cost to you, if you purchase anything using that link. Thank you for your support!
- Treadmill: We got the Horizon Treadmill 7.0 AT * because it would connect to Zwift, an indoor training app.
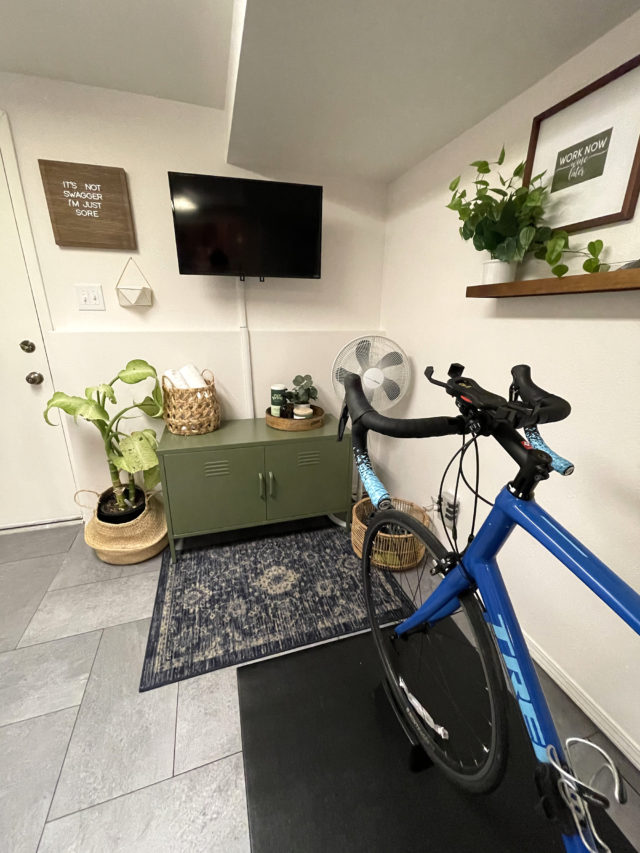
- Bike Trainer: Saris M2 Smart Indoor Electromagnetic Resistance Bike Trainer *(also compatible with Zwift).
- Rugs: Vintage Distressed Rug – Threshold— We got two rugs of the same design because I loved it so much. They are from Target.
- Green Metal Locker from the RealRooms brand. Though, if you are looking for other colors I’m also in love with the bright lockers from Novogratz*.
- Walnut Floating Shelves*
- Wood Letter Board
- Accordion Decorative Wall Hooks in Brass
- Mid-tone Wooden Picture Frames
- Wooden Tray was a find at Home Goods, but I found a similar round wooden tray* on Amazon
- Small Basket
- Shoe Basket
- Yoga Mat Basket was a find at Home Goods but I found a similar woven basket* on Amazon
- The room spray is a favorite of mine from Grove.co* I got the sanctuary scent as I felt it would be perfect in this space. The brown glass bottle is lovely!
- Artwork included family photos and some prints that I created and plan on sharing here on the blog soon!
Thank you for taking the time to check out my new DIY gym space. I hope you found some inspiration in the pictures.