I remember how I felt graduating high school. I remember my dreams and hopes.
I had lofty goals of leaving home, becoming a writer, being independent,
and wearing high heels daily.
Yep, that was a goal—high heels.
I went 8 hours away from home for my first year of college.
I cried every night of my first semester.
I was working two jobs and going to school full time. I was trying to have a life other than school as well. I felt overwhelmed and I missed home.
The next year I moved back home to finish college at the school from which I eventually graduated. I felt like a failure because I moved back home. But, I loved my life. And, I met the love of my life.
My goal while in college changed from that from high school some.
I wanted to become a lifestyle journalist, instead of just a writer.
I no longer cared about leaving home as much.
And, as for independence… while something I value,
I grew to learn the amazing gift that comes with learning to depend on someone who cares for you.
It wasn’t an easy lesson to learn. And, it changed me.
I still wore high heels though.
Now, six years later my goals and hopes have changed again.
I moved across the country, but I wound up working as a bartender and relying heavily on my husband’s financial and moral support for survival. I then became a mother and stay at home mom.
My heels have been swapped out for slippers or tennis shoes most days.
Sometimes I wonder if I did my past self a disservice for not living up to my previous goals.
My goals never included being a wife or a stay at home mother.
Isn’t it amazing how life can change you?
Something that I never before imagined for myself, or even wanted for myself, has changed me so entirely. I don’t know what my past self—the self walking across the stage at her high school graduation; the self driving 8 hours to her first year of college; the self that cleaned her house in high heels; or the self that walked into her first day as a paid journalist—would have thought about the woman spending her day playing with her son and cooking dinner for her husband.
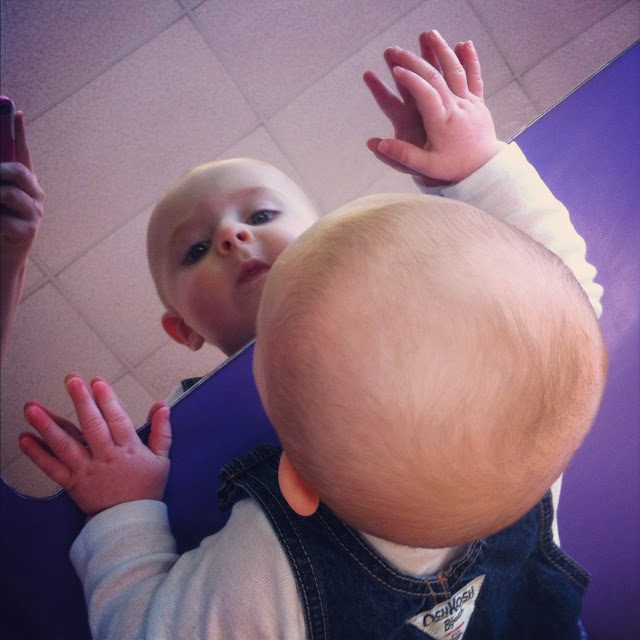
I don’t know what she would have said or thought. But, I know that when I look at my son discovering himself in a mirror or smiling as I walk into his room that
I am happy with this person I’ve become.
My new goals?
—Teach this amazing little boy as much as I can.
—Help him become the man of his hopes and dreams.
—Be a good wife to my wonderful, supportive husband.
—Be a writer.
—And, wear high heels as much as possible. 😉
How has life changed you? What are your goals?


