Category

Anniversary

Category

I seriously cannot stop sharing images from this amazing night. Our tenth anniversary party was absolutely an excuse for us to celebrate our marriage with the people that we’d gained over the last ten years—the people who are our support group now (and always). It was also an excuse to eat ridiculously good food and drink some delicious beverages. Andina Restaurant in Portland, Oregon provided the perfect venue and menu for our little shindig.

(Please note that this post is not sponsored in any way.)

Andina's Party Menu for special occasions from A Well Crafted Party

We chose Andina restaurant in Portland, Oregon as our venue for four very good reasons:

  1. We loved the food there and had one of our most memorable post-marriage date nights eating a delicious meal there.
  2. They had a GORGEOUS space that fit our party’s numbers.
  3. Andina’s team of people that helped me secure the space, view it, try foods, and plan my party were so very helpful. I am a tad anal with events (spreadsheets are your friend!) and they were nothing but gracious hosts.
  4. It was affordable. I mean, it wasn’t inexpensive… but, I wanted a GREAT meal. A great meal was certainly had. Don’t believe me… let me show you:

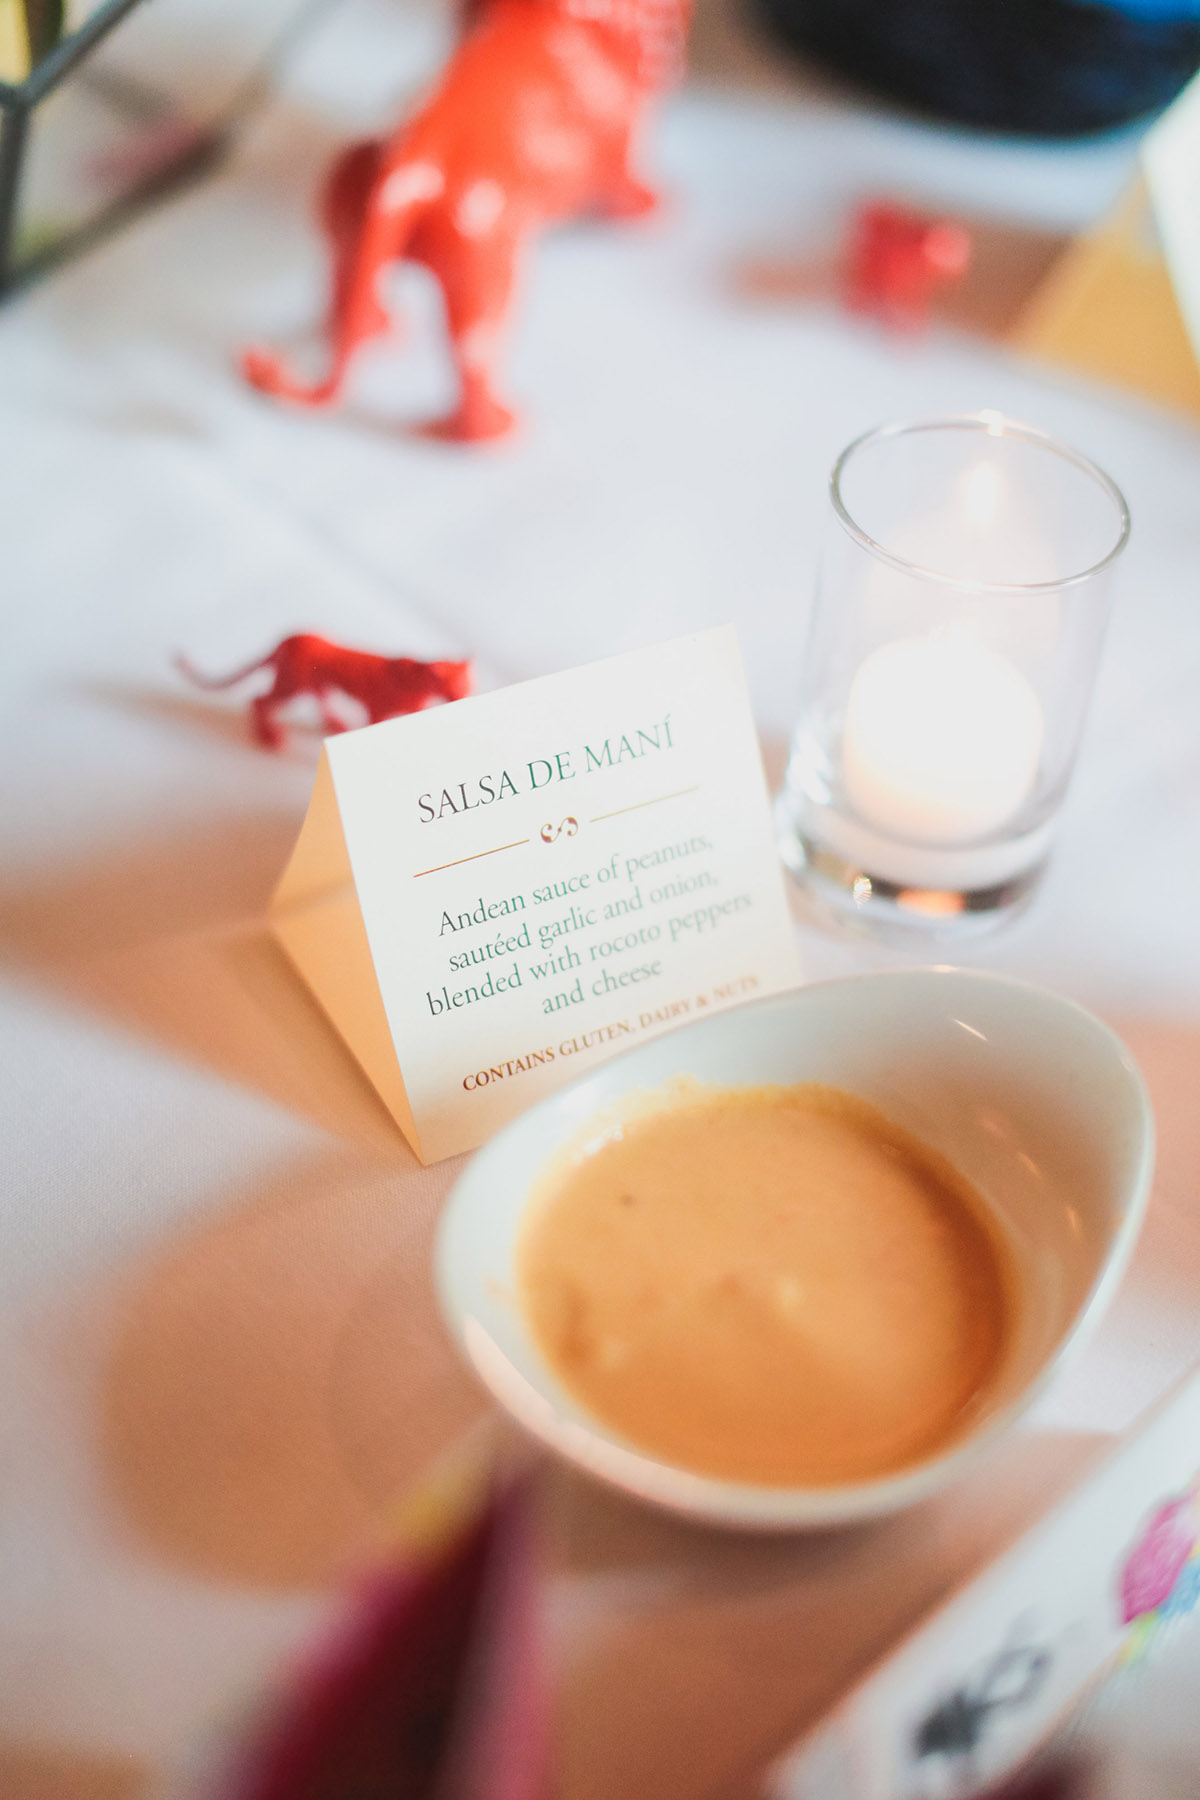
(Amazing photos by Mary Boyden of Mary Boyden Photography)


Andina's Party Menu for special occasions from A Well Crafted Party

Andina's Party Menu for special occasions from A Well Crafted Party


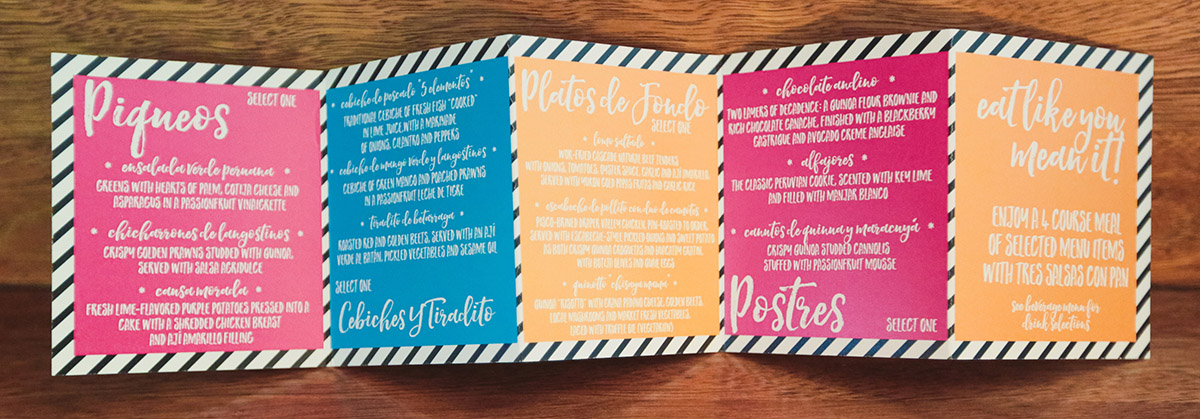
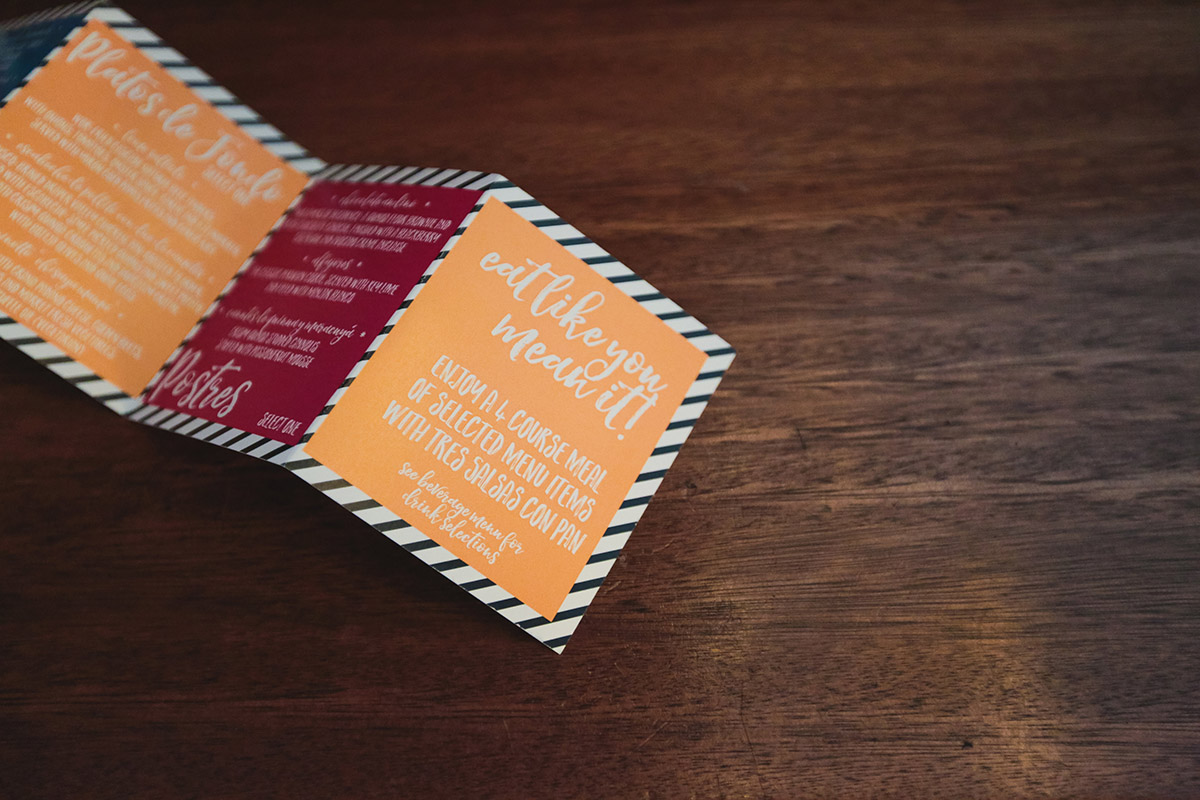
Party Menu at Andina Restaurant in Portland, Oregon

There were several different choices and price points to create the party menu that we wanted. We chose to do a four course meal along with Tres Salsas Con Pan (breads with salsas/dipping sauces). My favorite part was being able to let my guests actually peruse the menu and select items that they wanted. I have done every style of dinner party there is from family style to buffet to plated… but, getting to have choices really made me feel like I was able to treat my guests. For our menu guests were able to choose from three selections of each of the courses. We chose those three selections prior to the day, but the guests got to choose their own items in the moment. I created the pictured menus because I wanted the menus to match the rest of the paper goods. The restaurant will make menus for you based on your selections if you aren’t as particular as I am. ::wink::

Photo booths are all the rage right now for a very good reason… they get people up and interacting, they provide great memories from the event, and well, they are just plain fun. I wanted to incorporate a photo booth in our 10th Anniversary Party and I also wanted to somehow include photos of our friends and family from over the past ten years. I contemplated a variety of different ways to do those items seperately before realizing that I should just combine the two which is how this photo memory black and white photo booth backdrop was born. Getting it put together was quite a feat and there are things that I didn’t like about the finished project which I’ll add in my tips below to avoid those issues. Overall, the photo memory backdrop and photo booth ended up being one of my favorite projects from the day. A big shoutout to Mary Boyden Photography for all of the event images.

DIY Photo Memory Black and White Photo Booth Backdrop

When designing this backdrop I knew that I would want to have a few things right off the bat:

  1. An impressive sized backdrop featuring images from over the past 10 years.
  2. Black and white images that would end up being a fun photo backdrop.

I debated a couple of different ways to create this backdrop.  My first thought was to use a few photos blown up and printed as engineering prints for a big bold backdrop. I decided against this option because I wanted to use photos of our guests and us and there were just too many to narrow it down to just a few larger images. My second thought was to use a ton of images printed as 4X6 images in black and white. Because it was going to be photographed I wanted it to not have a big shine factor so I knew I wanted matte prints. I guess I could have gotten 5X7 images or 8X10 images but the cost of that seemed to be a lot more than the 4X6 prints. Finally, I decided to put a white border around each of the prints so that there was some uniformity and white space in the backdrop.

DIY Black and White Photo Backdrop

DIY Black and White Photo Backdrop


Putting the backdrop together took some time, patience, and a big open space on the floor. The backdrop was approximately 10 feet across and 7 feet tall. I did the math and found that I needed approximately 420 4X6 images to create my backdrop. I purchased the images using Shutterfly. I saved a ton of money using coupons and ended up spending approximately $35 on the whole thing. If you paid full prize at Shutterfly it would only cost around $63 (before shipping) which is amazing for a project this large. (Note: This post is not sponsored in any way… just sharing the company I used for this project.)

I love getting dressed up every now and again. Planning out my outfit, and let’s be honest… my husband’s outfit, was both fun and a little stressful. I’m thrilled with what we ended up pulling together for our 10th anniversary party attire.
 I knew I wanted to have a fun party dress but I wasn’t attached to a certain color or style. I was approximately 7 months post-partum and not feeling my most slim and attractive. Searching for a dress ended up being my least favorite part of the whole plan– though, my shopping partners and the eventual finding of the dress made it worth it.
10th Anniversary Party Attire
A little background, let’s go back ten years or so to the time when I was searching for “the” dress, my wedding dress. I love clothing, but I do not like the type of shopping that goes with finding a once in a lifetime outfit. I really disliked needing help getting in and adjusting myself into a way too expensive dress. After trying on a few dresses at two different bridal shops I ended up hopping online and purchasing a dress online. If it wasn’t perfect I didn’t care. Thankfully, it pretty much fit perfectly and I didn’t need helping getting it on. Looking back I realize that it wasn’t the most flattering for my shape, but I felt beautiful in the moment and that is what matters.
I originally planned on wearing a white party dress or a brightly colored cocktail dress for the party. I thought it would be a fun way to coordinate with the event. I went to several shops before trying on dresses at Macy’s. While at Macy’s I loaded up my arms with dresses in my size (there were not many) and tried them on with more than a little disappointment in how they looked. I found one that I liked enough if I ordered a larger size online and began to reserve myself to doing that when on a last minute decision to walk through again put a beautiful black and white striped dress in my hands. I gravitated to the black and white stripe mainly because of the black and white striped element in the party invitations and paper goods I had designed. I fell in love. The dress was a tiny bit snug and didn’t completely hide my baby belly… but, I felt fantastic in it!
10th Anniversary Party Attire 10th Anniversary Party Attire
The idea of coordinating with the invitations was then implanted in my brain. I figured my husband would wear his grey suit, but I didn’t know what style of tie to go along with it. I dreamed for a little bit about making him a custom tie using the design I had on the invitations. I knew I could order custom fabric, but didn’t think I’d have time to actually sew a tie. That’s when I thought to google “custom printed ties” and found that there is a whole world of custom print items out there! (This is very dangerous!!) I was able to have a tie printed through Zazzle in the design I created and it didn’t cost an arm and a leg. While he wasn’t stoked at first about the brightly colored floral tie, he ended up liking it in context with with party.