Author

Jenni

Browsing
Jenni is a blogger and marketing professional in Portland, Oregon. A Well Crafted Party is a blog about all the little things to celebrate in life. Follow Jenni or A Well Crafted Party with BlogLovin, RSS feed, Facebook, Instagram, or Pinterest.
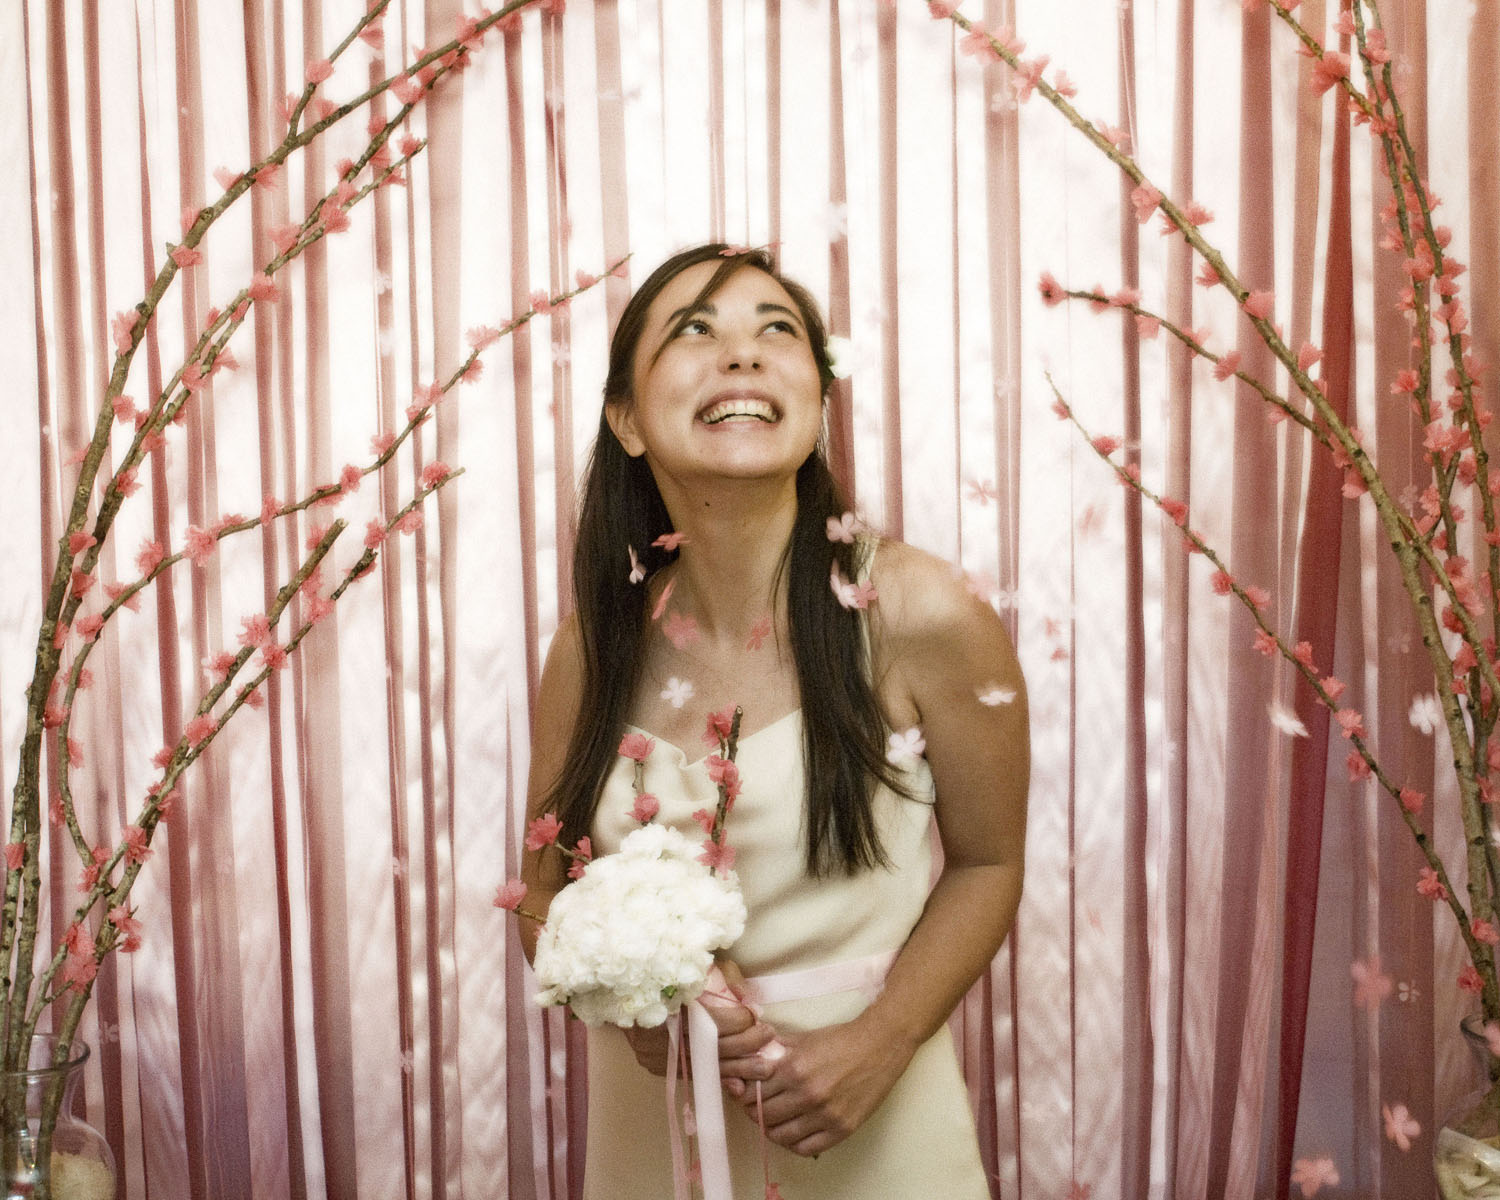
If you are a fan of the Love in Blossom photoshoot that I featured a while back…
 (and that was featured on Hostess with the Mostess)
then you were possibly waiting for these DIY posts!
**By the way, if you use any of these DIY projects I’d LOVE to see pictures!**
Well…with no further hullabaloo…
 ~*~
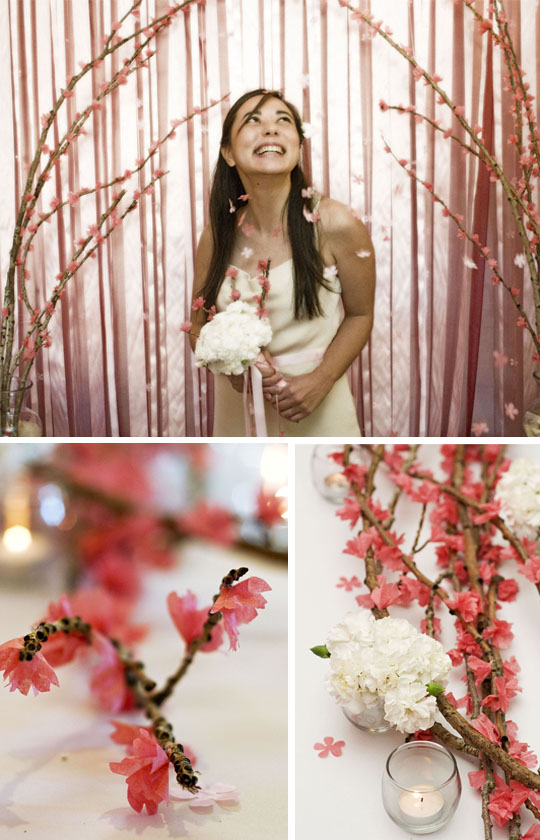
DIY Cherry Blossom Branches
 Cherry Blossom BranchesSupplies:
Branches
Pink Tissue Paper cut into 1 inch squares
Pen or Pencil
Hot Glue

Step One:
The project works best if the tissue paper is cut several sheets of paper at a time and not as a single sheet— 5 layers of tissue paper work best. 

 
Fold tissue paper squares on the diagonal. And then fold again similar to making a paper snowflake. 
Round the straight side of the now triangle piece of tissue paper. 
Put a notch in the center of the of rounded edge. 
 Step Two:


Separate the tissue layers and twist around the end of a pen or pencil.
Step Three:

Placing a dab of hot glue on the branch attach the tissue paper to the branch using the pen or pencil.

 Continue placing the tissue paper on the branches twisting the blossoms around the branch.

Notes:
Branches can be purchased on-line or found in your own backyard. 
***There are similar projects featured on both the Martha Stewart and Good House Keeping websites. I certainly wasn’t the first person to think of this, but I do like how my project turned out.**Sources:
Blossom Tissue Paper: from www.paper-source.com

BIG THANK YOU

to Hostess With the Mostess for featuring this DIY
and to Capturing Grace Photography for taking such beautiful photos!
 
Ribbon Backdrop | A Well Crafted Party

DIY Ribbon Wall Backdrop

Ribbon Backdrop | A Well Crafted Party
Supplies:
Several Yards of Various Widths of Satin Ribbon in you color choice
Curtain Rod and Brackets
Hot Glue
Blossom Confetti

Step One:
Attach curtain brackets to wall approximately 8 feet from ground. Put curtain rod on brackets. If you do not wish to attach brackets to a wall then you can suspend rod from ceiling.

Step Two:
Measure lengths of ribbon so that they are 5 inches longer than what you need to reach  curtain rod to floor. Use a slip knot to attach the ribbon to the rod with the 5 inches of ribbon hanging behind the longer ribbon. Vary the lengths of ribbon while attaching to the rod.

Step Three:
Attach blossom confetti randomly on lengths of ribbon using a dab hot glue to attach.

Ribbon Backdrop | A Well Crafted Party
Notes:
My 8-foot ribbon wall required 100 yards of 1-inch width ribbon, 50 yards of 3-inch ribbon and 30 yards of 3/8-inch ribbon. Strips of linen or lace would also work very well in this project. Purchasing ribbon in bulk helps make this project more cost effective. Also, save the rolls the ribbon come on because you’ll be able to save most of the ribbon used on this wall for other projects.

Sources:
8-foot curtain rod and brackets— Ikea
Ribbon— www.papermart.com and www.paper-source.com

BIG THANK YOU
to Hostess With the Mostess for featuring this DIY
and to Capturing Grace Photography for taking such beautiful photos!
Don’t forget to enter to win these fabulous grosgrain napkin holders from Social Couture!
The winner will receive their color choice of napkin rings–perfect for any upcoming summer parties!
Color choices include: 
 lemongrass, coral, navy/white, red/white, pink/white, lime/white, navy/pink/white (new), green/navy/white (new)
This awesome giveaway ends TOMORROW NIGHT! 
to enter! (It is super easy!)