Deviled eggs are the perfect addition to any Spring brunch or potluck. Nearly everyone loves them, but they never just make deviled eggs to enjoy themselves at home. Adding a punch of color to your deviled eggs and additional flavor to your mixture can really take this traditional potluck addition from a welcome addition to the table to a showstopping dish that everyone will want to take pictures of before they take a bite.
Dressing Up Your Deviled Eggs
While traditional Deviled Eggs are delicious and welcome, dressing them up a bit can really make a difference in their flavor and visual appeal. My tips for dressing up your deviled eggs come down to adding pops of color, switching up the visual interest in the way the egg is cut, and adding interesting flavors to the yolk mixture.
Adding Color to Your Deviled Eggs
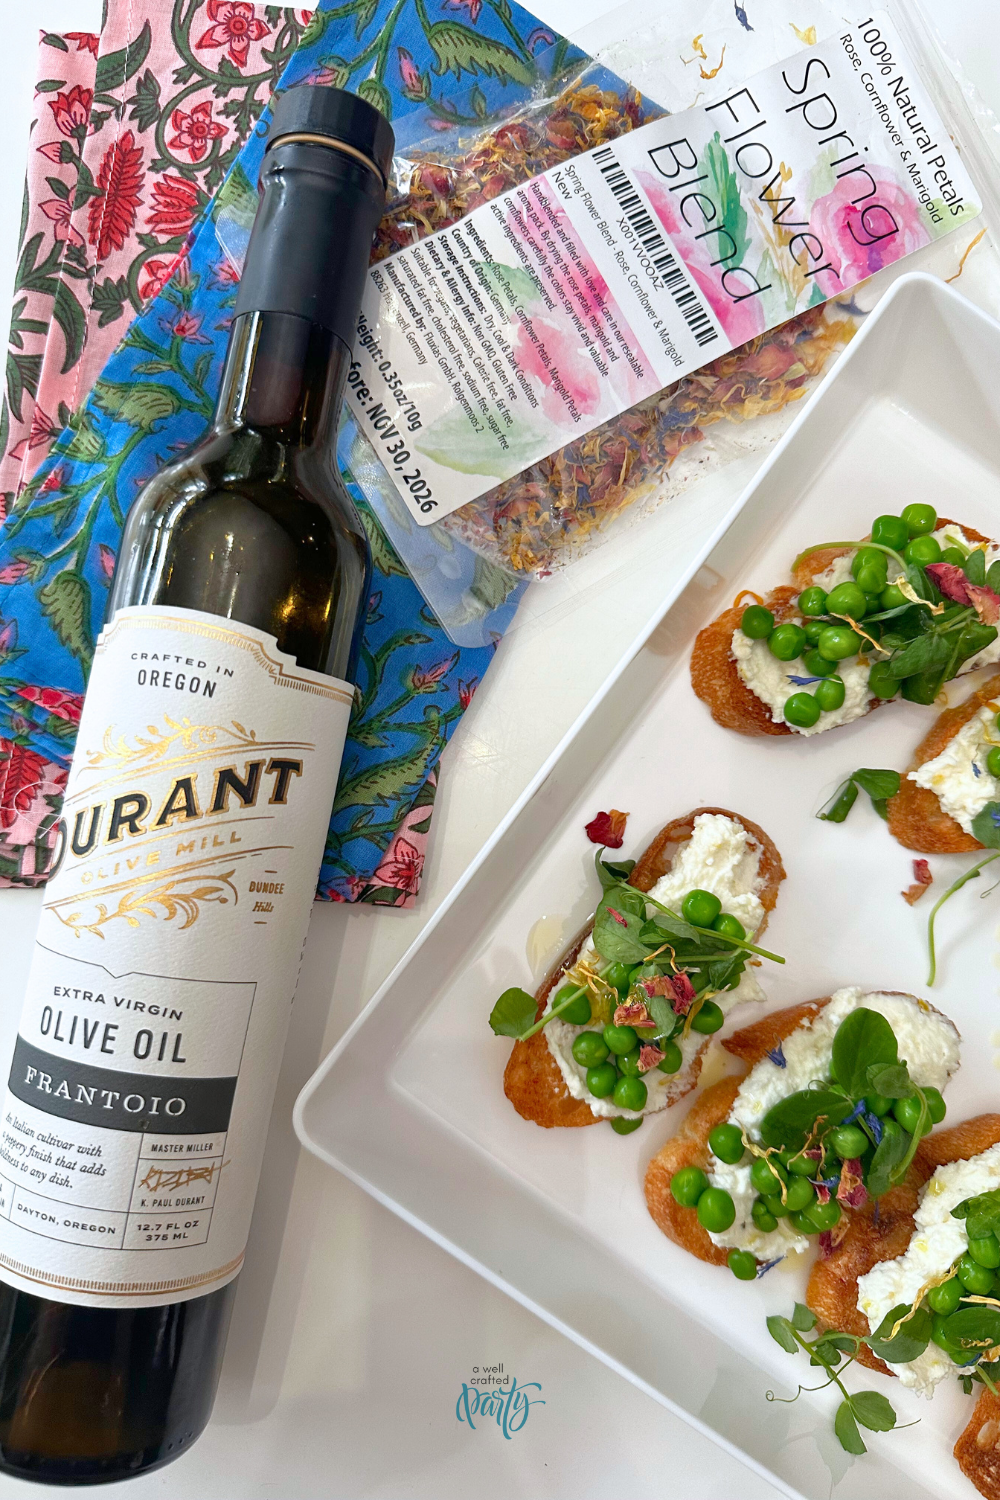
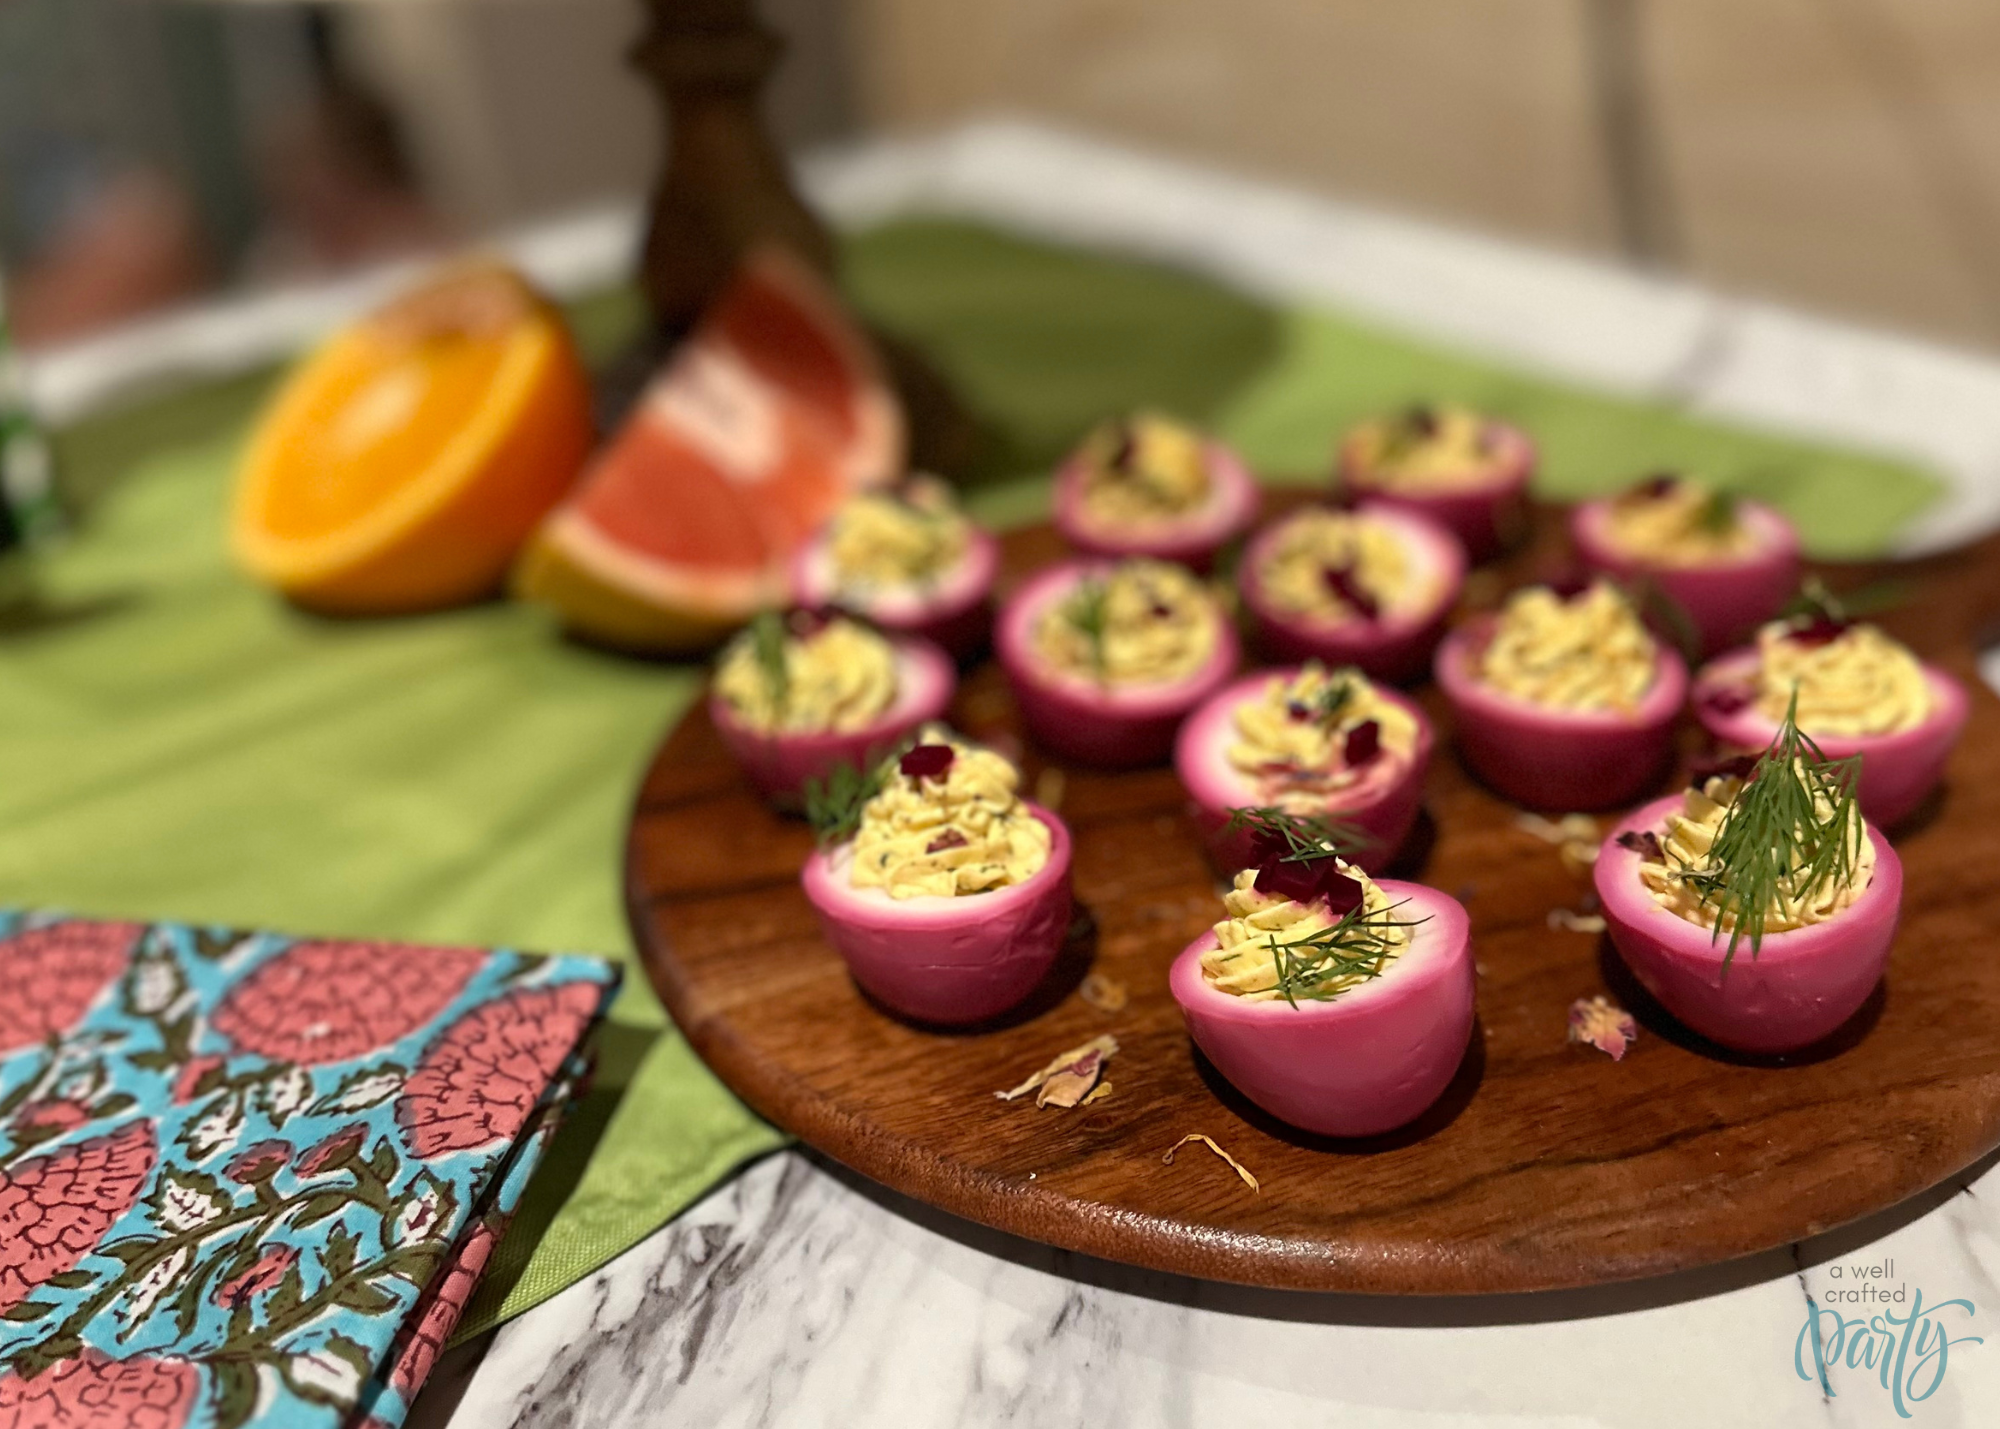
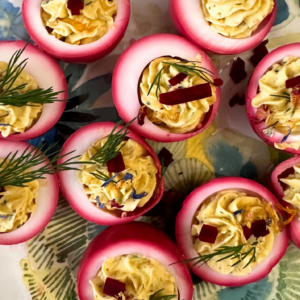
There are many ways to add a punch of color to your deviled eggs, from a good dash of Paprika to the addition of tumeric to your yolk mixture for an extra rich yellow color. You can also add color with fun garnishes such as edible flowers, chives, poppy seeds… even caviar! I chose to add some color in a combination of ways while making this set of deviled eggs… but, the most noticeable of them all was choosing to pickle the eggs slightly in a beet mixture that made the eggs a beautiful pink hue!
Make Pink Boiled Eggs with Beets
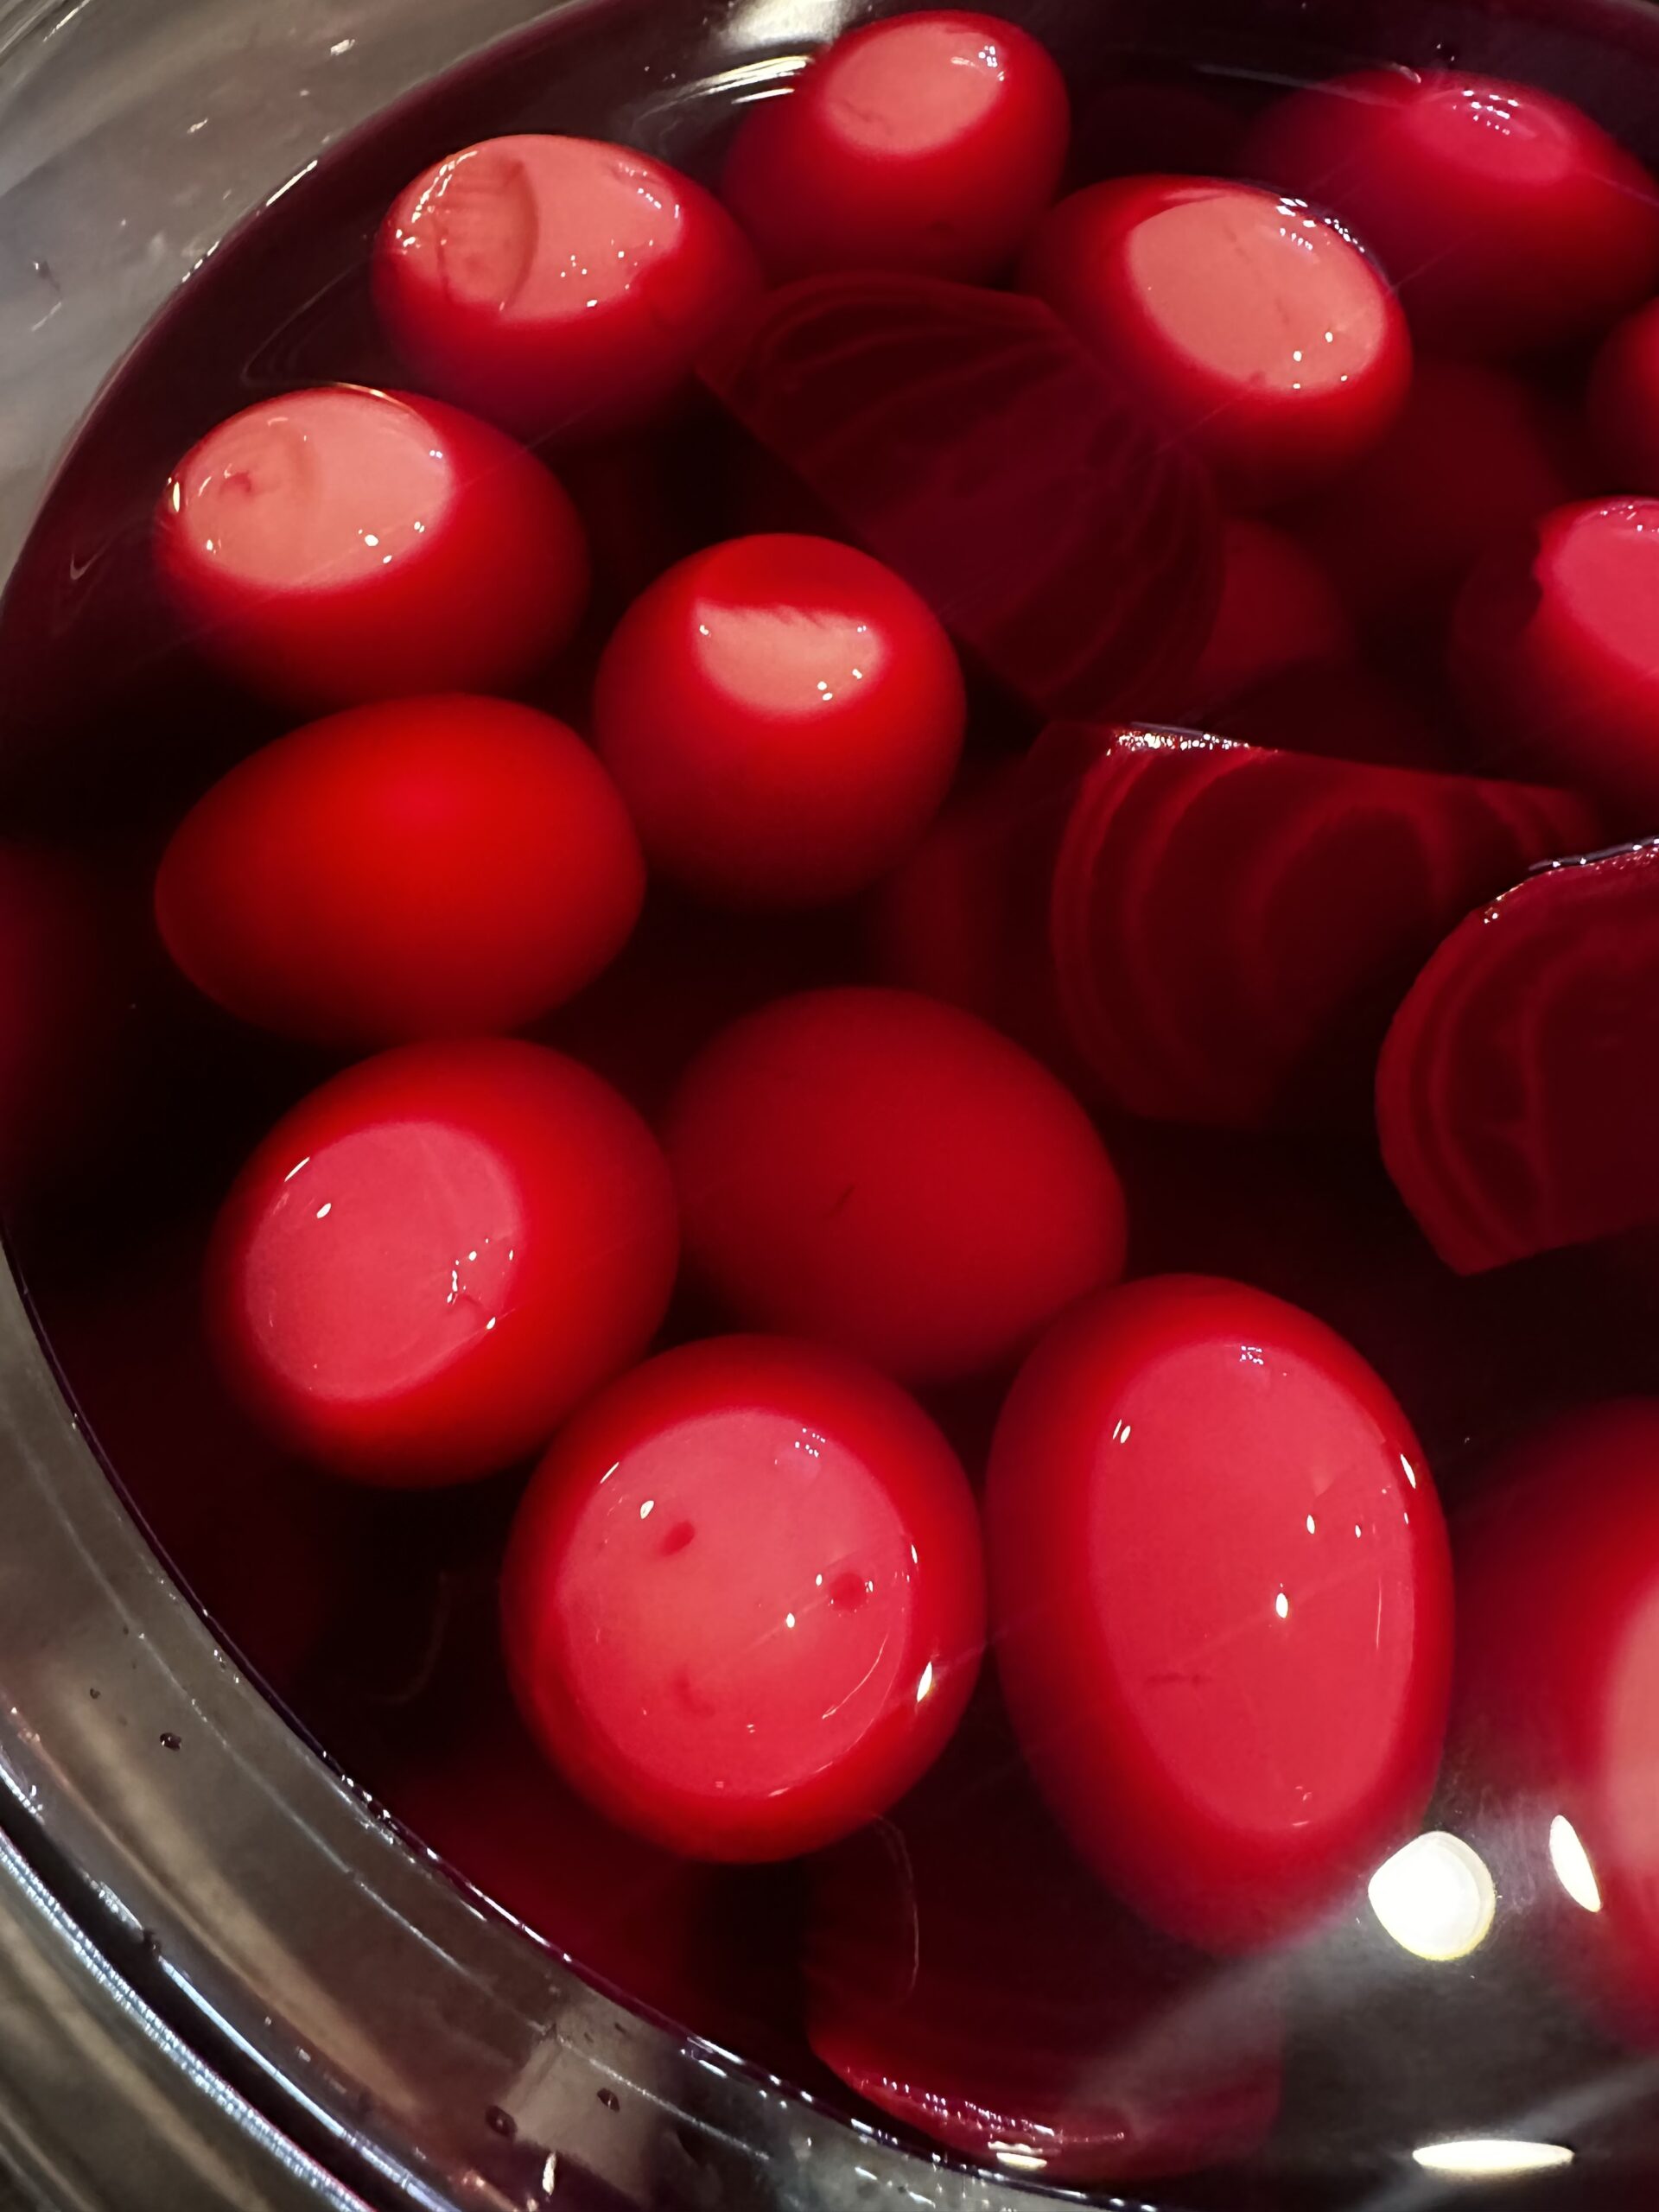
To make pink-hued boiled eggs, you’ll want to create a pickling mix with beets. My recipe for pickled beets is pretty simple. I added 1/2 cup apple cider vinegar, 1/2 cup rice vinegar, 1 tsp salt, 1 tsp peppercorns, sliced beets (2 medium beets) and 1 cups of water to a pot and set to a boil. You can add things like sugar, bay leaves, or other favorite pickling items, but I kept it really simple and didn’t overwhelm the mixture with vinegar or salt so that it didn’t change the egg flavor too much. Once the mixture hit a rolling boil, I took off the heat and let cool while I prepped my eggs.
Add peeled eggs to the cooled pickling mixture. Cover and place in fridge for approximately 2 hours. The color of the eggs should be a pretty pink hue!

Add Visual Interest by Messing with the Traditional
I don’t know if this is just something from where I grew up or if this is true for everyone, but traditionally devlied eggs were cut lengthwise to make little oval boats for the yolk mixture to sit in. To switch things up, consider cutting the eggs in half at the middle of the egg instead of lengthwise. Or, maybe cut them on an angle! Trim the bottom every so slightly to make sure your egg sits on a platter without moving.
Add Unexpected Flavor
There is nothing wrong with the traditional deviled egg filling of mustard, mayonnaise, pickle juice, salt, and pepper. It is a tasty treat. However, a few changes to the mixture can really add flavors that delight the taste buds. Some combinations that I’ve enjoyed:
- Use mayo, butter, and curry powder in your mixture (skip the mustard and pickles!)
- Add some cayenne pepper and smoked paprika for a spicy treat.
- Switch up the types of mustard you’re using — Instead of plain ole yellow mustard try a dijon or brown mustard
- Add bacon
- Herbs! Finely cut herbs into your mixture give a fresh pop of flavor
I used kewpie mayo, double cream, champagne mustard, fresh dill, salt, and pepper to flavor my egg yolk mixture for this particular recipe. I felt like the flavor paired nicely with the addition of the pickled beet and fresh dill garnish.
How to Get a Great Boiled Egg
The hardest part of making deviled eggs is getting a perfectly cooked boiled egg that easily comes out of its shell. But, after many years of cooking boiled eggs, I have my process down.
- Start with less than fresh eggs. If the eggs have been sitting in your fridge for a week, that is ideal. This still works with fresh eggs, but I have found that it is easier-going with ones that have been around for a bit.
- Put the eggs in cold water and place on a stove top, uncovered, and set the heat to high.
- Let the eggs come to a rolling boil. Once the water is boiling cover the pot and drop the temp to the lowest setting.
- Set a timer for 10-11 minutes.
- While the eggs are cooking, put ice and cold water in a bowl to create an ice bath.
- Once done, drain the liquid and add the eggs to the prepared ice bath.
- Crack the eggs and peel under running cold water.
Spring-Inspired Pink Deviled Eggs
Ingredients
Beet Pickling Liquid & Pink Eggs
- 12-14 Large Eggs
- 1/2 cup Rice Vinegar
- 1/2 cup Apple Cider Vinegar
- 2 medium beets, sliced
- 1 tsp salt
- 1 tsp peppercorns
- 1 cup water
Yolk Mixture - Ingredients to be added in slowly and to taste/desired consistency
- 3/4 cup Kewpie Mayonnaise
- 3/4 cup Champagne Mustard
- 1/2 cup Double Cream
- 2 tsp Fresh Dill chopped
- 1 tsp Salt
- 1 tsp Pepper
Optional Garnishes
- 24 small sprigs Fresh Dill
- 1 medium Pickled Beet diced very small
- 1/4 cup Edible Flowers
Instructions
- Boil eggs to a hard boil (see the blog for tips!)
- While eggs are boiling prep the Beet Pickling Liquid
Beet Pickling Liquid
- Add vinegar, salt, peppercorns, water, and sliced beets to a pot
- Bring the mixture to a boil over medium-high heat
- Once boiling, take off the heat and let cool
Pickle Eggs
- Peel eggs and leave whole. Add to pickling liquid.
- Cover and set in fridge for 2 hours.
Egg Yolk Mixture
- Once the eggs are the color you want, strain and rinse with cold water. Reserve the pickled beets for garnish.
- Cut eggs in half and add yolks to a bowl. Trim the bottoms of each half of the egg white (or pink in this case) slightly to create a solid base to stand the egg on. Do for all eggs.
- In the yolk bowl, you'll add the yolk mixture ingredients slowly—a spoonful or so at a time— mixing well as you do so. You'll want to do this to your taste and texture preferences. More of the mixture ingredients will make for a smoother texture, but less of the yolk flavor. You want your mixture to be a consistency and texture that will allow you to pipe into your egg halves.
- Add to a piping bag with a star tip or into a zip lock bag and cut the corner off. Pipe into the egg half with a swirl to your wrist. Fill generously!
Garnish
- To finish your eggs, garnish with a sprig of dill, chopped up pickled beets, and some edible flowers.
I would love to hear if you try these eggs out for your next Spring event!