Category

Tutorials

Category


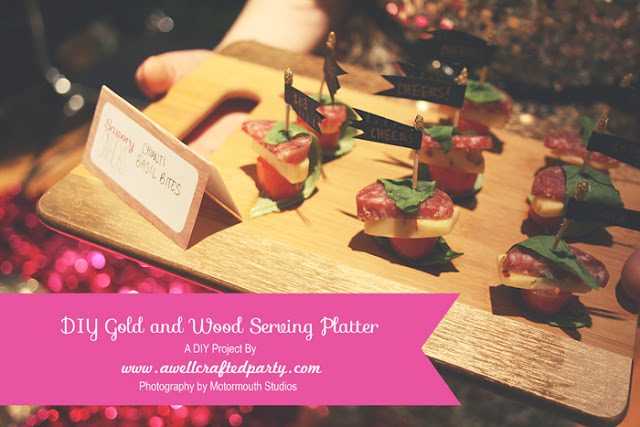
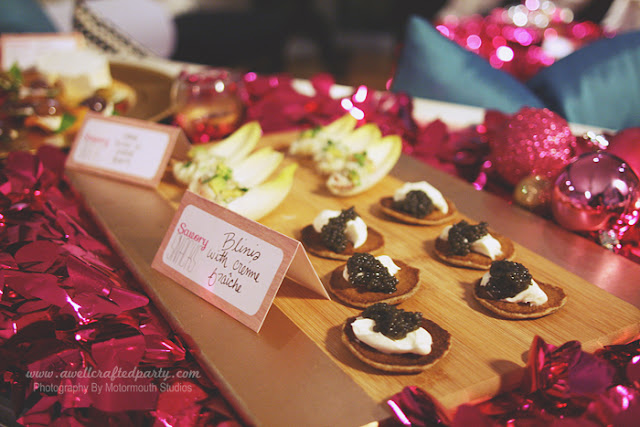
There are so many tutorials out there for fun, DIY platters. I wanted something that I hadn’t seen before, was inexpensive, and could be used on a table or as a passed hors d’oeuvre platter. I decided to create these fun DIY Platters out of cutting boards so that the area the food goes on would be completely food safe.

To make these platters you’ll need:


I chose to only do one side of my board so that if needed I could use the opposite side as an actual cutting board. But, you could choose to do both sides! 


Instructions:

  1. Tape off the center area of the board with painters tape. I wanted thick strips of gold on each side, but enough space in the center to artfully arrange the hors d’oeuvres. If you are using a very large board then  you might want to cover the center with paper and tape that down instead of wasting a bunch of tape.
  2. Spray the board with the spray paint following the instructions on the can.
  3. Once the paint is dry, remove the tape. Voila! You have yourself an easy, inexpensive platter that will show off your food nicely!


My boards are still holding up after several hand washes. I recommend that you dry the board immediately, or possibly add a sealant, to avoid water spots on the paint.


If you liked this post then check out these posts from the same party feature!
Modern and Chic NYE Party on Pizzazzerie
Savory Chevre Balsamic Chips

Follow along this week and next for more of this party, first featured on Pizzazzerie.com! I’ll be featuring a tasty cocktail, an appetizer recipe, a few DIY projects, and some DIY party tips for your NYE party!

A BIG thank you to my NYE party collaborators— 
Check out their blogs!
Photography: Macey of Motormouth Studios
Event Styling: ME! of A Well Crafted Party
Menu: Bee of The Spicy Bee and Kate of Fork and Vine
Venue Styling: Adi of Garden of Edlen
Model Styling: Sarah of The Confessions of a Product Junkie
Models: Sarah, Carter, Kate, Will, Adi, Matt, Kayla of Fit Life Forward and Suzannah of Adventures in Dressmaking


*Occasionally links on this blog are affiliate links that help support this blogger. This is a for-profit blog.  To read my Advertising Guidelines please click here.


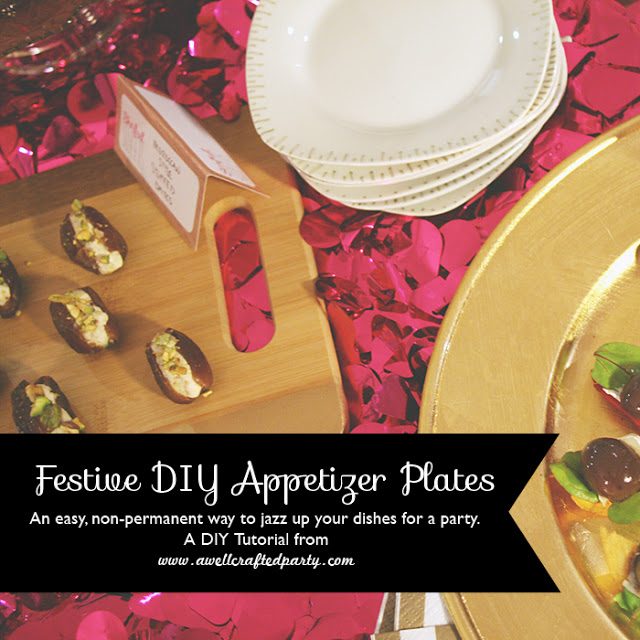
I try to use real plates and glassware at many of my parties so that I am not wasting paper goods or spending extra money on plates and napkins. (Don’t get me wrong though… I love a pretty paper item!) However, sometimes using my plain white plates at every event gets boring. I don’t want to go out and buy a ton of new dishes at every event… so, I came up with an easy and non-permanent way to upgrade my party dishes.

To upgrade your appetizer plates or glassware in a festive, non-permanent way you’ll need the following:

— Plates/glassware of choice. I used white dessert plates that I bought at HomeGoods for little money!
— A Sharpie in your color choice (I used gold)


Instructions:

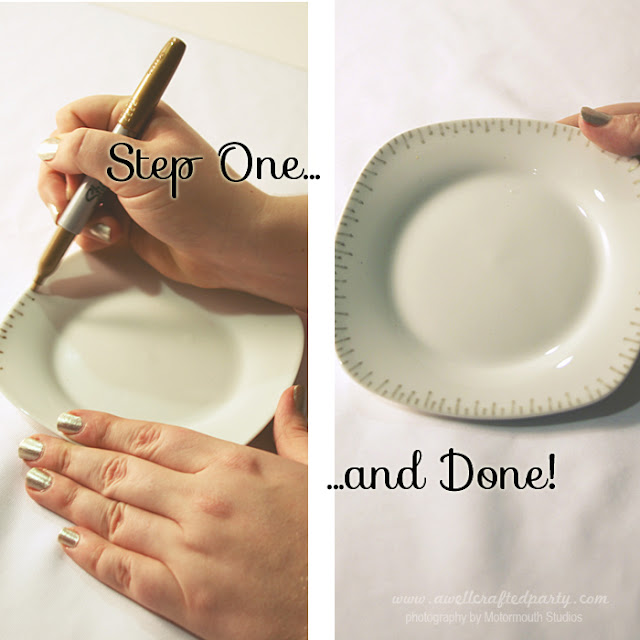
  1. Using your sharpie, draw around the edge of the plate in a simple design. I usually sick to something like dots or lines to just give a little pop of a design. Keep your design at the edge of the plate, or away from the rim of a glass. Sharpie markers are not food safe.
  2. You’re DONE! Told you it was easy. The sharpie will last throughout the party. To wash the marker off let it sit with dish soap applied directly to the marked area for about thirty minutes and wash off.


If you want the marks to be permanent then you can cure them in an oven by putting them in a cold oven and then letting it get up to  350˚ F, leave for half an hour then turn the oven off. Let them sit in the oven until cool. I like to then leave them unused for 24 hours. Using a pen made for writing on porcelain, like the Porcelaine 150 pen, will garner more permanent results than a Sharpie.


If you liked this post then check out these posts from the same party feature!
Modern and Chic NYE Party on Pizzazzerie

Follow along this week and next for more of this party, first featured on Pizzazzerie.com! I’ll be featuring a tasty cocktail, an appetizer recipe, a few DIY projects, and some DIY party tips for your NYE party!

A BIG thank you to my NYE party collaborators— 
Check out their blogs!
Photography: Macey of Motormouth Studios
Event Styling: ME! of A Well Crafted Party
Menu: Bee of The Spicy Bee and Kate of Fork and Vine
Venue Styling: Adi of Garden of Edlen
Model Styling: Sarah of The Confessions of a Product Junkie
Models: Sarah, Carter, Kate, Will, Adi, Matt, Kayla of Fit Life Forward and Suzannah of Adventures in Dressmaking


*Occasionally links on this blog are affiliate links that help support this blogger. This is a for-profit blog.  To read my Advertising Guidelines please click here.


In creating some of the decor items for Suzannah’s Glitz and Glamour 25th Birthday Party I discovered the wonders of glitter tape. AWESOME. 
You can get pre-glittered tape or pre-glittered ribbon to make these quick DIY decor items work for your next shin-dig. If you are using glitter ribbon then use glue or double sided tape to help make things stick. I’ve got two super quick and super easy DIYs for you here. Paired with the pretty sequin vases and you’ve got yourself a Parrrtay. 

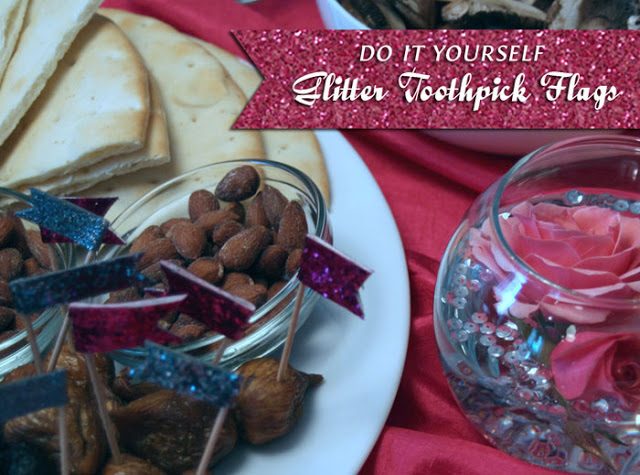
Glitter Toothpick Flags How To:

  1. Gather supplies: toothpicks, glitter tape, and scissors.
  2. Cut off a two-inch section of glitter tape.
  3. Press glitter tape on top of each other, sealing it on top of the toothpick. 
  4. Repeat several times to make a set of flagged toothpicks! 
These are great for decking out cupcakes, appetizers, and floral arrangements!

Glitter Tealights How To:

  1. Gather supplies: tealights, glitter tape, and scissors.
  2. Cut off a two-inch section of glitter tape.
  3. Wrap the glitter tape around the metal container of the tea-light candle. Press to adhere.
  4. Repeat several times to make a nice set of candles!
Place in glass tea-light holders around the party venue. It makes for easy, disposable, and inexpensive party decor.

What is your easy, go to party decor?