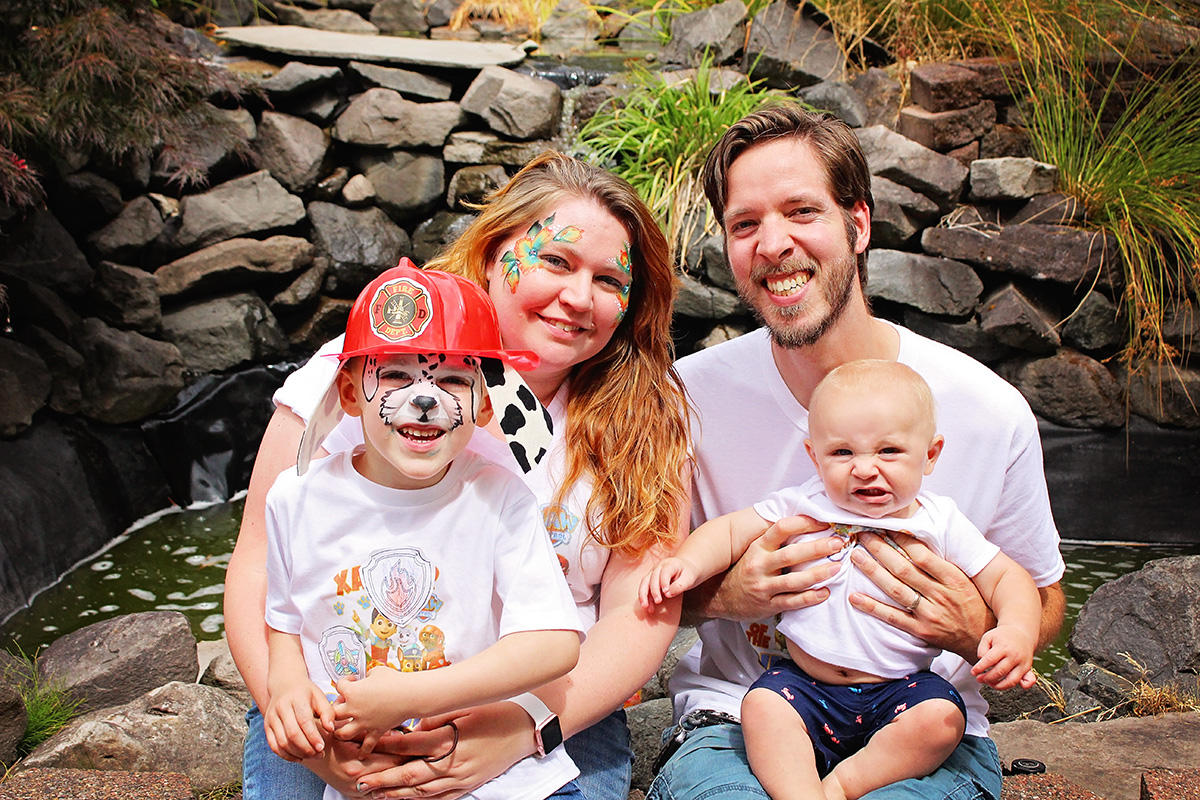
Holy cow. My kid is five! That means I’ve been a mom for five whole years. It seems unreal to me. In my usual style of trying to not freak out over this change and making sure my family knows I love them, I went all out for his Paw Patrol Party this birthday. (Parties are my love language in case you didn’t know.)
In years’ past I’ve chosen the birthday themes. This year I gave up that duty and handed it over to the kiddo. He went back and forth a few times between Legos, Star Wars, Angry Birds and Paw Patrol. I honestly didn’t really want to do any of the above because I am not a huge fan of character themes because I want to create as much as possible and licensed characters don’t lend themselves easily to that. However, if you saw the kid smile at the idea of a party full of his favorite characters… well, you would understand why I caved and went for it.
Paw Patrol Party 5th Birthday
Finally after some searching of the interwebs I drilled down a few ideas for each of his favorite themes and made him choose one. He landed on the save-the-day puppy dogs in Paw Patrol.
Much of this Paw Patrol party was purchased and put together all the way down to the cake. I have been incredibly busy as of late and had to figure out places in my typical party planning routine that could give and still allow me to throw the party I wanted to through. Those items included purchasing printables rather than making them, hiring entertainment instead of trying to do it myself, and ordering a cake rather than baking it myself. #StoreBoughtandProud y’all.
(By the way you should check out the newest edition of Mama Bear Magazine out in October 2016 for more on the art of the low-key party and more awesome articles on motherhood! It’s currently on sale.)

Entertainment / Paw Patrol Party Activities
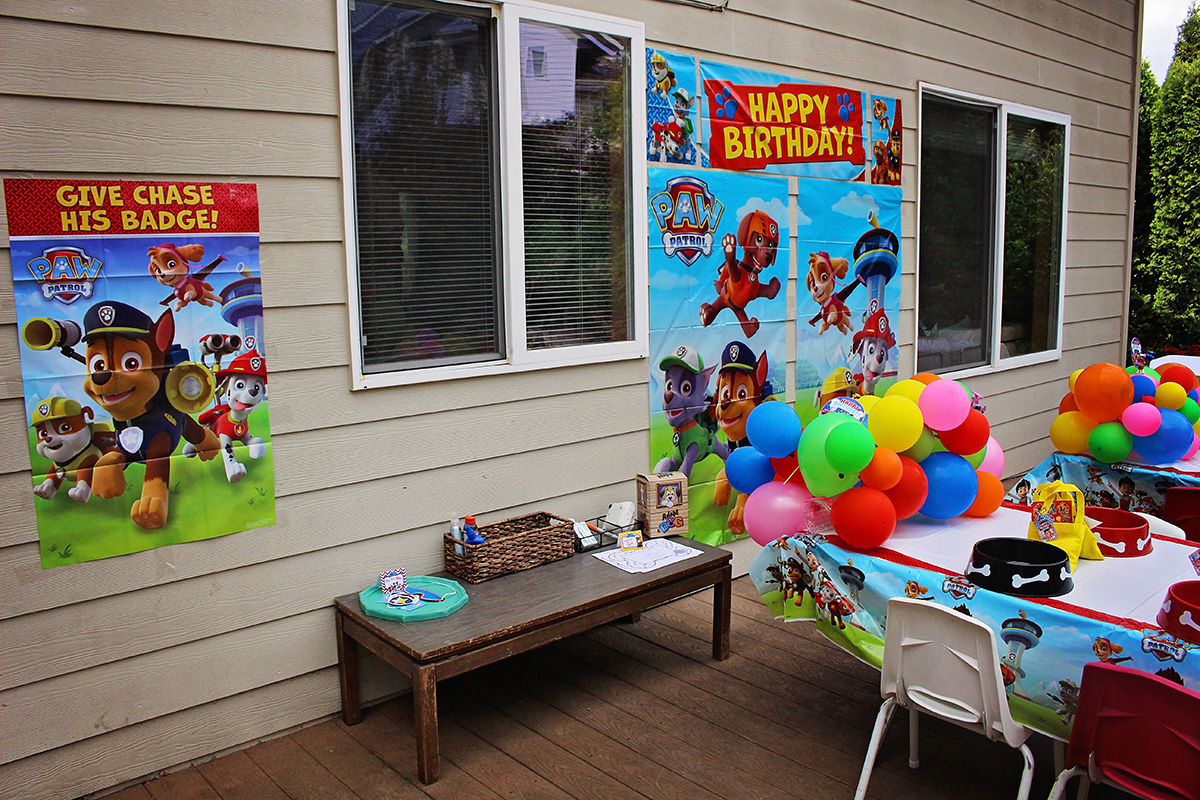
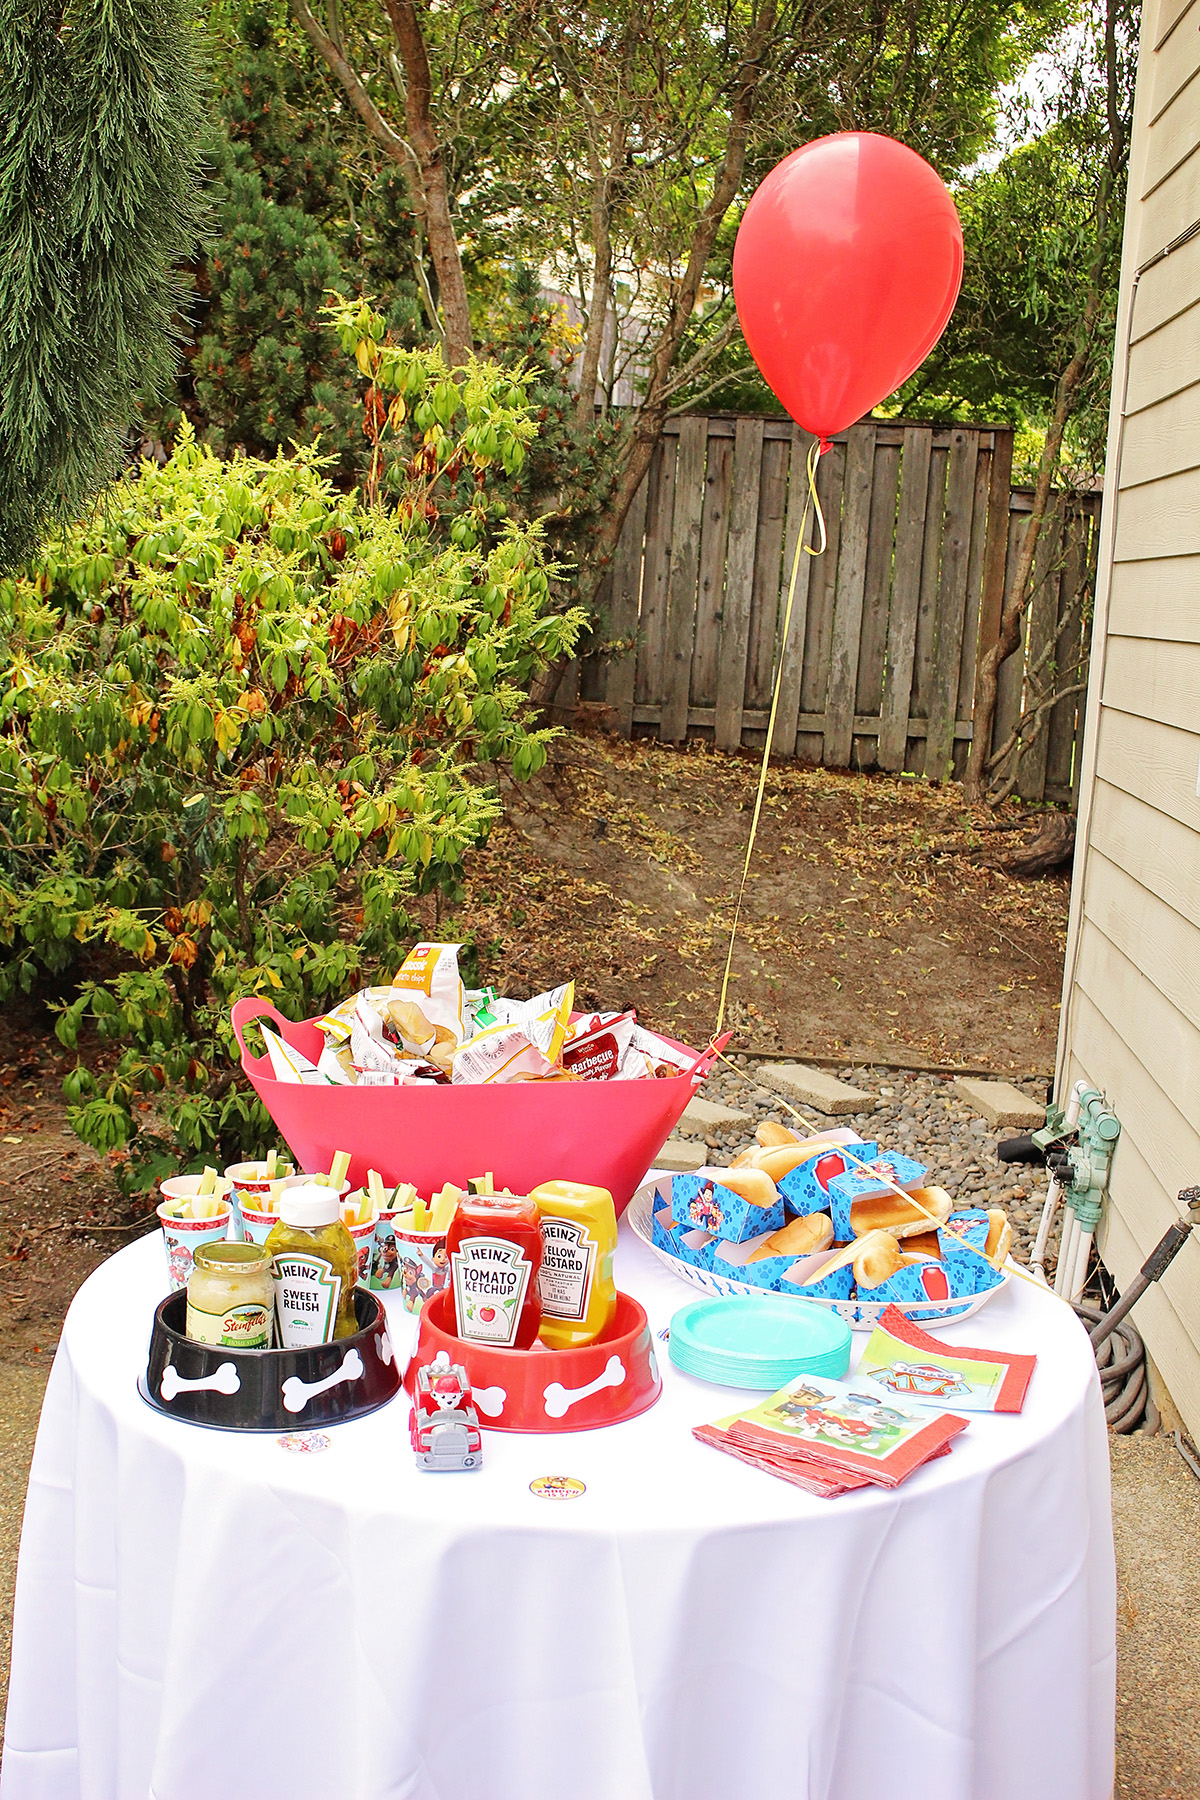
As guests arrived they were able to pick their Paw Patrol hat, get their face painted, enjoy snacks and color their Paw Patrol badge. We then ate a lunch of hot dogs, chips, and “ruffage” (i.e. veggies). After lunch we played a game of Pin the Badge on Chase and then a Paw Patrol Mission where they found puppies throughout our backyard. Once all the puppies were found they got to fill out adoption papers and get their first official family photo with their new little puppy stuffed animal.

Face Painting
One of the places I really splurged on this party was in hiring a Face Painter. I discovered Shining Faces when I went to the 365 for WFM Party in the Parking Lot and immediately called them the next day after my experience. They were fast, great with the kids, and incredibly talented. Manja was FANTASTIC to work with at the party. I asked her to come prepared to paint Paw Patrol faces and she not only came knowing how she was going to do the faces, but came with pictures for the kids to choose from. The kids and adults loved her. It was my favorite part of the party by far!
After the Paw Patrol Mission came cake and ice cream!
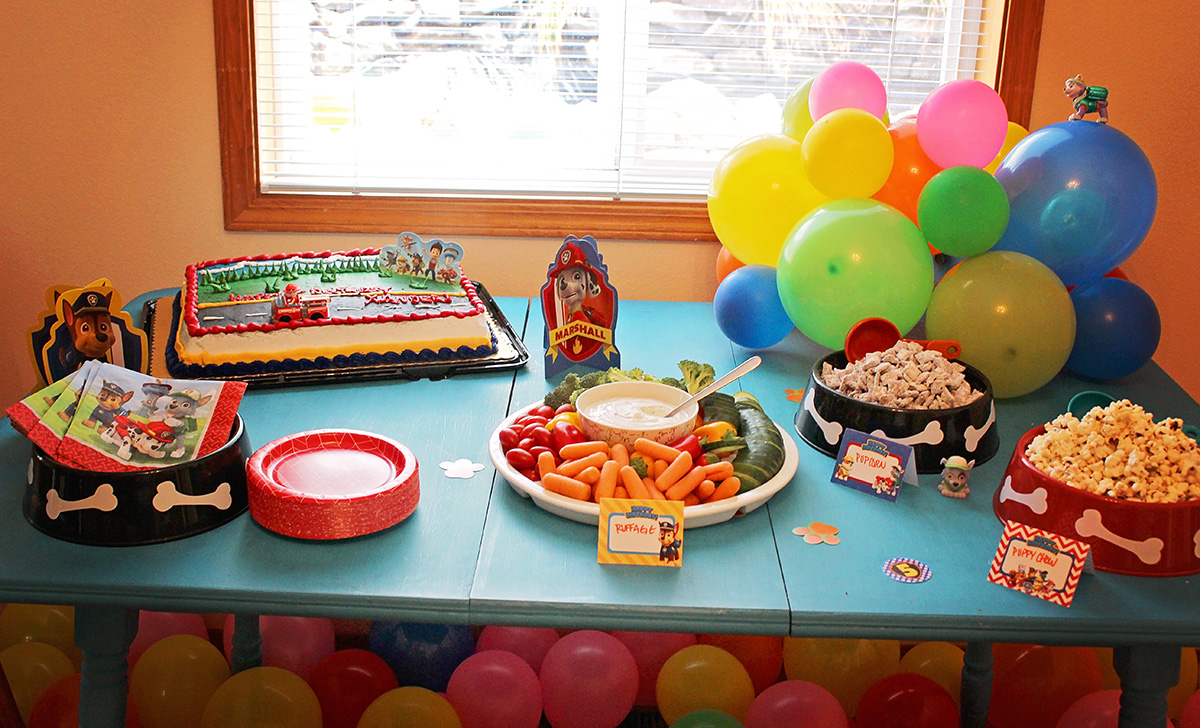
Paw Patrol Party Food
The menu was super simple as we currently are living without an oven and I just don’t have a lot of extra time on my hands. Here is what we served that fit the theme:
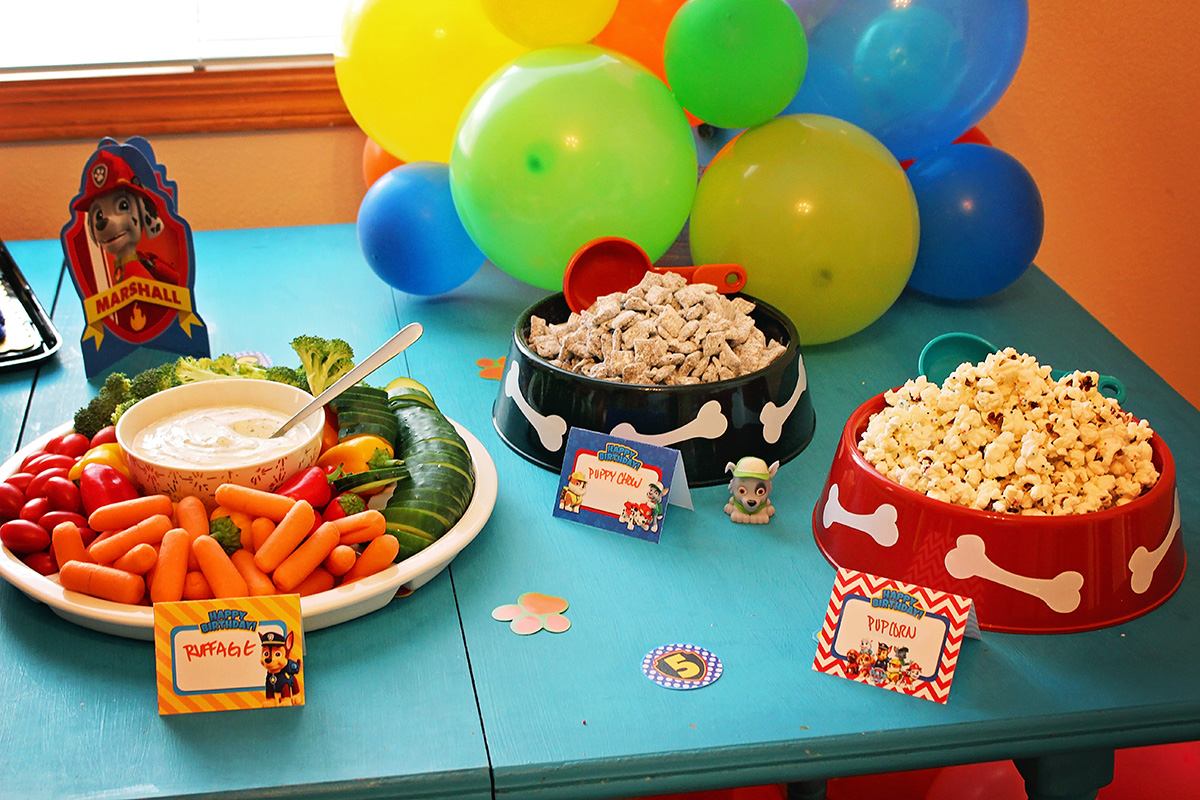
- Pupcorn – We basically popped some popcorn, added a little bit of salt, drizzled white chocolate over the lot and then sprinkled with multi-colored sprinkles. (Made To Be A Momma has a great recipe for party popcorn!)
- Puppy Chow – This one is a family favorite. My mom makes Puppy Chow each year with Chex cereal, peanut butter, chocolate, and powdered sugar. It is simple to make and highly addictive. (The original recipe is via Chex and is called Muddy Buddies.)
- ‘Ruff’age – (aka Roughage) Vegetable Platter
- Hot Dogs – we had all the usual fixins for these and put them in these great printable Paw Patrol hotdog holders. I love quick and easy DIYs!
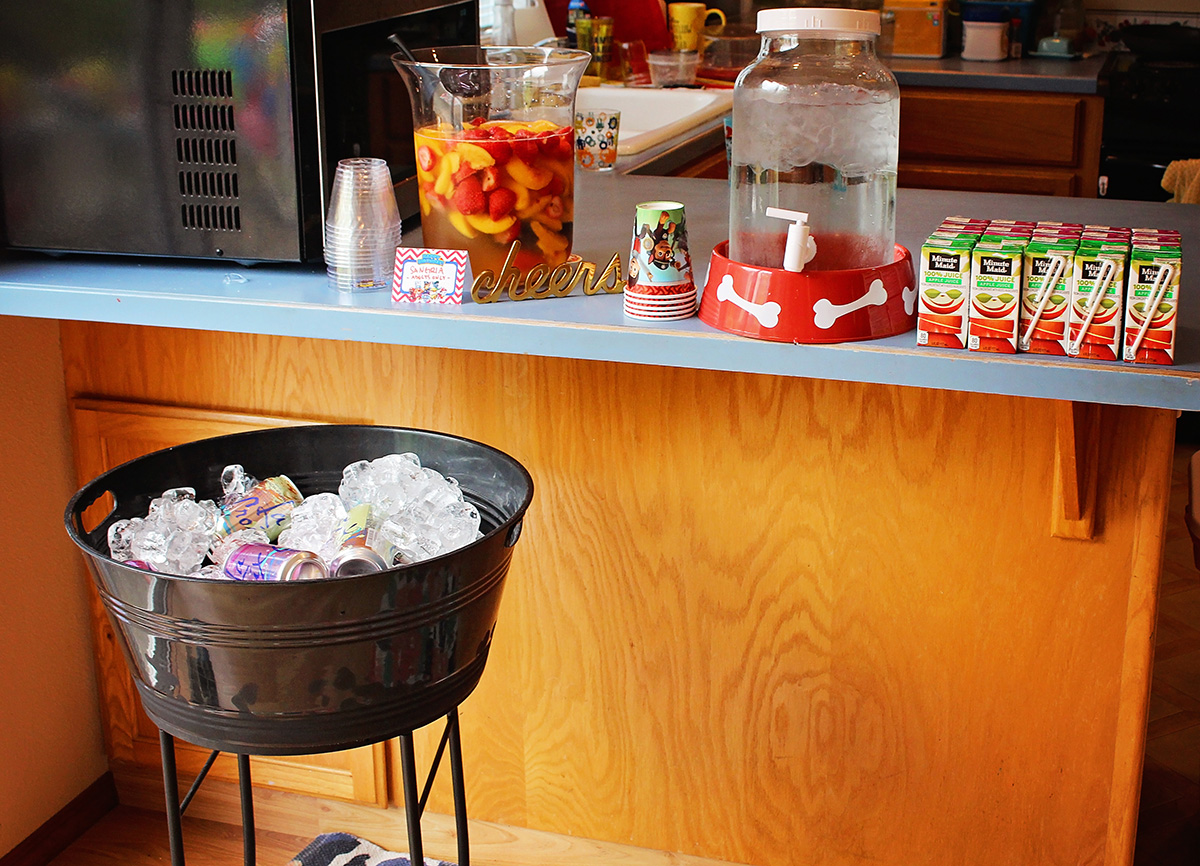
- Barq’s Rootbeer!
In addition to the themed items we served individual bags of chips, juices, and soda pops. The adults also had the option of a fruity sangria to drink.

Paw Patrol Party Favors
I think kids like party favors even more than I do. I wanted to make sure all the kids got some fun stuff to bring home with them. The first thing that they got once they came in the door was a Paw Patrol hat. I created all the hats myself using a variety of items found here and there.
How to make Paw Patrol hats: (*Affiliate Link)
This is a little difficult as I didn’t take step by step photos or create fun illustrations. I will have to work on a tutorial later. Mainly, I used a little ingenuity to create these hats. Below are some instructions, but mainly, where I purchased the supplies to create the hats.
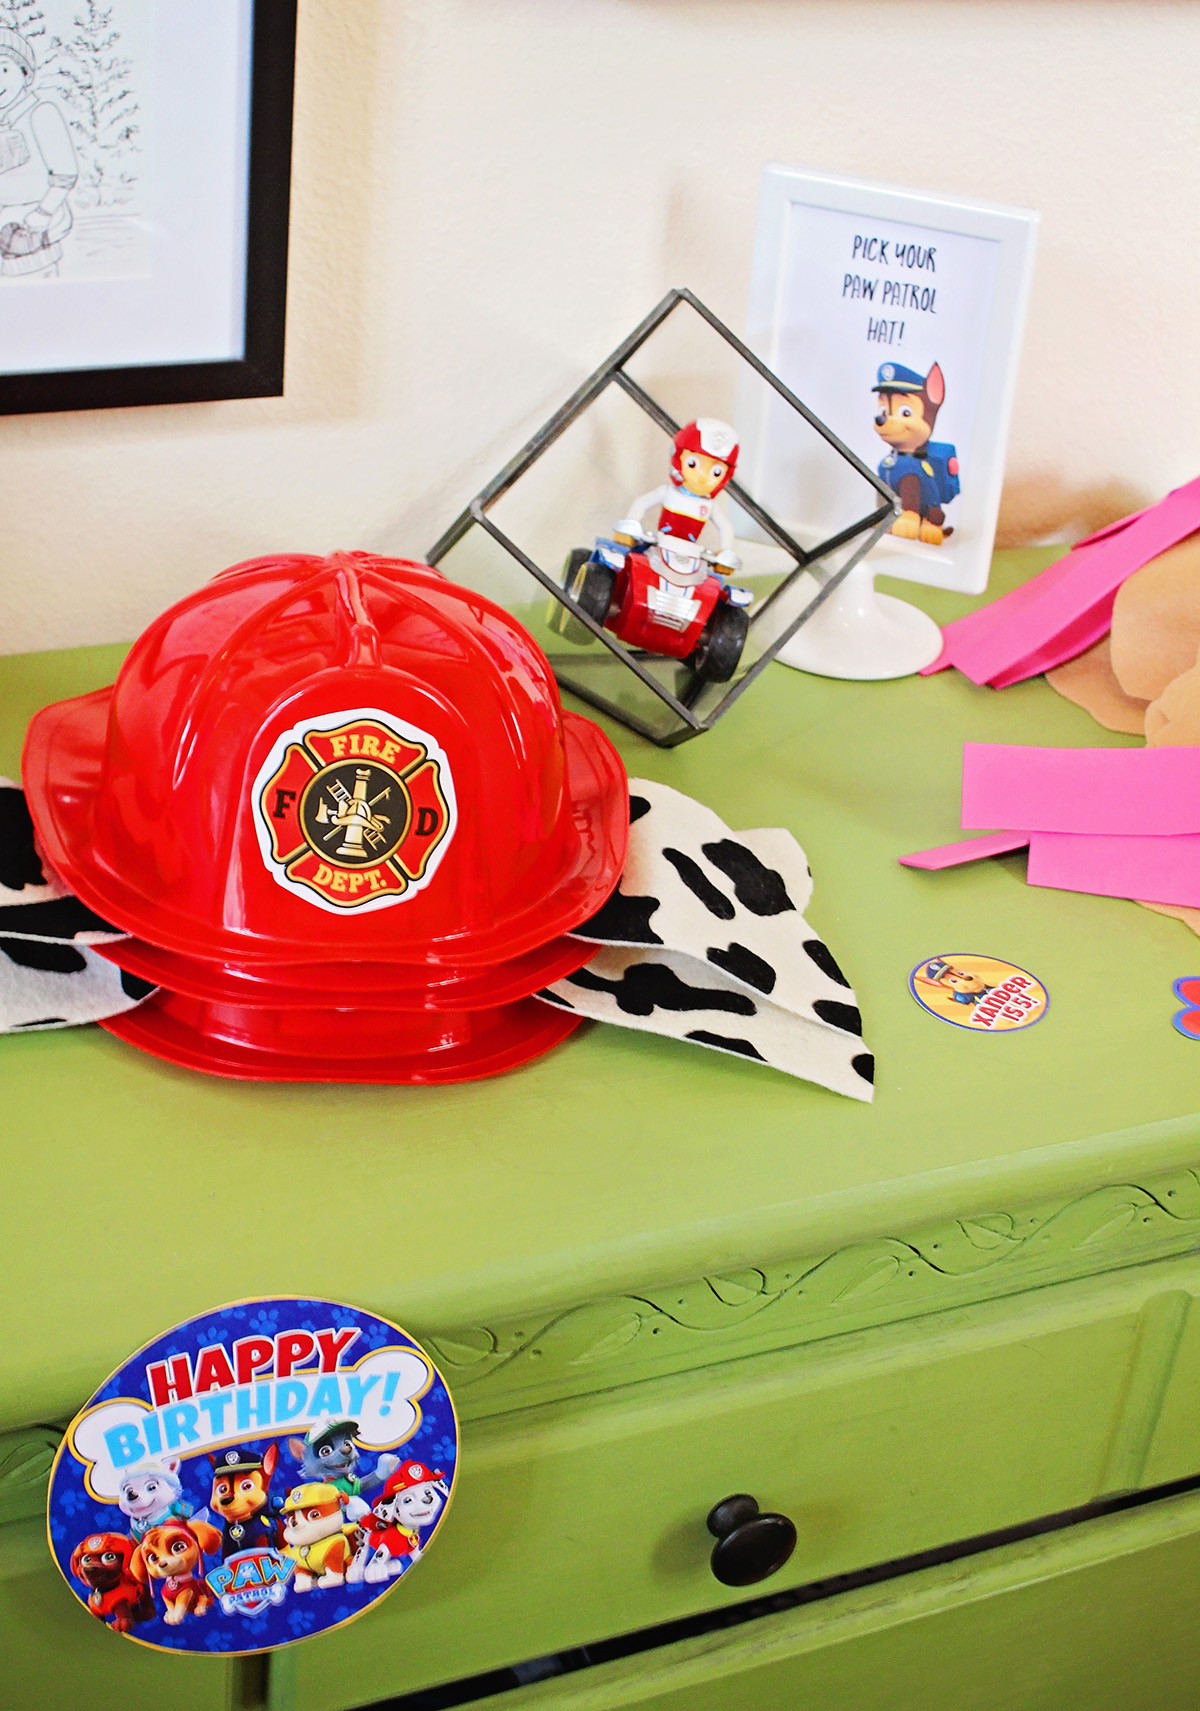
Marshall-
Marshall hats were the easiest of all the hats! I purchased Firefighter Hats* on Amazon and spotted black and white felt at my local craft store. I cut an oblong shape from the felt and simply hot glued the ears into the hat. 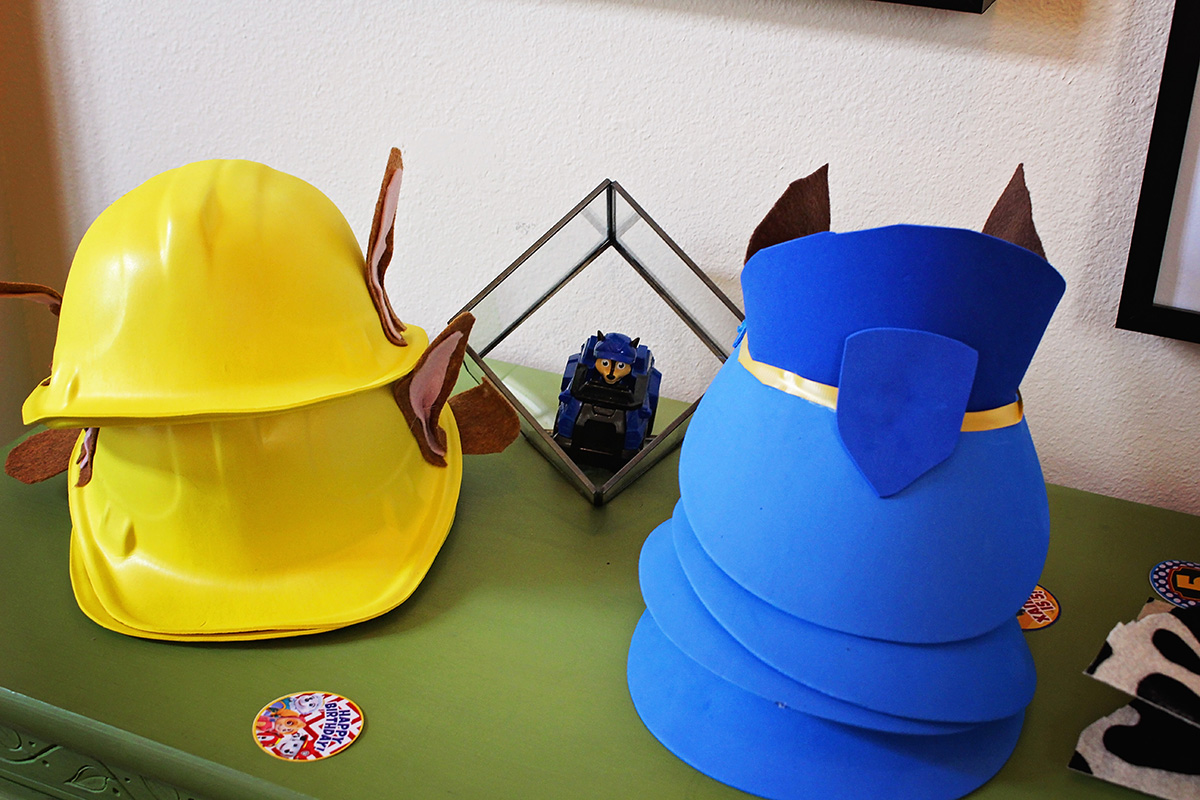
Rubble-
I bought foam construction hats*, tan felt, and pink felt to make the Rubble hat. I cut two 2″X3″ oblong shapes out of the tan and then a 1.5″X2.5″ oblong shapes out of the pink. I then cut off the bottoms of all four felt pieces so that they had a straight edge on one side of the oblong (we’ll call this the bottom). I hot glued the pink onto the tan. I then placed a bit of glue in the bottom center and pinched the pieces together to give a little crease in the ear. I then hot glued each ear onto the construction hat.
Chase–
I picked up blue foam visors and matching blue foam at the craft store to create these hats. I then used pink and dark brown felt to create the ears. I cut a shape similar to the top of a police hat from the foam and glued it into the visor. (Tip: Cutting little slits in the edge of the foam connecting to the visor helps to get the needed curved edge.) I took yellow ribbon and glued it to the edge of the visor to create a little variety on the hat. I then cut a badge shape out of the foam and glued it to the visor in the center of the hat. These were the most difficult of all the of the hats because the police officer hat shape wasn’t easy to imitate without some major trial and error. I created the ears similar to the ears of rubble, but instead of a rounded edge on one side I gave them a bit of a point.
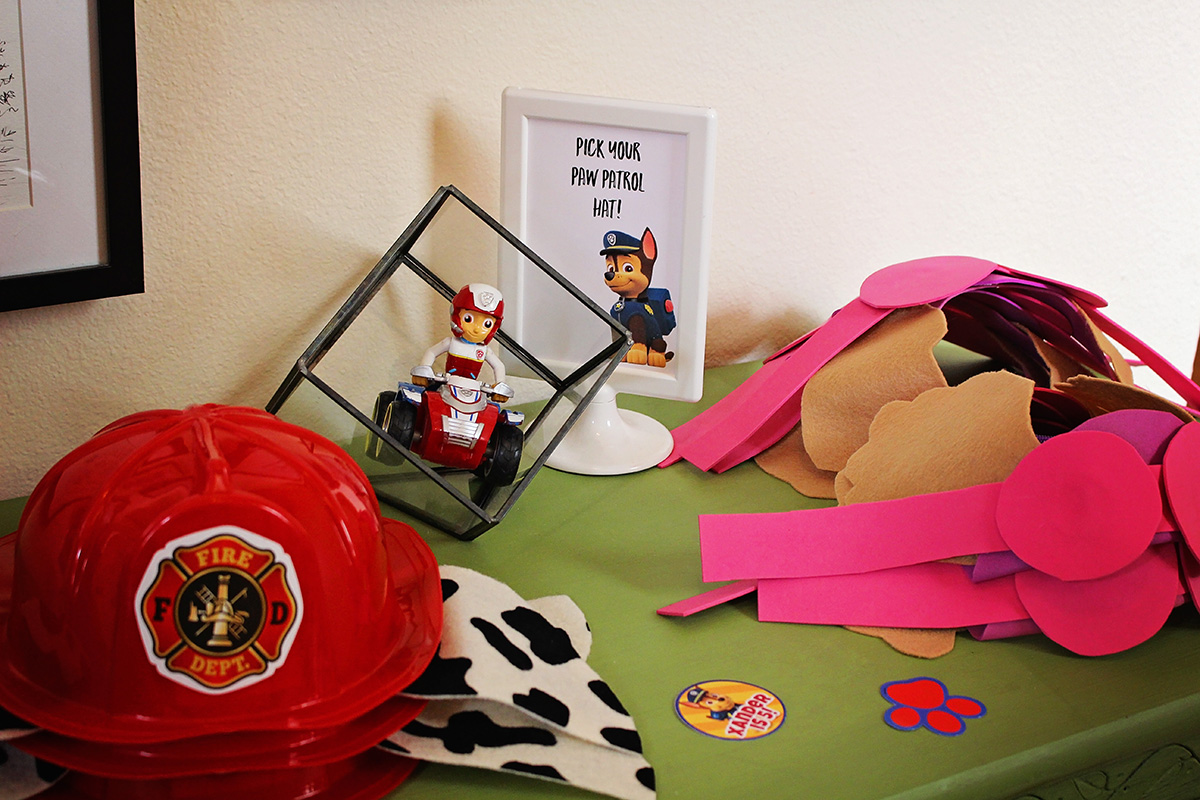
Skye-
While this hat actually came together fairly easily, it took some back and forth with design ideas before I landed on one I liked. To create this hat I purchased pink foam visors, a darker pink foam, and tan felt from my local craft store.
I flipped the visor onto itself and glued it into place as I wanted this hat to sit squarely on the head without anything coming up over the face. I then cut a long strip and two 2.5 in circles out of the darker pink foam. I placed the long strip across the hat and glued it in place. I then placed the two circles on the strip of foam next to each other (like the goggles on Skye) and glued into place. Finally I cut dog ears from the felt, making them slightly big and wavy, and glued those into the underside of the hat.
Other Paw Patrol Party Favors
We gave away a ton of fun little items. I’m sure the parents weren’t super thrilled, but I tried to make sure that everything would be fun activities the kids could do and not just junk. (*Affiliate Links)
- Yellow Goodie Bags* filled with:
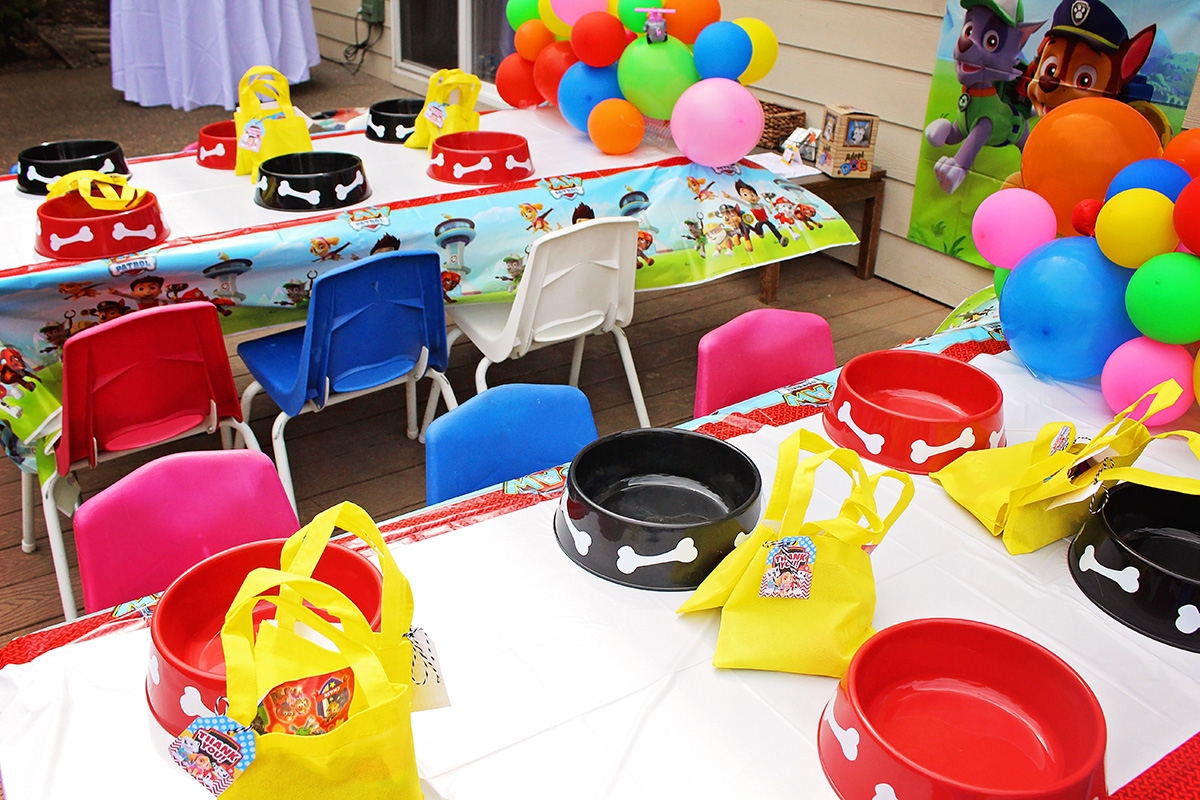
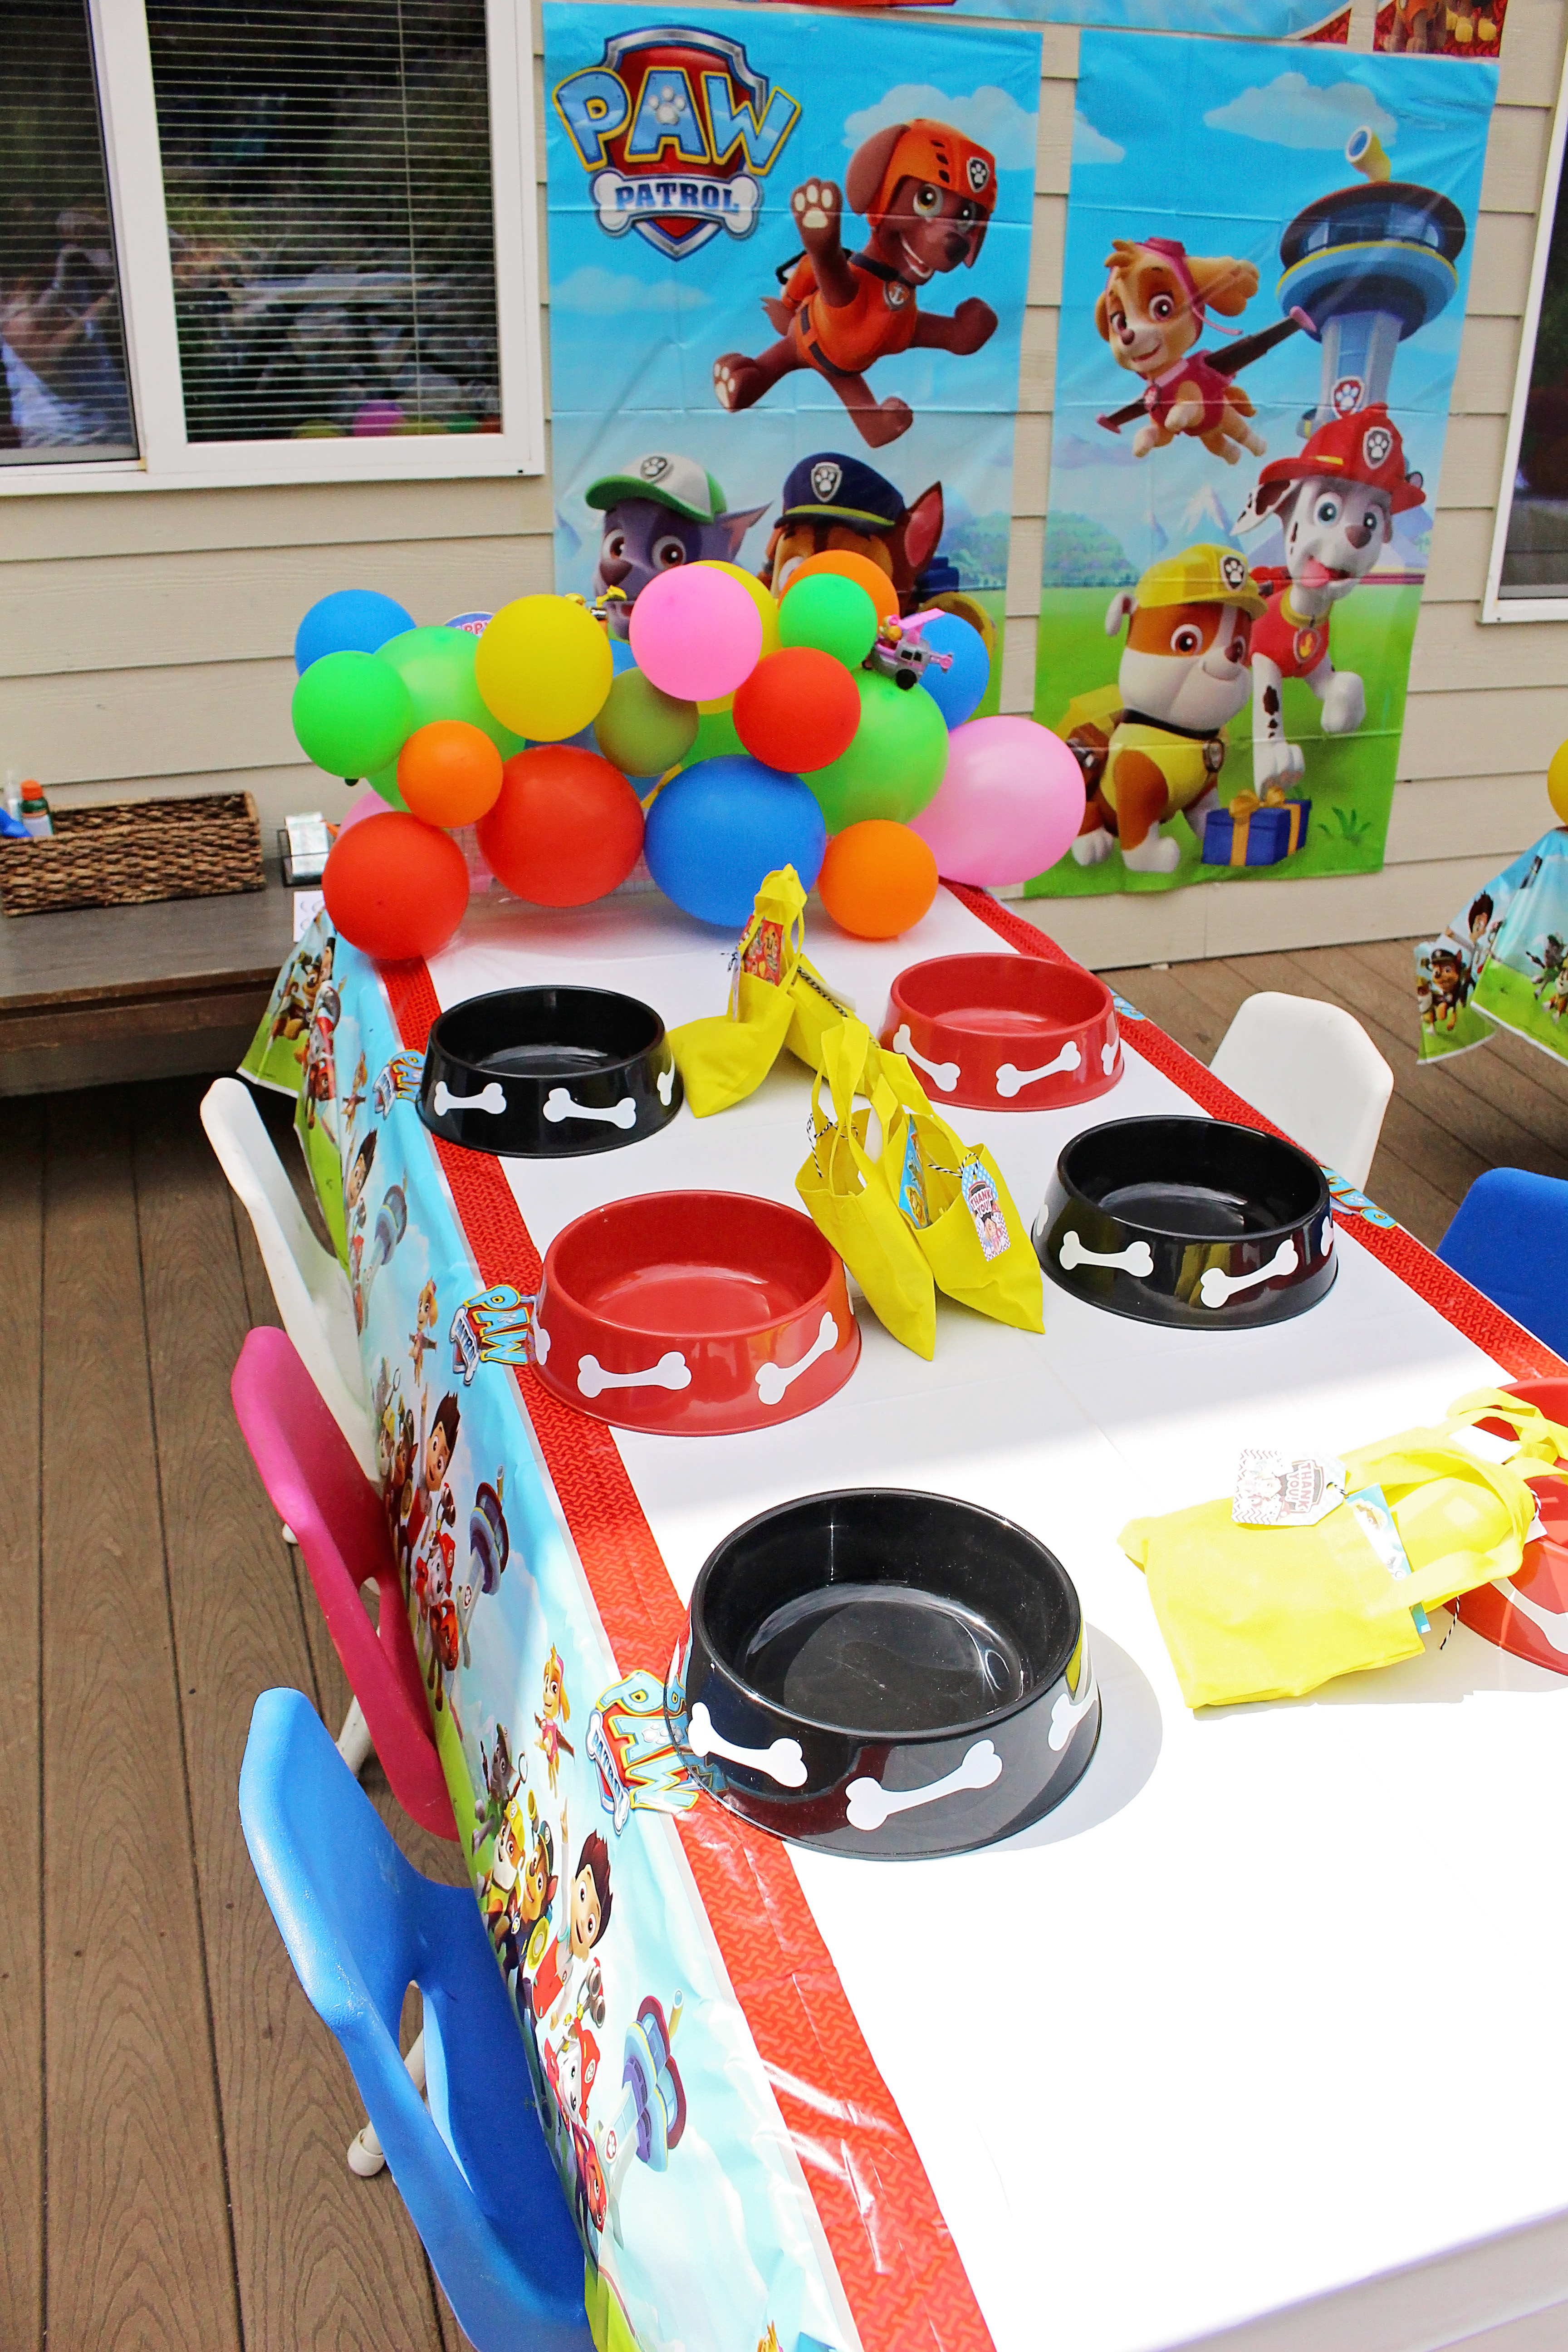
- Dog Bowls (see sources below) were used as plates at the table and then we had the guests take them home. These were a HIT!
- Mini Plush Dogs* were used in the Paw Patrol mission activity and then given with an adoption paper printable.
Sources:
- Paw Patrol Printable Party Goods and T-Shirt designs from Luvibee Kids Co
- Balloon centerpieces were created by me after I watched this tutorial by The House that Lars Built (It was MUCH harder than it looks in the video, but I was happy with the results!) I hot glued some of my son’s paw patrol toys to the balloons after all was said and done. I loved this detail!
- Paw Patrol table cloths and napkins were purchased at Target
- Paw Patrol decorations and goodies via Oriental Trading (*affiliate links):
- Party Games
- Dog Bowls were purchased from the Dollar Tree (I got the idea from Kids and Deals)
- Rentals – Kids Tables, Chairs and Helium Balloons from Oregon Event and Tent Company in Portland, Oregon


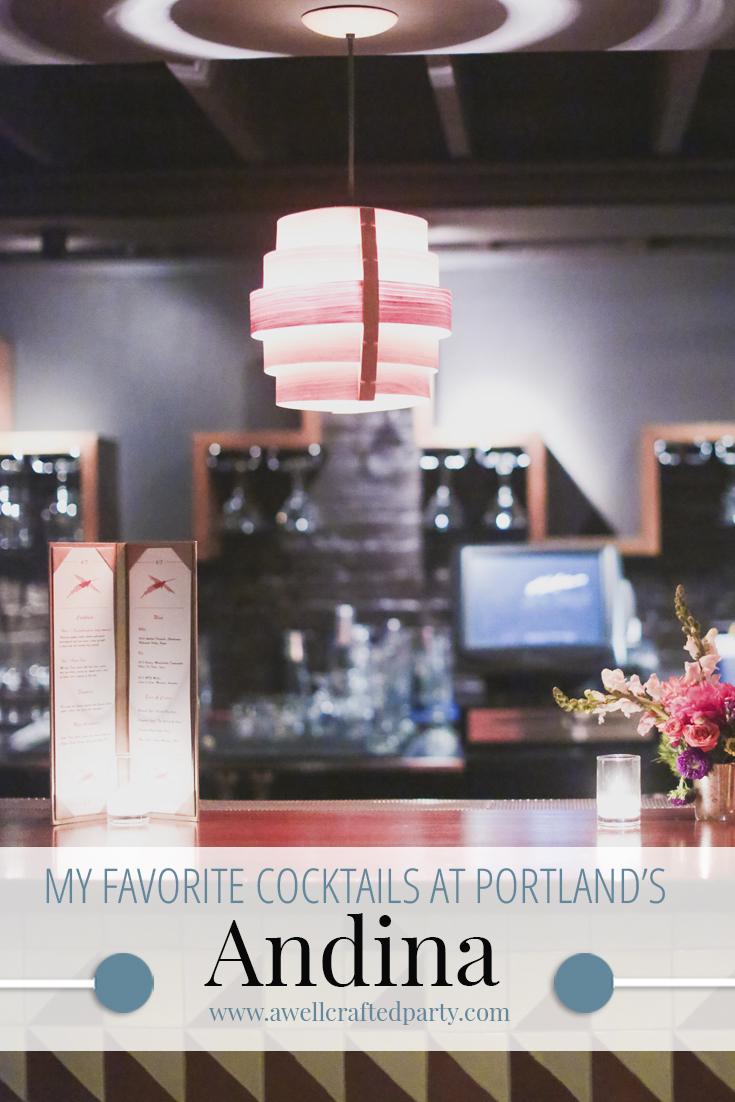 My Favorite Cocktails from Andina
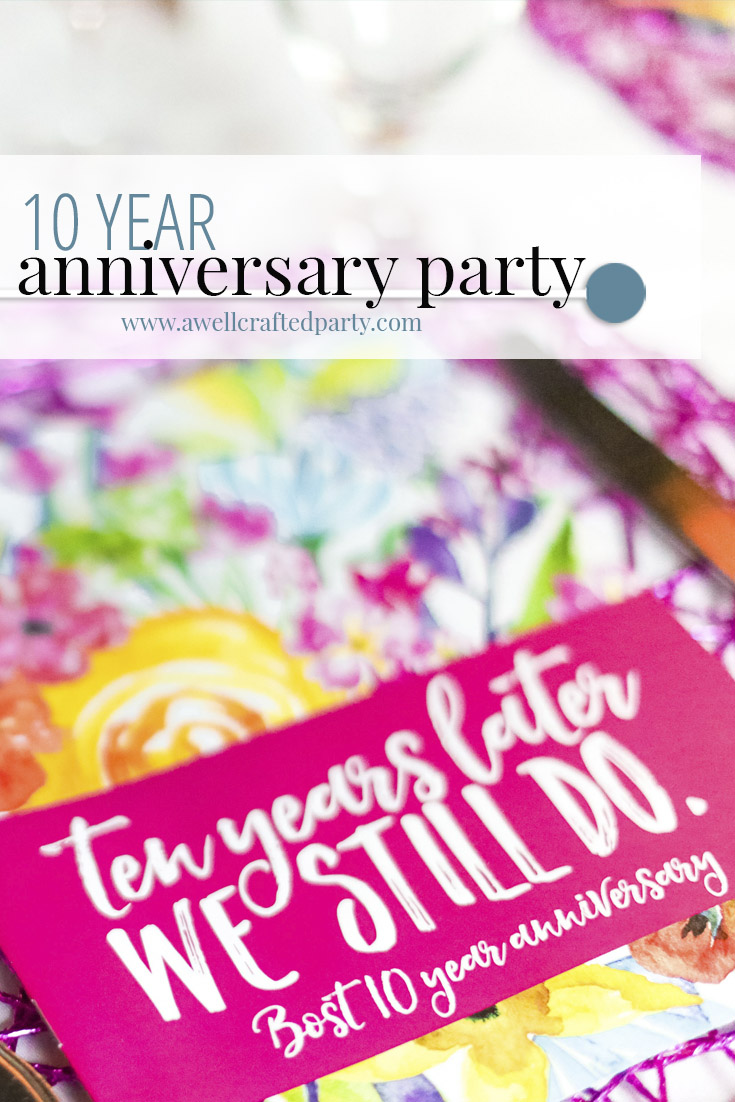 10 year anniversary party
 Special Occasion Makeup Ideas from A Well Crafted Party
 10th Anniversary Party Invitations
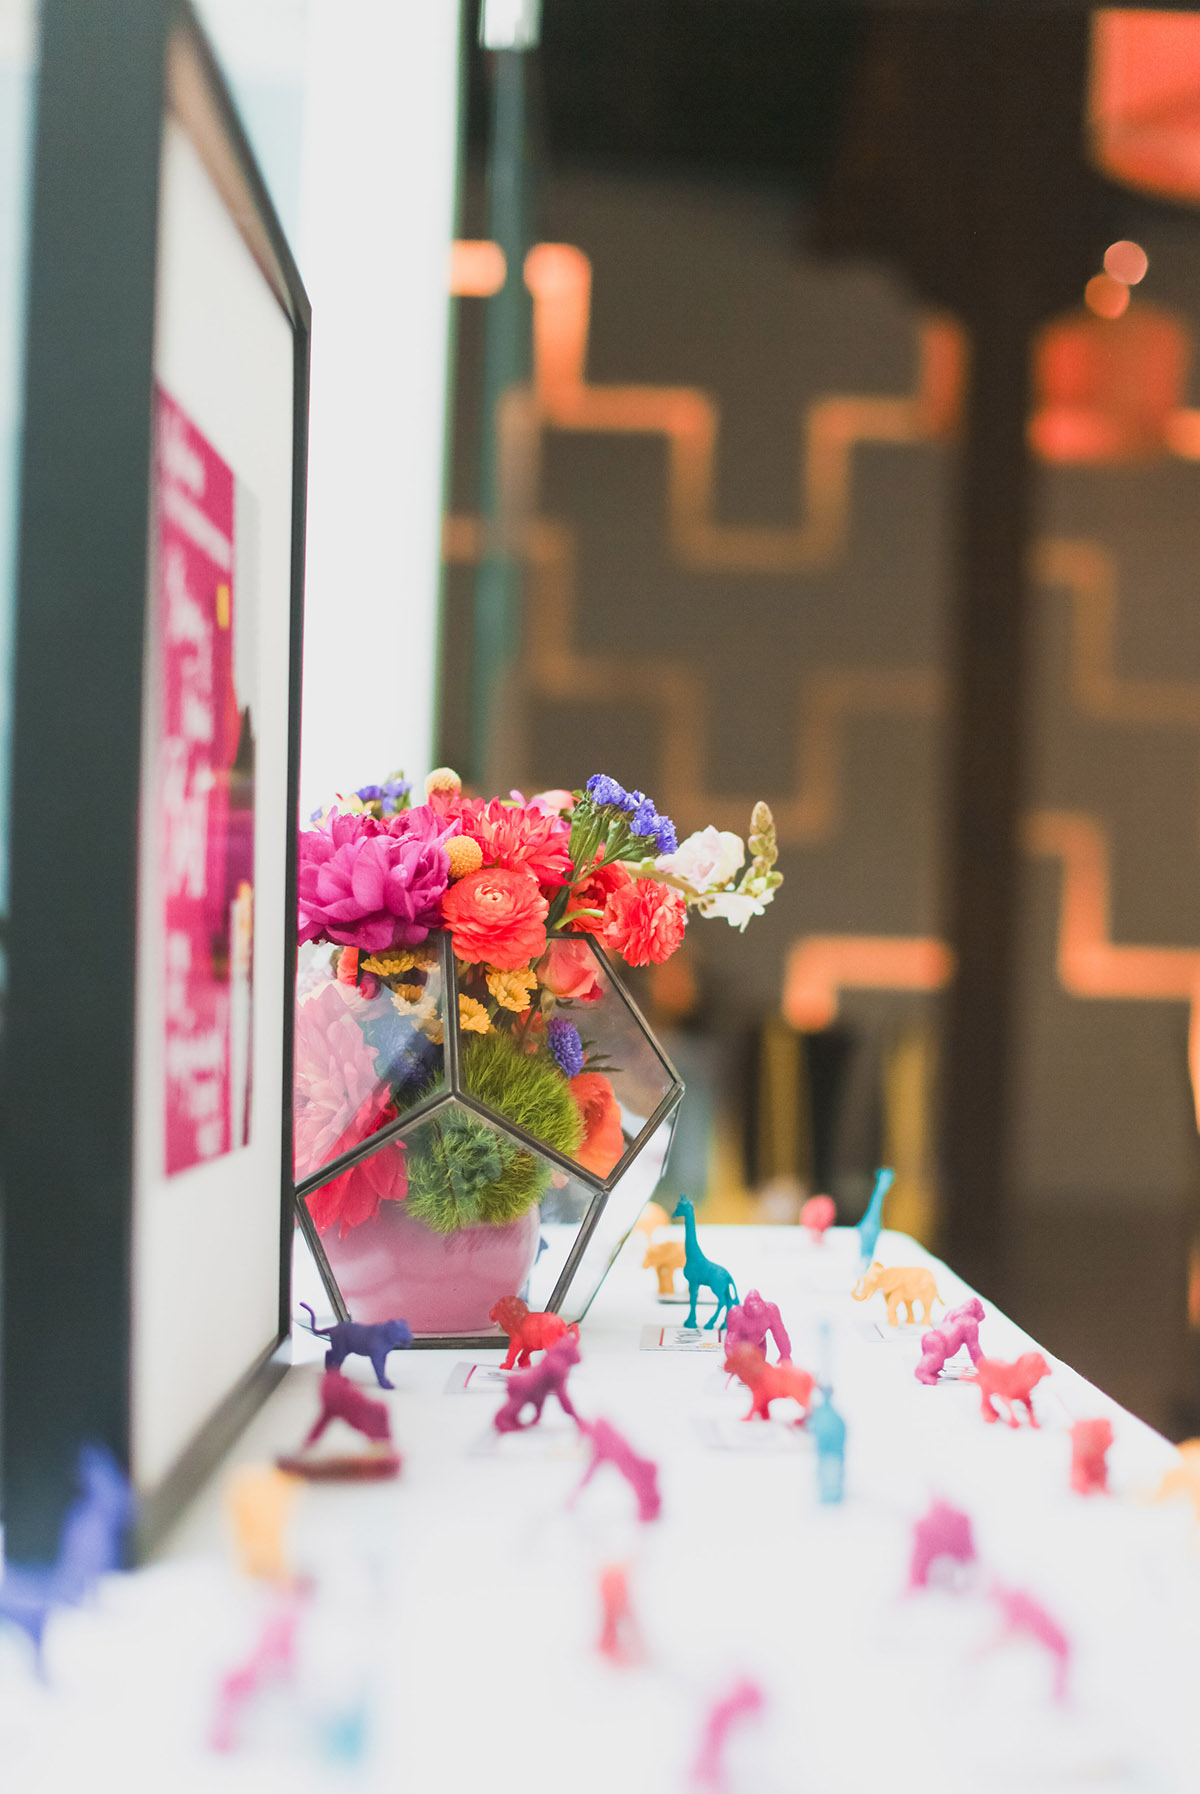
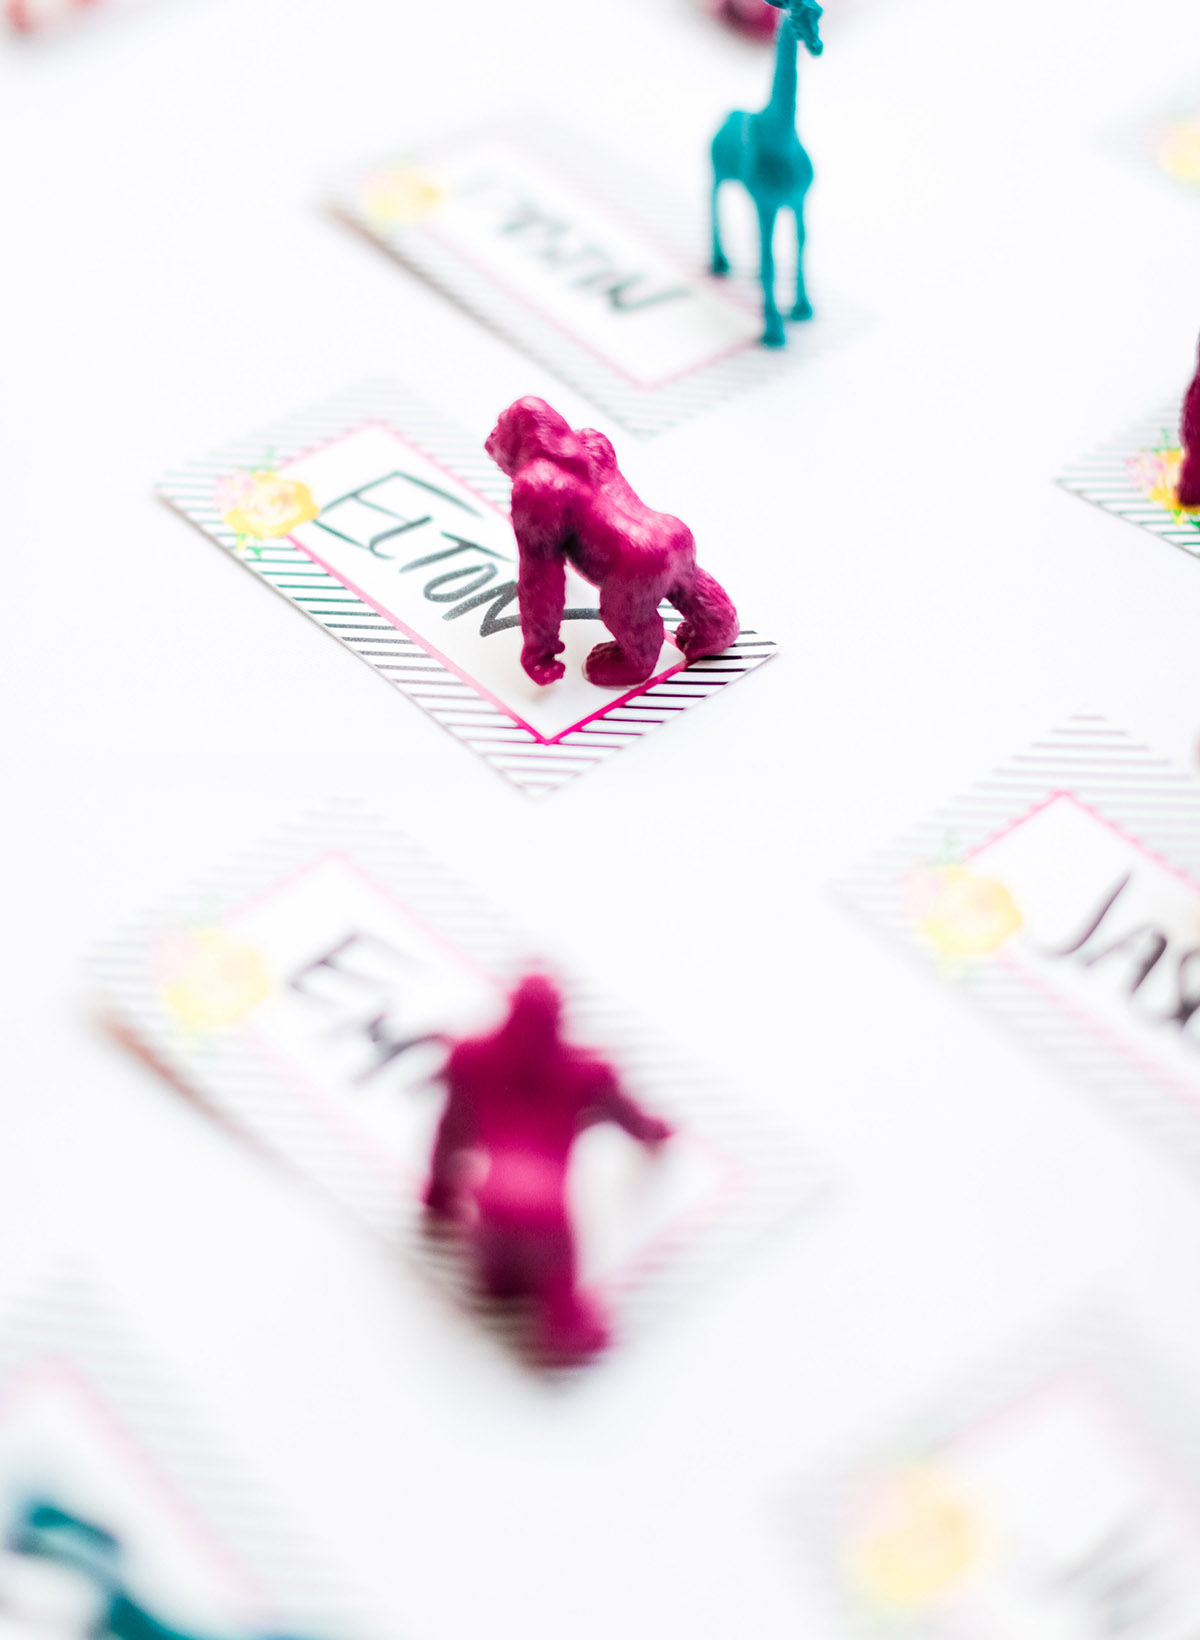
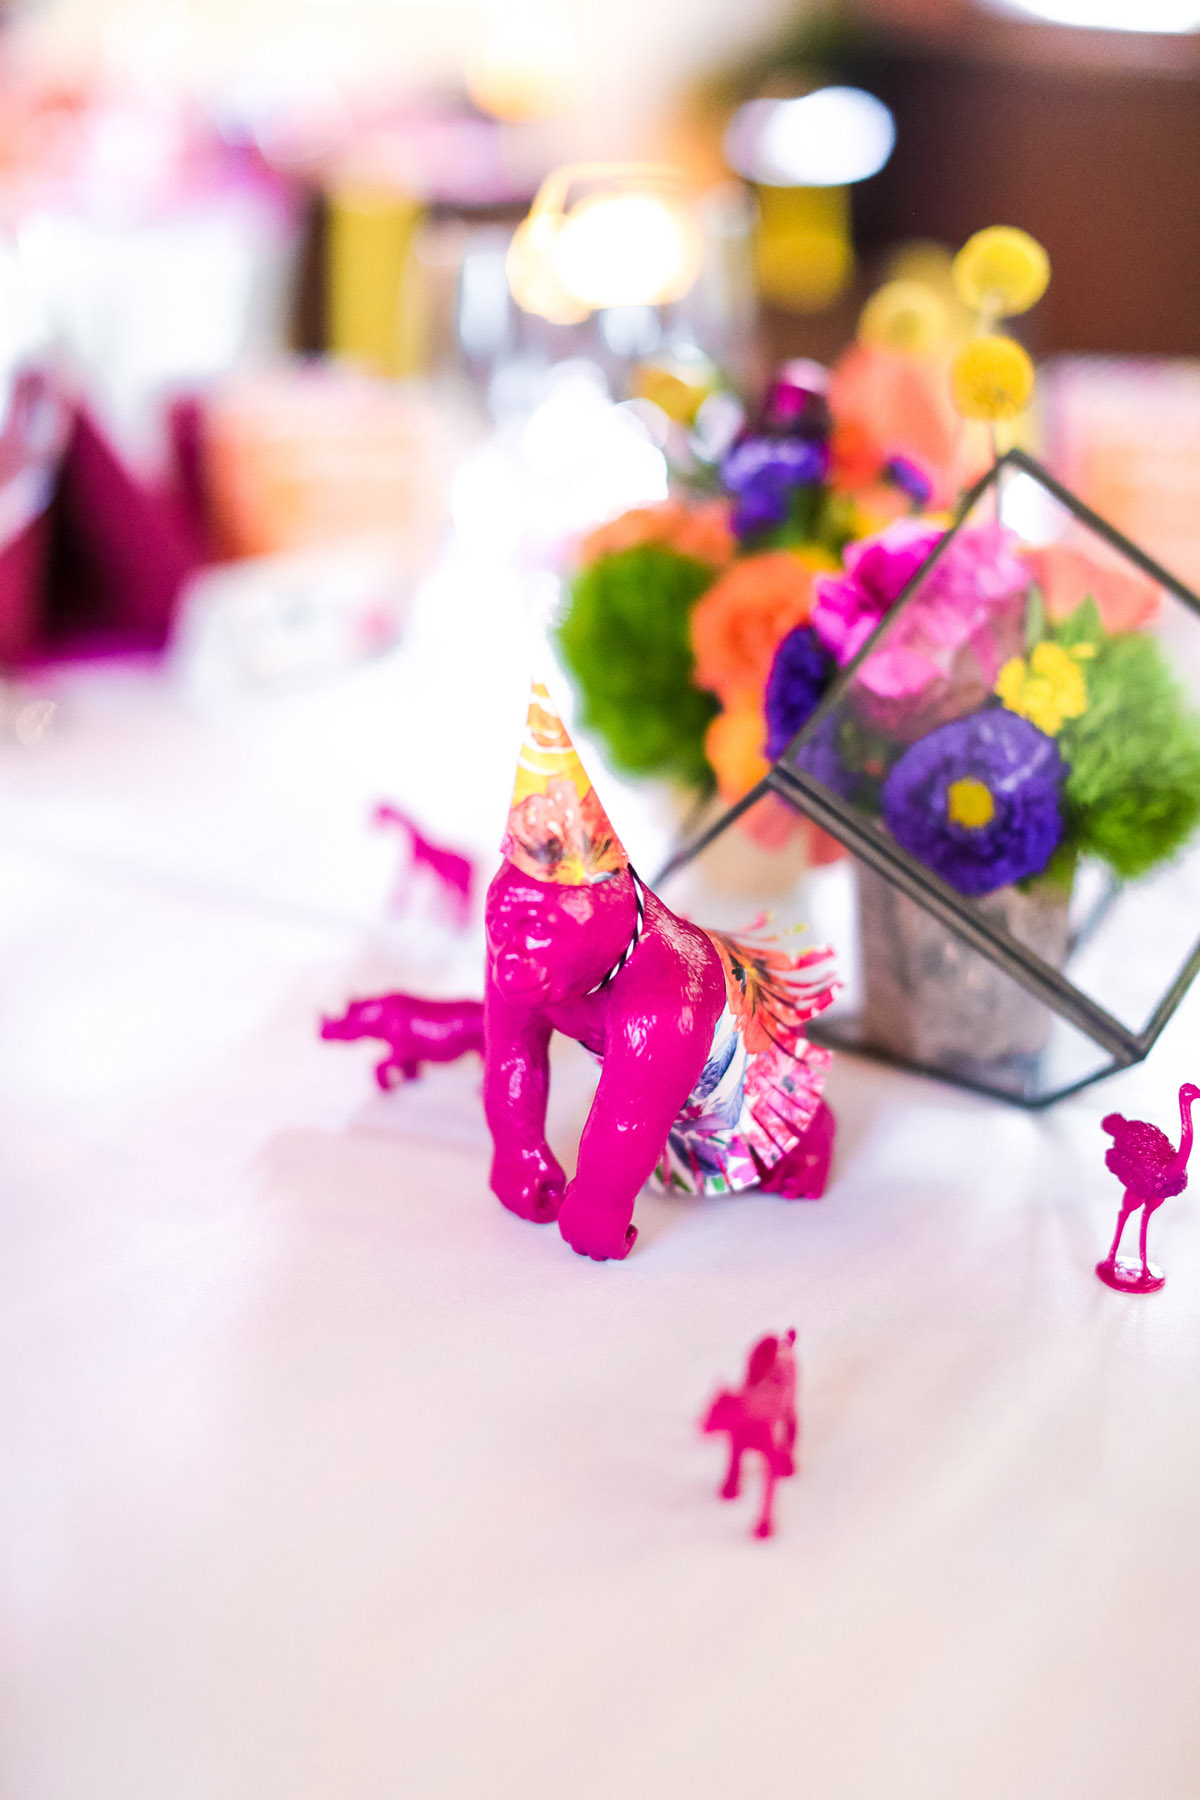
 Party Animal Escort Table